Wonderful Birthday Wishes & Copic Coloring
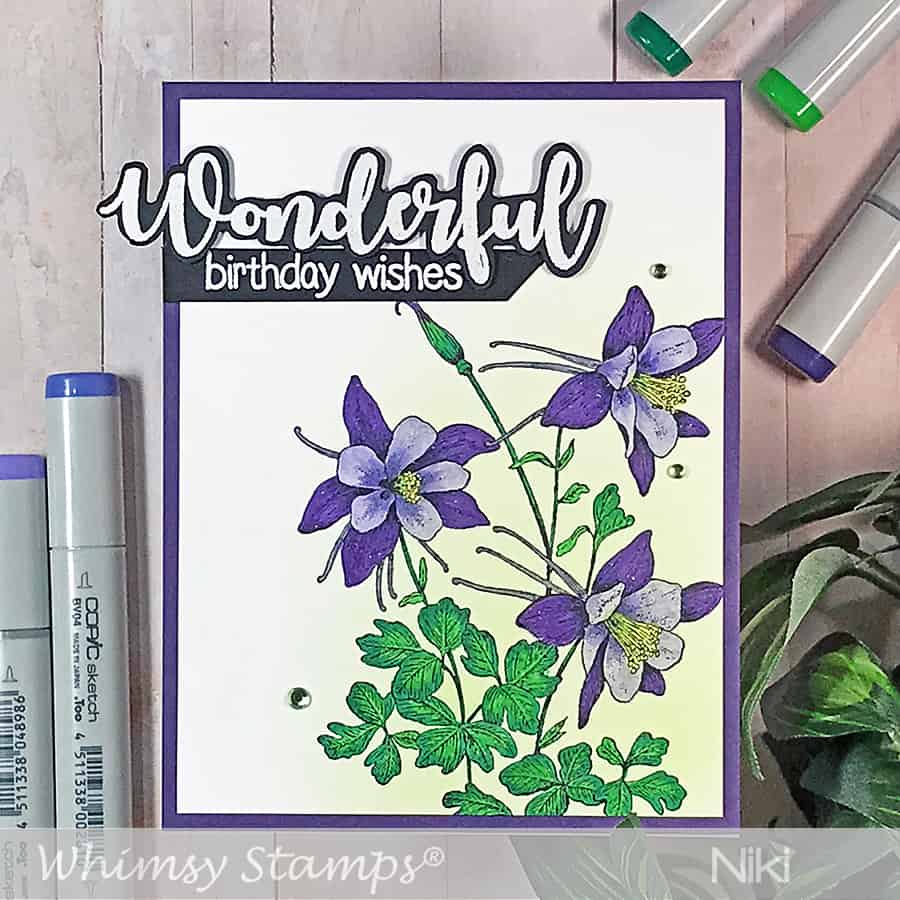
Here’s a lovely handmade card to share some wonderful birthday wishes! You can never have enough birthday cards tucked away, am I right? This one is for someone a little extra special since it takes a bit of time to color.
Inking it Up
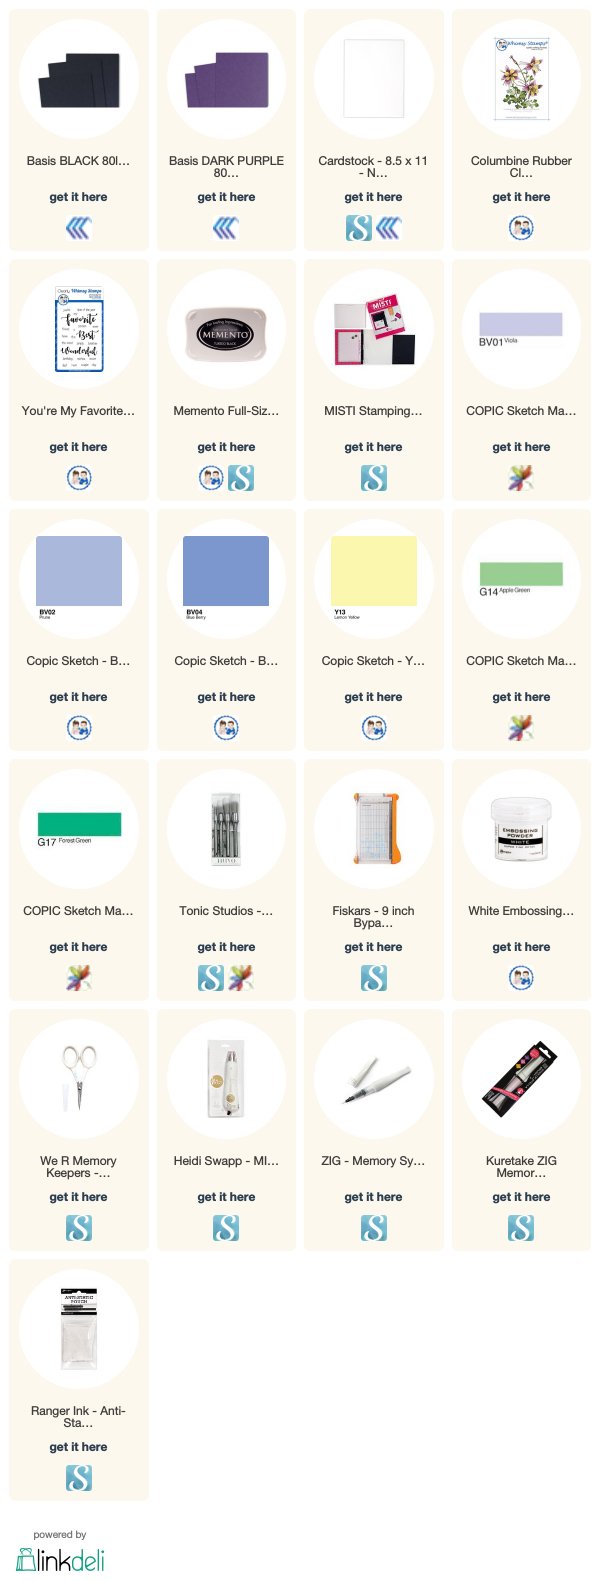
To start, grab you an A2 sized piece of Solar White cardstock and blend in a bit of your favorite light-colored dye ink from the lower right corner. This is where I’m going to stamp the columbine image; the blended ink helps give the flowers somewhere to “sit.”
I like to use stencil brushes to add ink to backgrounds – it’s a slower process, but it will help you achieve a super smooth color blend. No more accidental sponge lines!
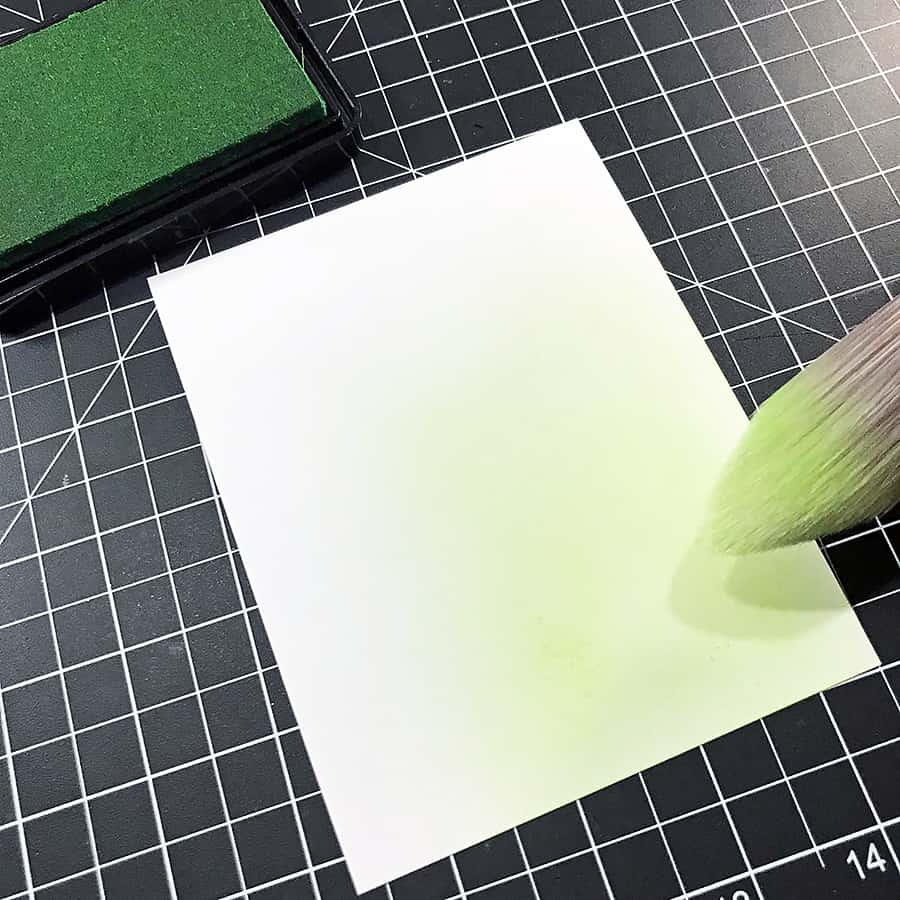
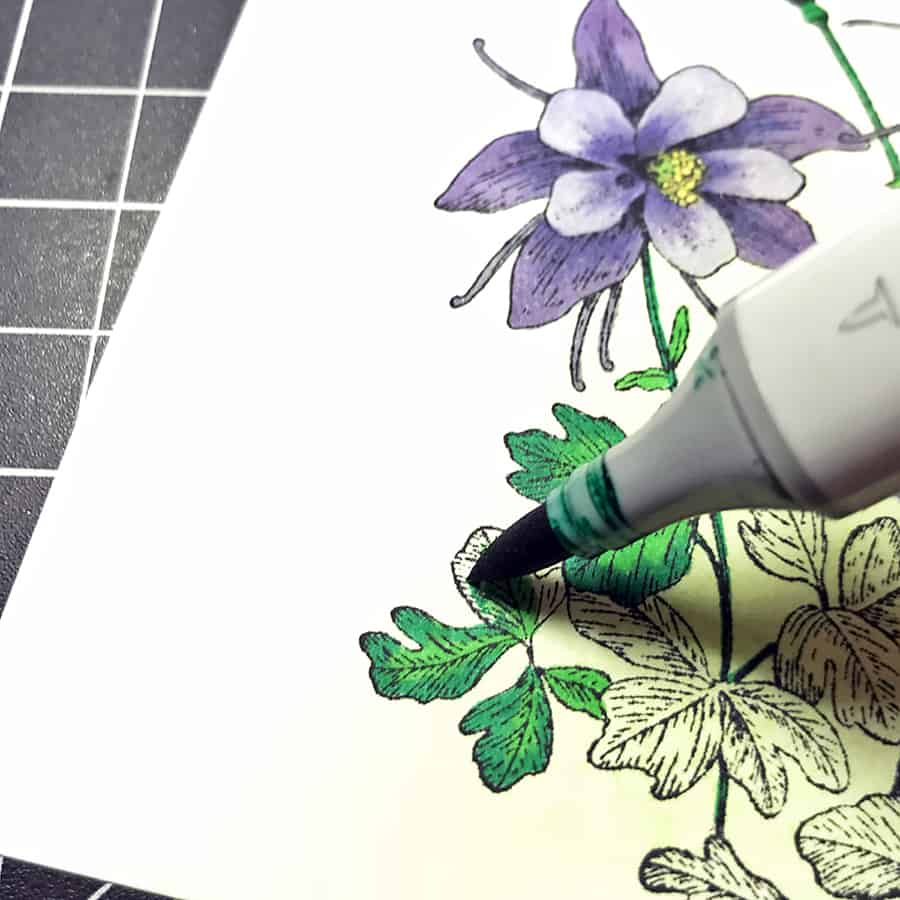
I chose Green Hills to blend into the background because it’s a beautiful light color and won’t interfere with the colors for the Columbine. I stamped the flowers in Tuxedo Black – Memento Dye is my go-to for Copic safe ink – so I could color them with Copic markers.
Coloring the Flowers
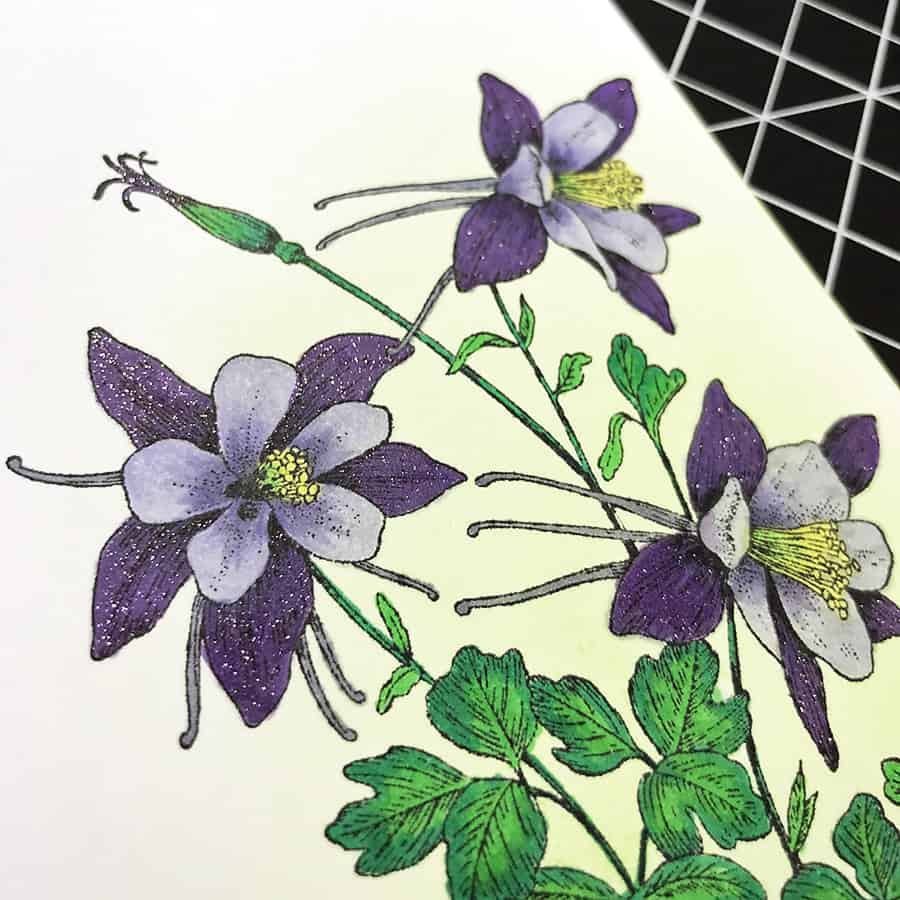
For each flower, I used a blend of BV01, BV02, BV04, and a touch of G14 with Y13 for the yellow centers. The leaves are colored with a mix of G14 and G17.
To give the columbines a little extra sparkle and contrast, I painted over the darkest petals with a Wink of Stella Brush Pen in Violet.
To frame these lovely flowers, I trimmed 1/8” from the edges of the white cardstock, then I used an A2 sized piece of Basis cardstock in Dark P
Putting it Together
For the sentiment, I stamped the word “Wonderful” from the You’re My Favorite stamp set with embossing ink on a piece of Basis cardstock in Black, and heat embossed with fine white embossing powder.
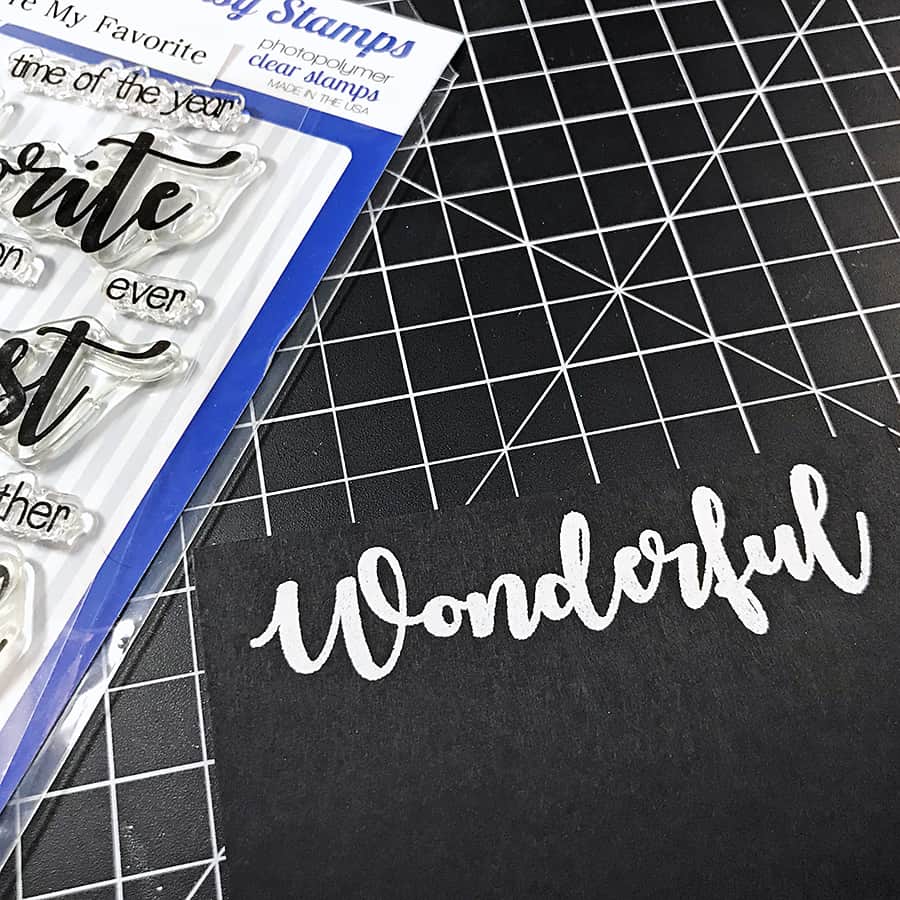
It was too big a sentiment to leave as a strip, so I decided to fussy-cut it out. Then, I adhered it to the card front with foam squares and added “birthday wishes” on a skinny piece of black cardstock just below it.
To finish up, I popped a few light green adhesive gems around the flowers, then attached the card front to an A2 card base with Scor-Tape.
If you’d like to try your hand at coloring with markers, the smooth-surfaced, marker-friendly Classic Crest is a great cardstock to use, especially with alcohol inks. I’m sure you’ll get some excellent results!
Be sure to pin this card to your idea board on Pinterest & thanks for reading today!