Whimsical and Wild: New Collection From Jane Davenport
I decided to go a little “whimsical and wild” today with the cards I made! I’m just kidding; they aren’t that far out there. But the design is a step away from what I usually do. When I received these stamp sets from the Whimsical and Wild Collection at Spellbinders, I let the stamps talk. And this is what happened.
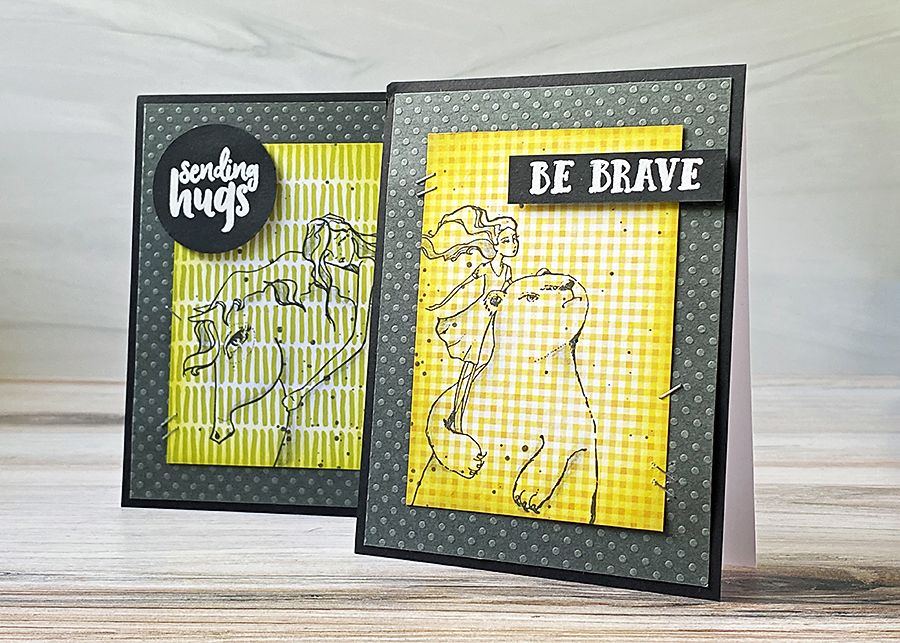
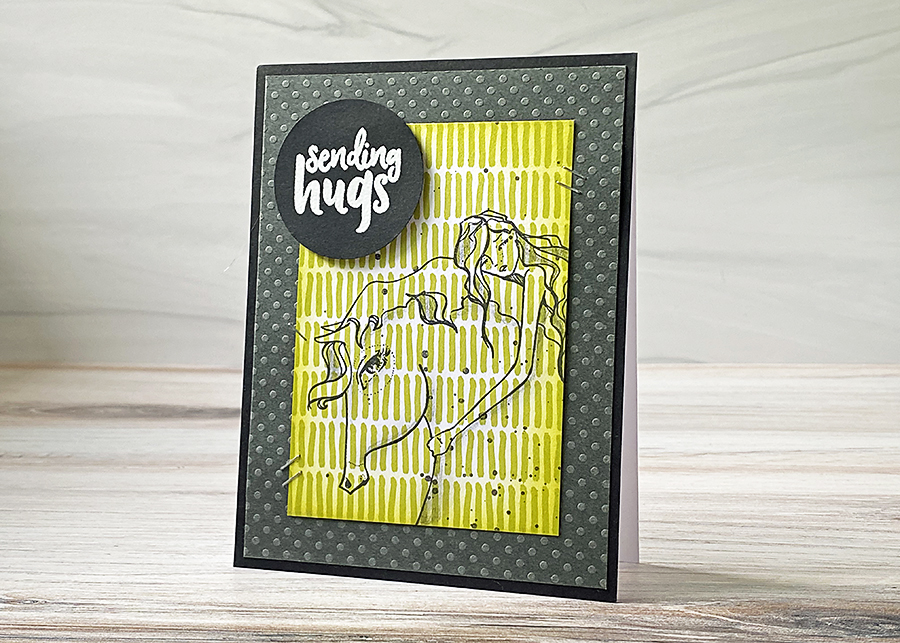
My typical fare is white or cream cardstock with bright colors and inky goodness. But I love the dark papers and patterns on these cards. And aren’t those stamped images by Jane Davenport just beautiful?! The sets are called Horse Hug and Brave Bear. And to tell you the truth, I have a crush on that big ol’ bear.
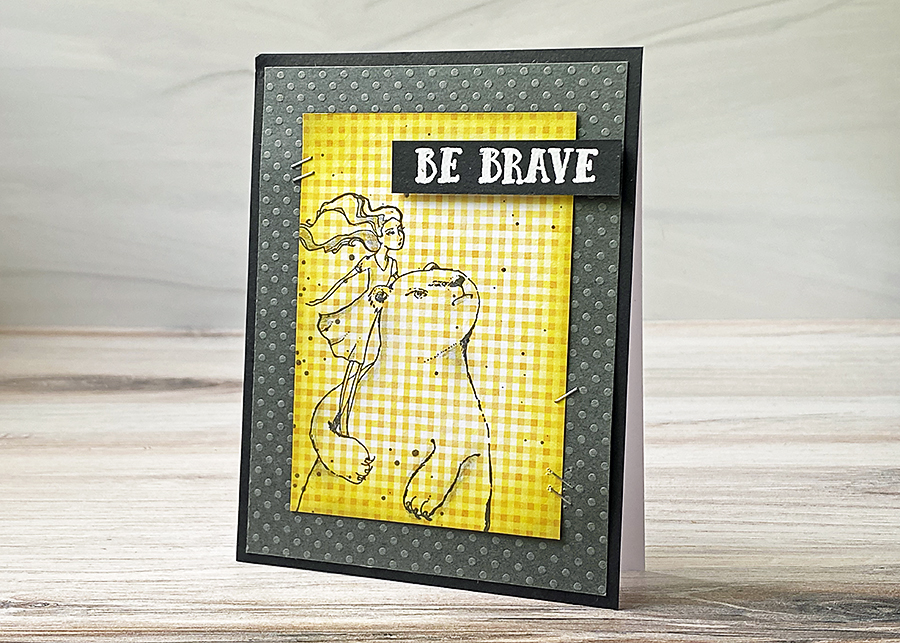
The sad part was that I made a video for these cards, which got corrupted on my computer. Luckily, I did snap some photos as I was creating to show you some of the steps.
Prepping the Pieces
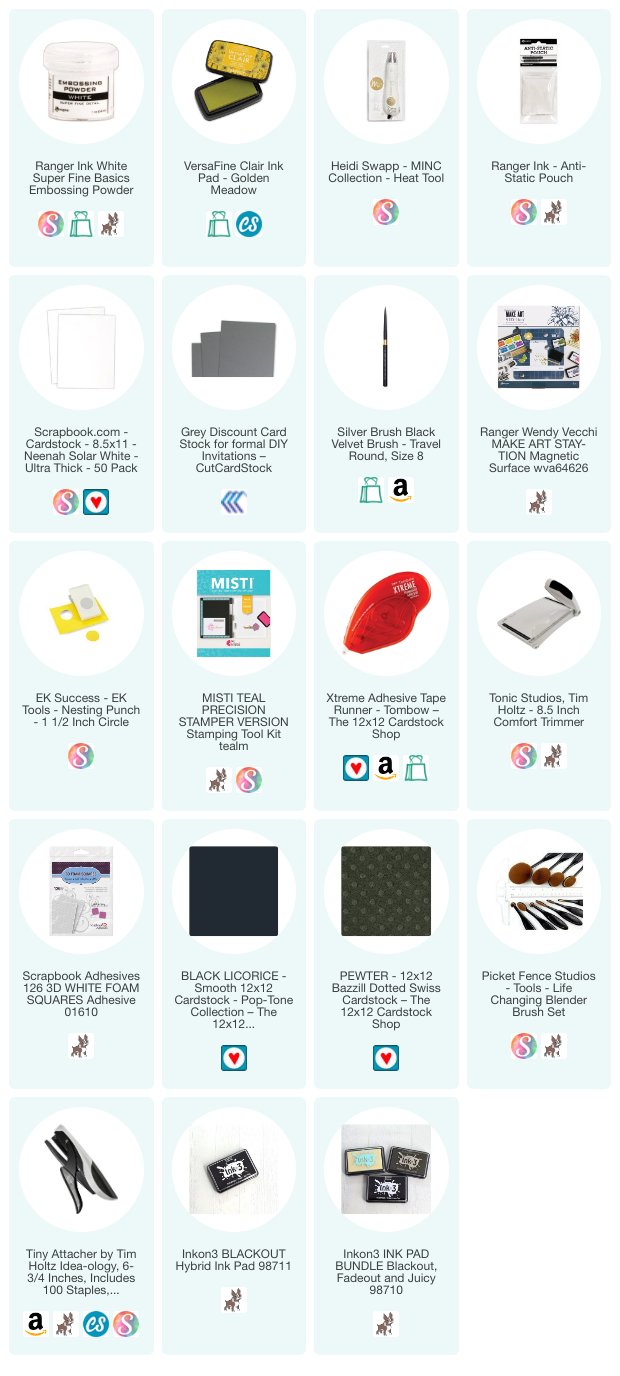
Starting, I chose a patterned paper for the background of the stamped panel. Anything you already have in your stash will work. I cut them to 4.25″ x 3″ and inked around the edges of both pieces with Versafine CLAIR in Golden Meadow.
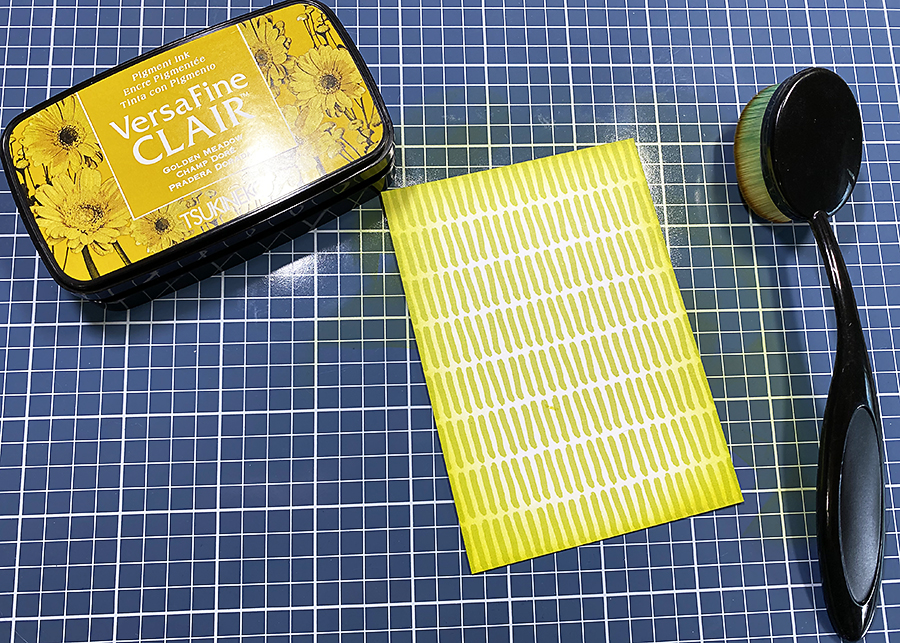
Funny how it looks like different ink colors, isn’t it?
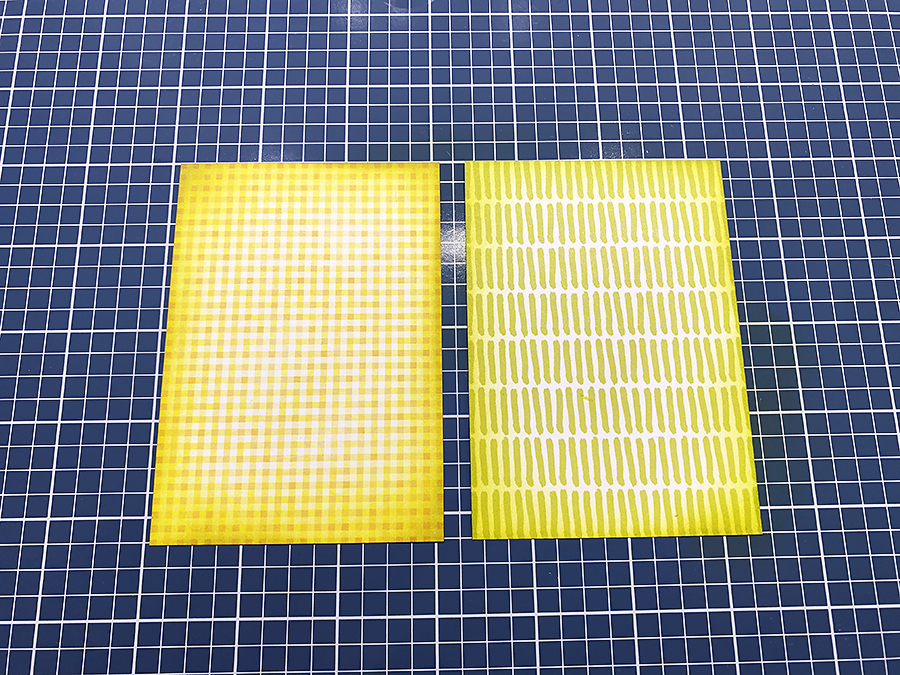
Next, I stamped the images from each stamp set with Blackout Ink from Inkon3. I let that dry a minute, then smooshed the ink pad down onto my Stay-tion worksurface and added a spritz of water. After swirling it around really well with a #4 Silver Brush, I tapped off some ink droplets over the images.
At this stage, I wanted to add some depth, so I did something I never do… I used a plain old pencil and did a bit of shading and smudging. In a world of millions of fancy coloring goodies and tools, sometimes the best solution is the simplest one, am I right?
And it matched the gray cardstock, to boot!
Putting Everything Together
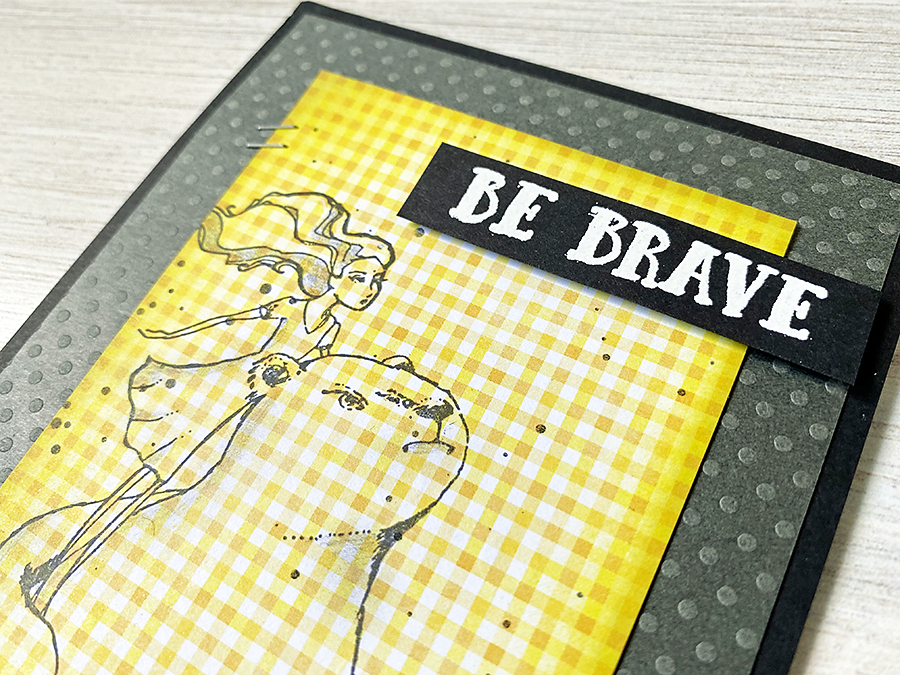
Once everything was dry, I attached the stamped panels to a 5.25″ x 4″ piece of Sterling Dotted Swiss cardstock (from Bazzill – I think it’s now retired, but you can emboss any gray cardstock you have to get the same effect. I linked an alternative in the list below) with a Tiny Attacher.
Then, I adhered that to a 5.5″ x 4.25″ piece of black cardstock and added the completed front panel to an A2 card base.
For the sentiments, I chose one from each stamp set and heat embossed them onto black cardstock using Inkon3’s Embossing Ink and Ranger detail powder in Glacier White. A 1.5″ Circle Punch from EK Success was perfect for cutting out the sentiment for the horse card.
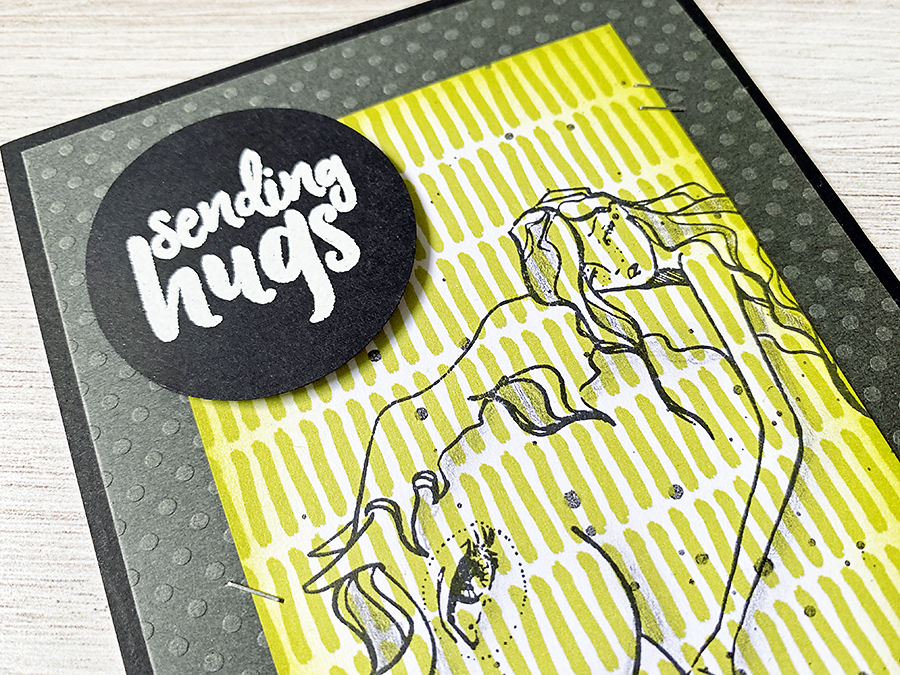
Thanks so much for stopping in today to see my ideas on using some of the stamp sets in the Whimsical and Wild Collection from Jane Davenport. There are nine sets available in all. Go ahead and pin this idea to your inspiration board on Pinterest and head over to Spellbinders to see all the designs!
Also: Do you like Jane Davenport’s style? You’ll love this post too!

