You’re My Cup of Tea With Pop-Tones Cardstock
Do you keep a set of everyday notecards? I carry a couple of simple ones with me because you never know when you’ll need them. I think it’s always a good idea to have some ready to go at a moment’s notice.
Emails and texts are great, but nothing really measures up to the feeling you get when you give or receive a handwritten note.
[Tweet “Texts are good, but handwritten notes are better. #handmadecards”]
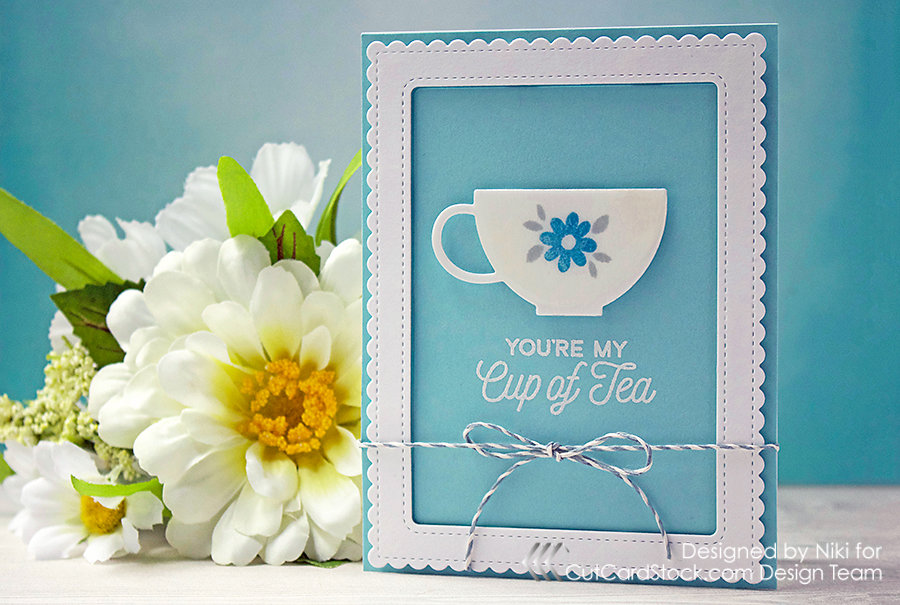
Besides the quick one layer cards for emergency note writing, I make a few that are a little fancier for the extra special people in my life. Today’s card is one of those “just because” cards that would be great to send to someone that’s been on your mind.
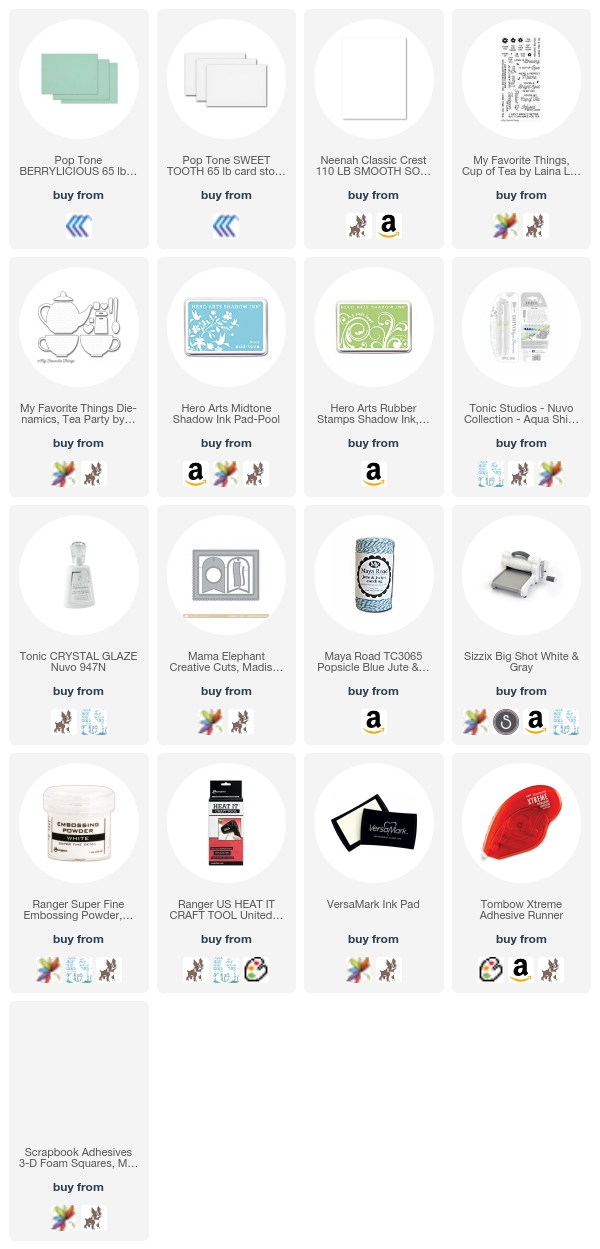
Gather up these goodies (I have links at the bottom of the page for you to find ’em):
- Pop-Tones Cardstock in Sweet Tooth and Berrylicious
- Classic Crest Solar White Cardstock (110#)
- My Favorite Things “Cup of Tea” Stamp and Die set
- Hero Arts Shadow Ink in Pool and Soft Leaf
- Tonic Nuvo Aqua Shimmer in Gloss Glitter
- Tonic Nuvo Crystal Glaze
- Mama Elephant Madison Avenue Framed Tags Die
- Die Cutting Machine
- Detail White Embossing Powder
- Heat Tool
- Versamark Watermark Ink
- Twine
- Glue Tape
- Foam Adhesive
Make an A2 (5.5 x 4.25-inch) card base out of the Classic Crest cardstock. Then, use the frame from the Madison Avenue die set to cut two frames – one from the Sweet Tooth Pop-Tones Cardstock and one from the Berrylicious Pop-Tones Cardstock. Keep the inside pieces, too. Lastly, cut a teacup with the dies that match the stamp set.
Why did I use Pop-Tones cardstock today instead of my usual papers, you ask? I just love the colors and texture, really. I’m a sucker for good quality papers, and I recently added Pop-Tones to my arsenal since it fits the criteria. Plus, it cuts like a dream in my Big Shot. 🙂
So, the best thing to start with is the die cut cup since it’s going to take awhile to dry.
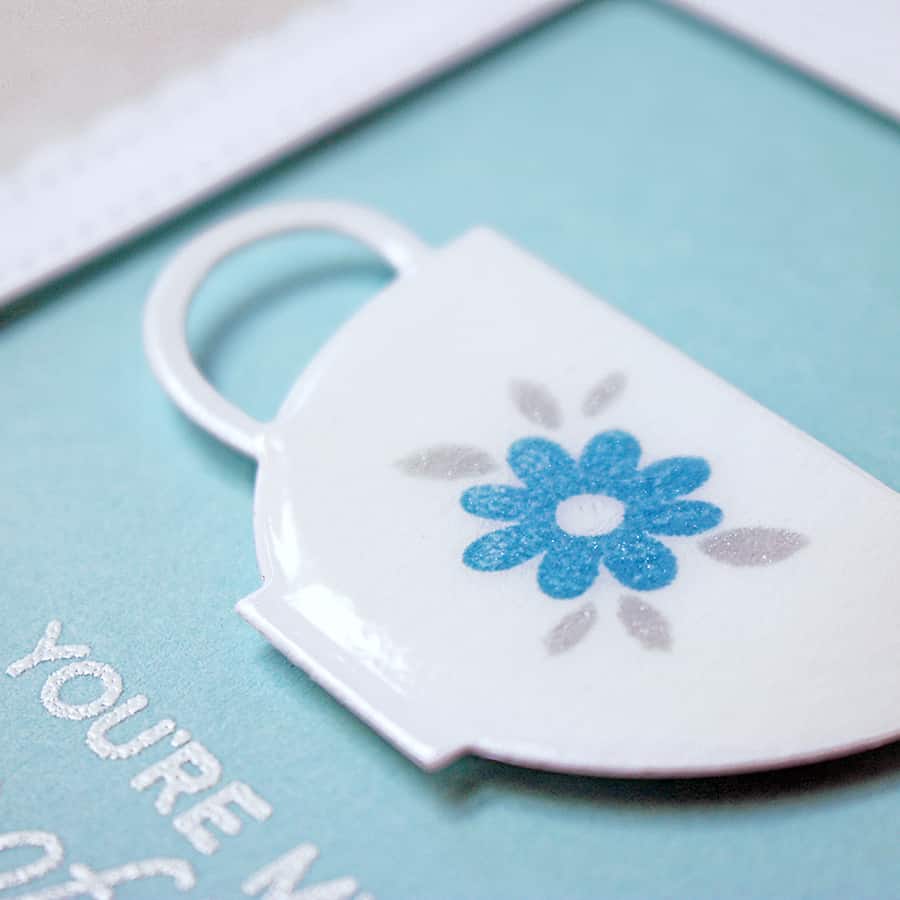
Stamp the flower in Pool ink and the leaves in Soft Leaf. Then, paint them over with the Gloss Glitter brush pen to add a little sparkle. You don’t have to stamp them the way I did – go ahead and make a design that you like. Bear in mind, though, that the leaves will react with the Crystal Glaze and become a silver green color once it’s dry.
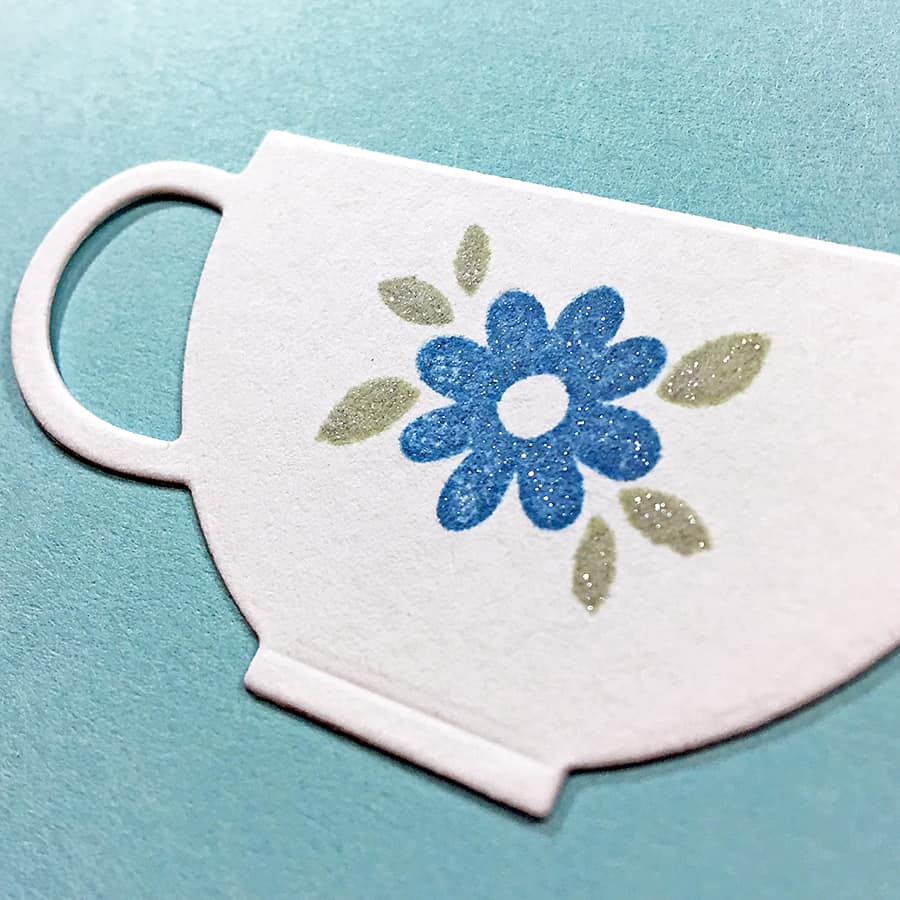
Speaking of the Crystal Glaze, get that out now and give the teacup a good coating of it. Not so much that it’s oozing off the edges, but just enough so it sits smoothly and evenly on the die cut. To help with this, you can use a small bit of glue tape to stick the cup to some scratch paper for easier handling. It helps with minimizing curling as well.
Oh, and don’t worry about the glaze looking a little yellowish at first, it dries clear. If you get a bubble stuck on the glaze, use a pin to drag it out to the edge and pop it.
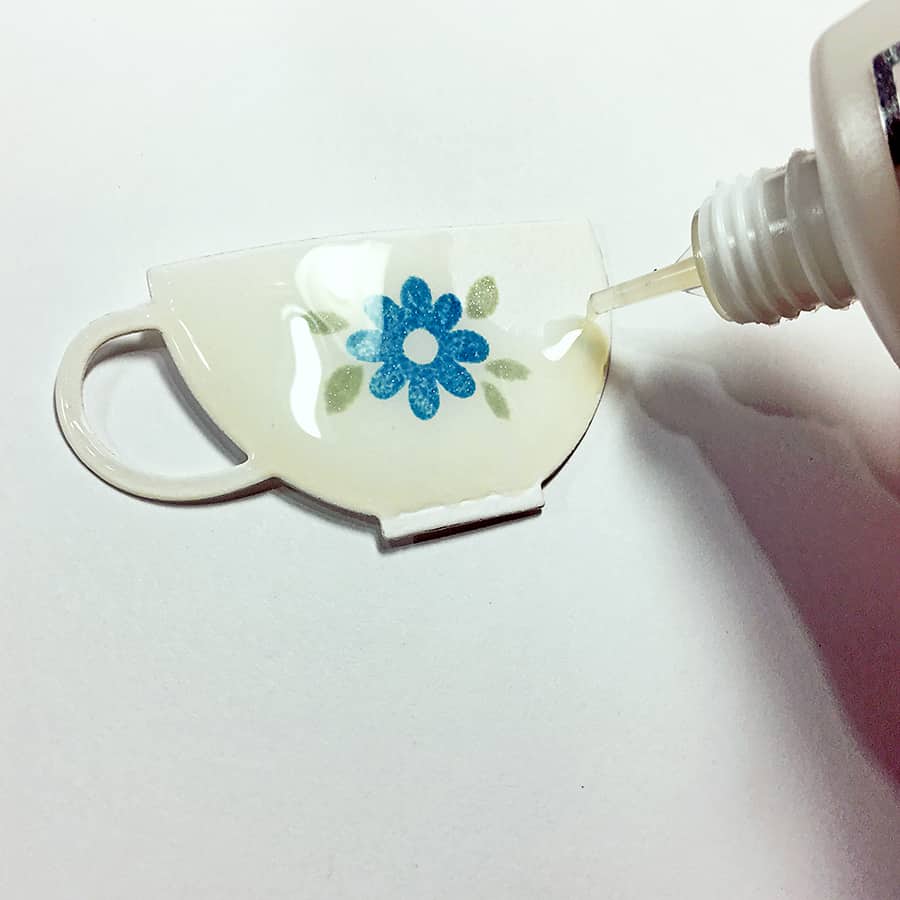
Set that aside to dry.
I’m not gonna lie to you, depending on how much you put on there it could take an hour or two before you can handle it again.
If you’d like, you can always prep a few more teacups and work on the card bases while they’re all drying, so then you’d have a whole set made.
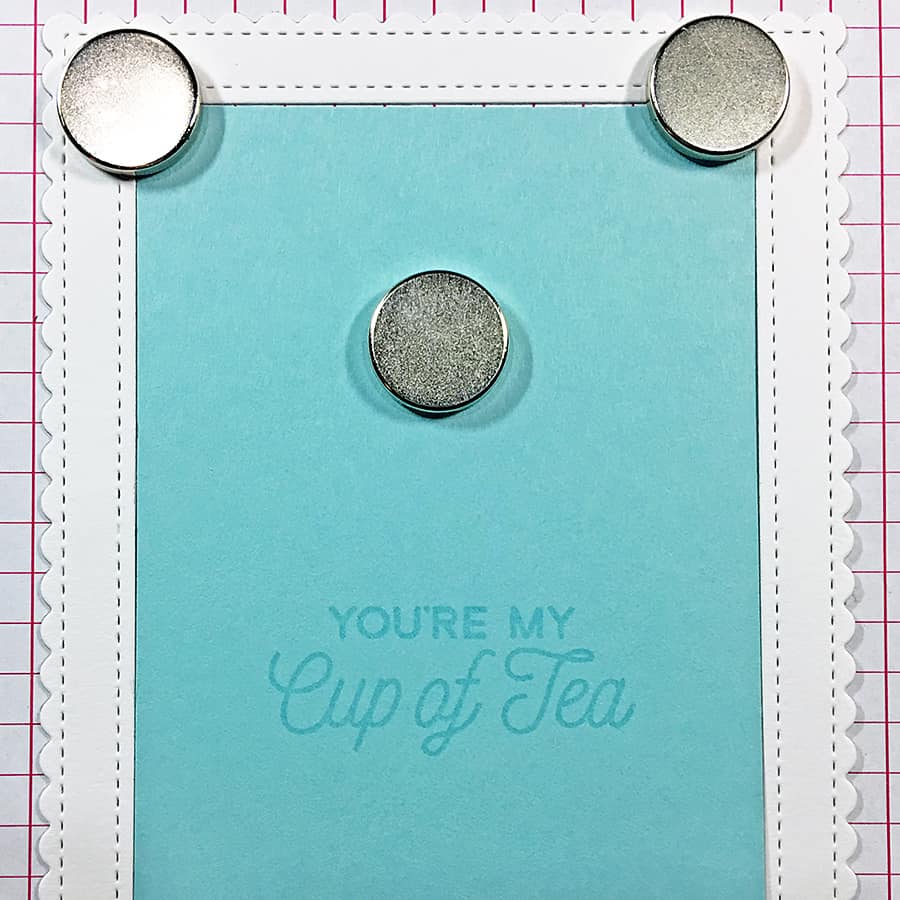
Back to the task at hand! We are going to use the inner rectangle of the frame that was cut from the Berrylicious cardstock earlier to stamp our sentiment on. I used a MISTI stamping tool to line up the words because, frankly, I couldn’t stamp freehand to save my life.
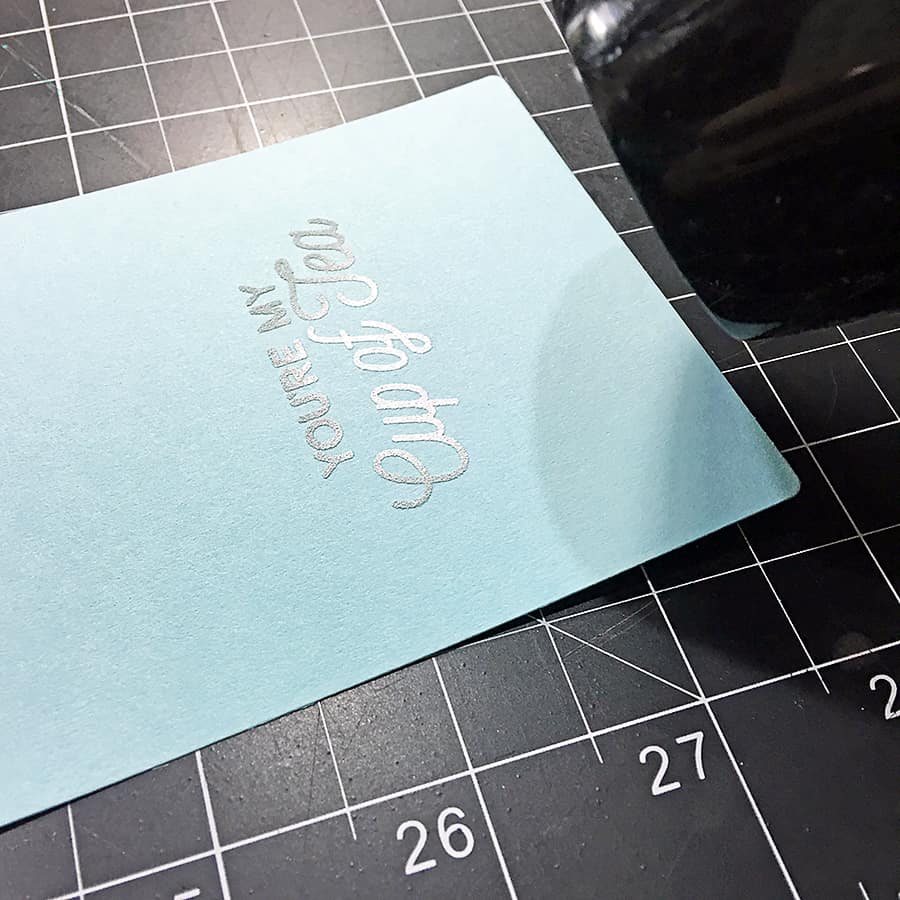
Since the sentiment is going to be embossed, I rubbed the paper over with an anti-static tool (cornstarch in a cloth sachet) and stamped twice with Versamark Ink, so there is lots of pigment for the powder to cling to.
Sprinkle the embossing powder over your sentiment, and tap off any excess onto a piece of scratch paper or a coffee filter (so you can funnel any unused powder back into the jar). Emboss the image with your heat tool.
But first, make sure your surface is heat proof! If it isn’t or you’re not sure, hang on to the paper with a pair of tweezers, so you don’t damage your crafty area.
The white frame is the one we are going to use for the card. To build the front panel, grab a 4.25 x 5.5-inch piece of the Berrylicious cardstock. Add some glue tape to the back of the rectangle you just embossed the sentiment on, and adhere it to the larger blue panel by using the frame as a guide to center the piece.
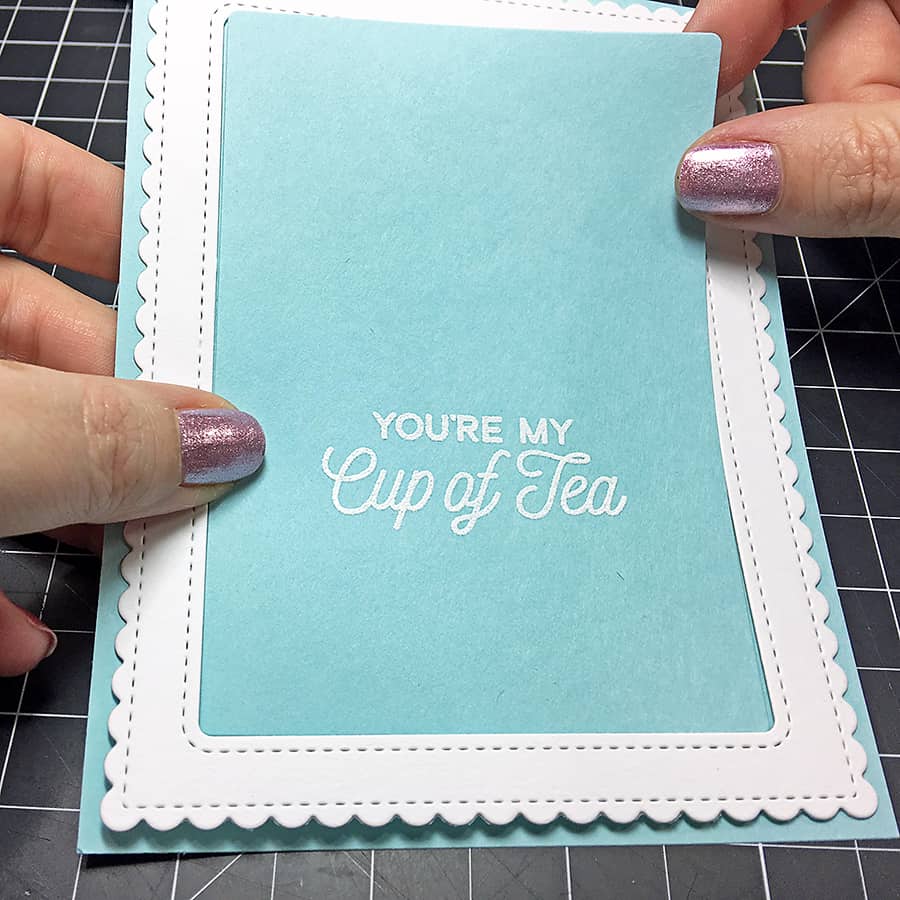
Then, add foam squares to the frame and adhere that as well.
When the teacup is dry (or when you feel comfortable enough to handle it) stick that just above the embossed sentiment with foam squares too.
Tie a piece of twine around the whole panel, then use a generous helping of glue tape to attach it to your white card base.
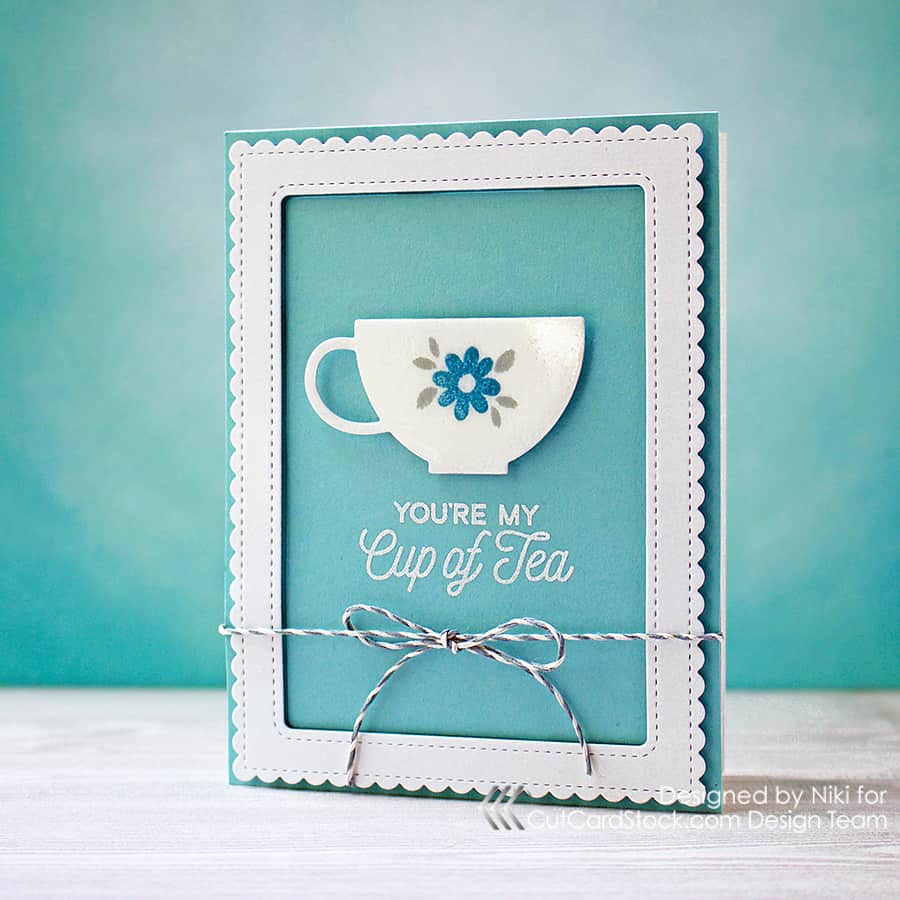
I really appreciate you stopping by today – I hope you enjoy working with Pop-Tones cardstock, too! Please feel free to share the love by pinning this post to Pinterest! Thank you 🙂
<3 Niki

