Using Distress Inks with Stencils
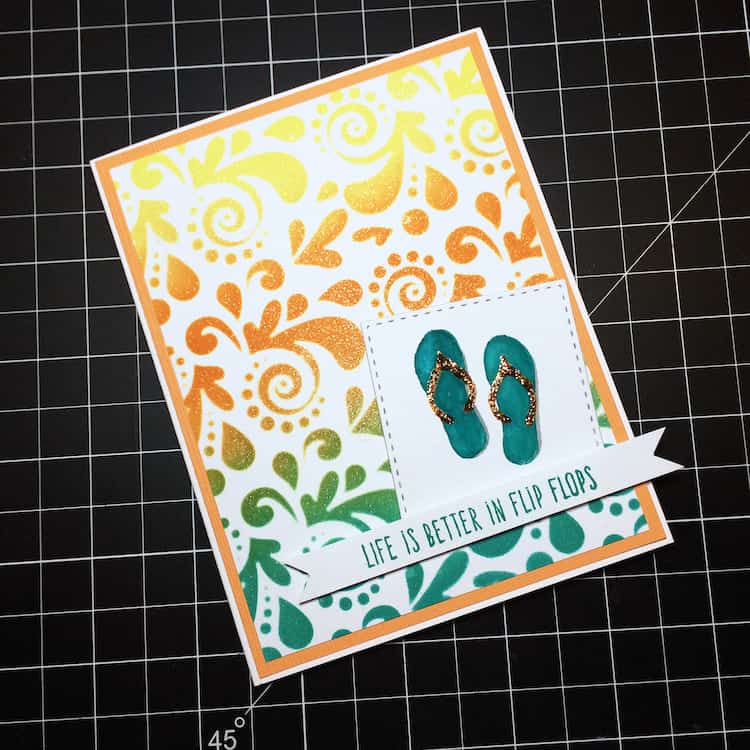
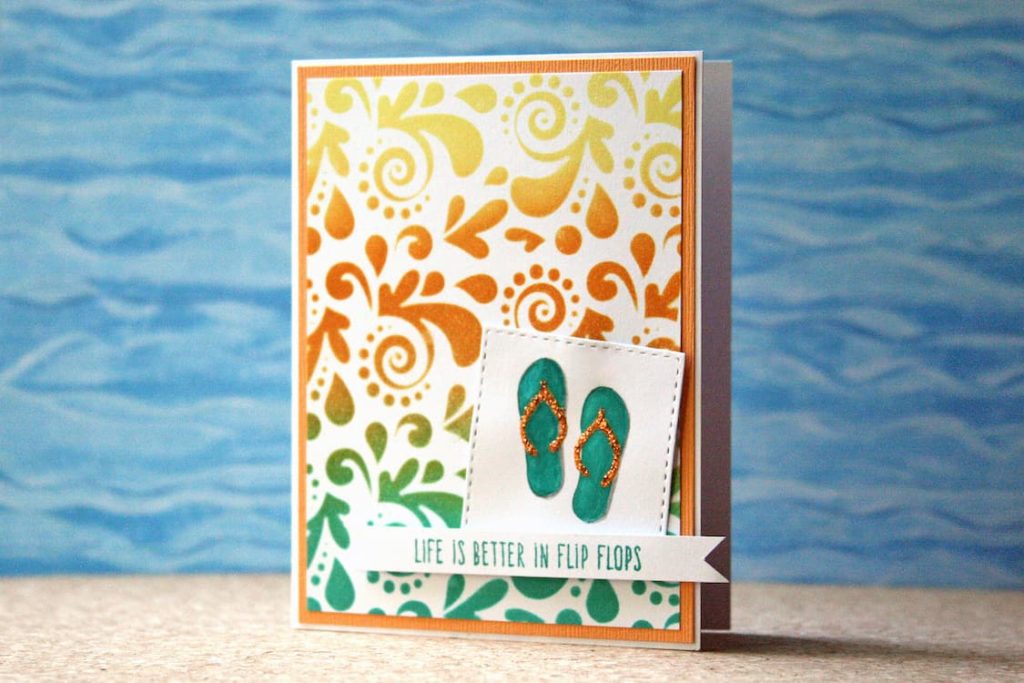
I love the little flip-flop stamps that came in this month’s card kit from Simon Says Stamp. Actually, the entire set is adorable and I know I’m going to use the sentiments for more than summer cards.
Today though, I decided I wanted to make a summery card with a stencil that I’ve had for some time now and is still new, which is rather funny since the stencil is one of my favorite patterns. It kind of reminds me of splashing water or foliage, so I thought it would make a beautiful background with a little Distress Ink.
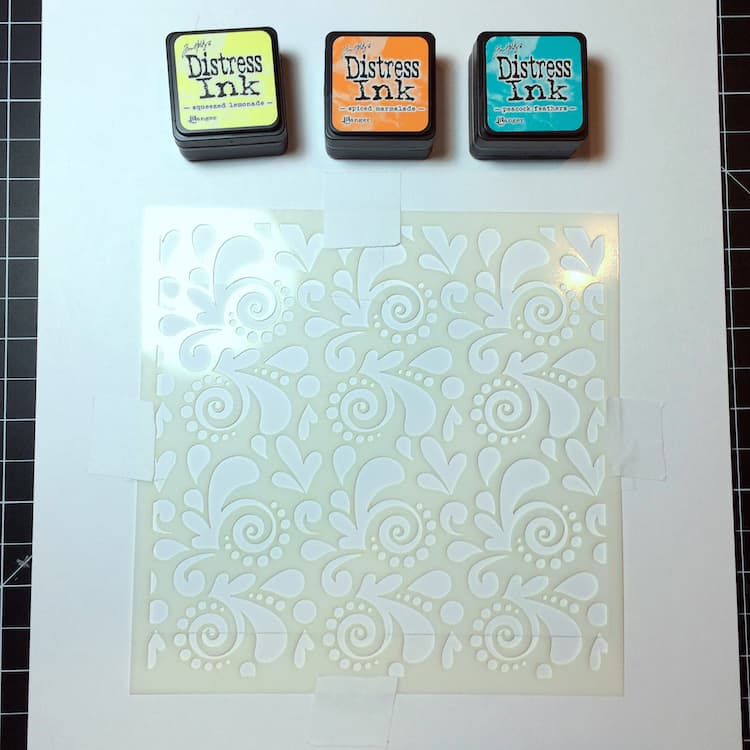
To start, get you a sheet of scratch paper and tape down your panel you want to ink on. Then, tape down your stencil over it. Post It tape is my favorite for things like this, but you can use any type of low tack tape. The panel dimensions I started with are 5.5″x4.25″.
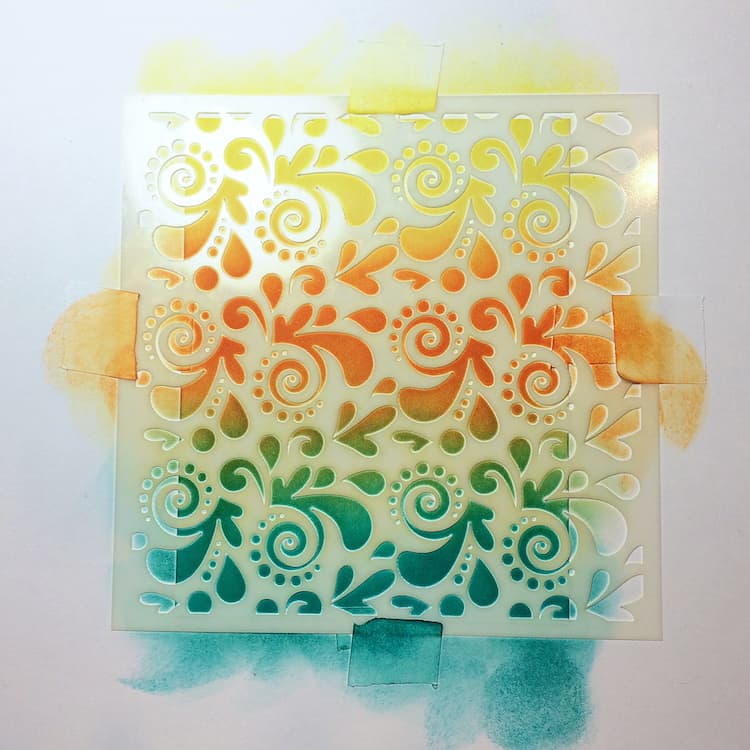
Pick out a few Distress Inks, decide which ones you want where and start blending in from the edges. Always begin your blending tool off the side of your panel and blend in a circular motion onto your cardstock to minimize blotchy spots. I blended Peacock Feathers up from the bottom, Squeezed Lemonade down from the top, and Spiced Marmalade across the center from the side edges.
Works your inks carefully until you create an even transition line between colors… or as close as you can get to “even” 🙂
With a stencil, it doesn’t matter as much because your masked area will break up the inked areas.
At this point, I lifted up my stencil and decided I needed – you guessed it – glittery goodness! I spritzed my stencil with Sparkle Spritz, then lifted the stencil away and allowed my background time to dry.
When it’s ready (it took maybe 10 minutes – I sprayed it pretty heavily LOL), go ahead and trim it to 5.25″x4″. This gets rid of any questionable edges and leaves you with a nice uniform design. You can mat your panel if you like, or you can stick it directly to your card front just the way it is after you finish putting it together. I did mat mine; I felt like I needed to break up the white a little.
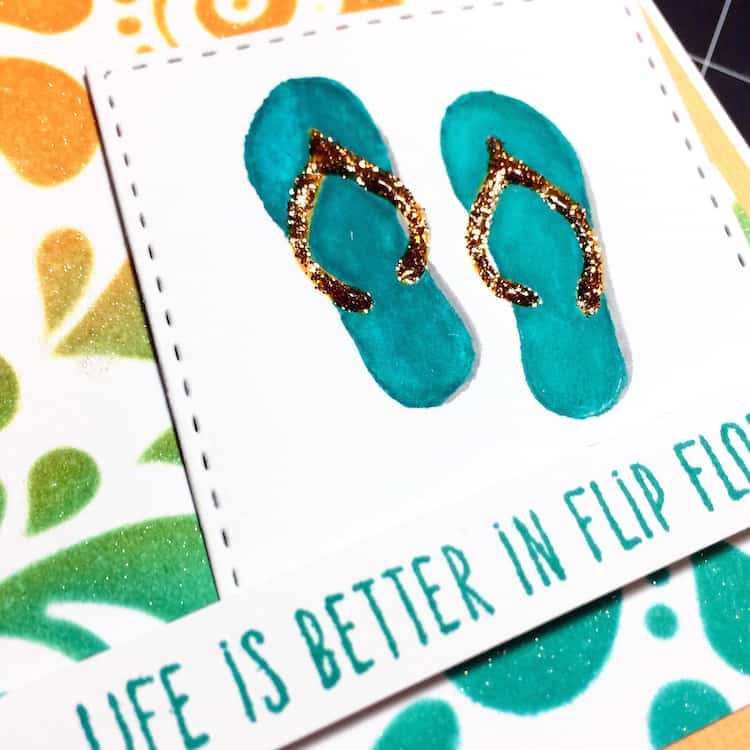
To make the flip-flops, stamp your images in a really light ink (I used Soft Vanilla, Hero Arts) and water-color them with Akashiya Sai brush pens, or whatever you prefer to color with. Since the outline is stamped in a light ink, it will ‘disappear’ once you finish coloring. Die-cut them out with a stitched square die.
Of course, no flip-flop stamp image would be complete without glitter glue straps – you can see the sparkling spray over the inks in the photo as well 🙂
Position your flip-flop square and adhere to the card using a glue runner along the bottom edge of the square and a couple of foam squares along the top. This will make your square look like it’s tucked in behind the sentiment. Finally, cut a 1.5″ width piece of card and stamp your sentiment. Flag the ends and adhere with foam tape over the bottom of your flip flop panel. Center your completed panel on your card front, and you’re done!
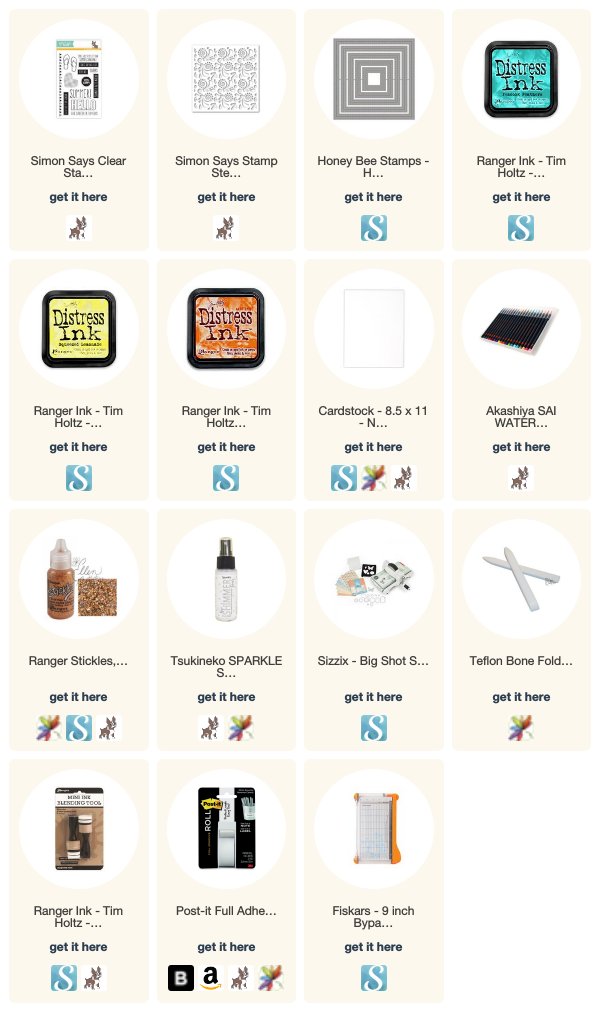
Supplies are listed below. Give it a try!
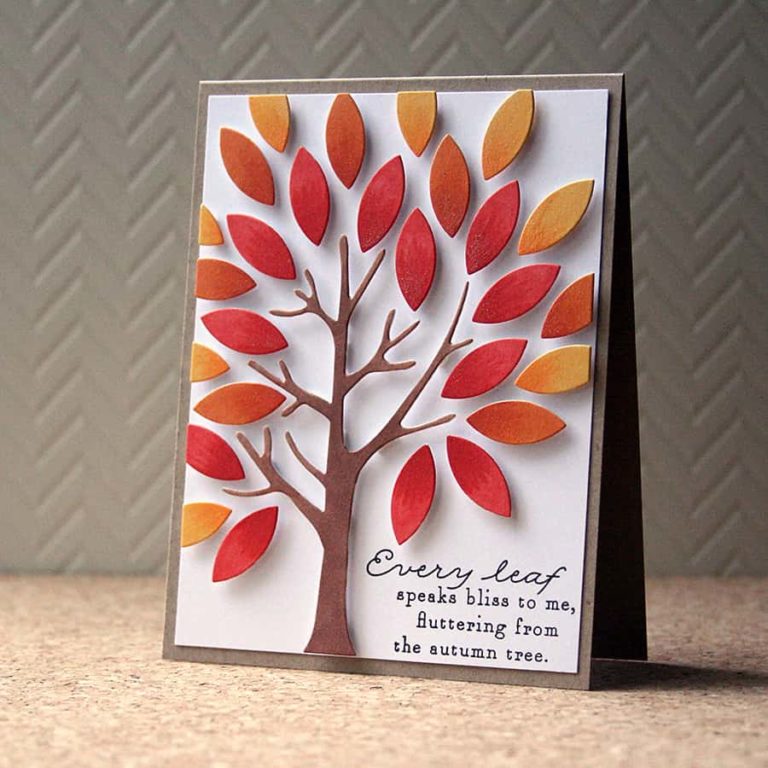
PS – Like stencils? Take a look at this card!

The links below are affiliate links to the products I used today. There’s no additional cost to you, and if you decide to click and shop, I really appreciate the support! Thank you!

Colorful and vibrant
Thanks 🙂