Making Stenciled Fireworks with Perfect Pearls
Hello and happy Wednesday! For today’s card, I decided I’d take the fireworks stencil in the December Box from The Hedgehog Hollow out for a test drive and see if I could make a shimmery stenciled fireworks background with Perfect Pearls.
I usually do videos for you during the second half of each month, but I have to apologize today – the mountain cedar pollen here in south Texas finally got to me and I’ve had laryngitis for just over a week now. This morning I could squeak a little bit, though, so I’m hoping I’ll clear up in time for Christmas Eve! 🙂
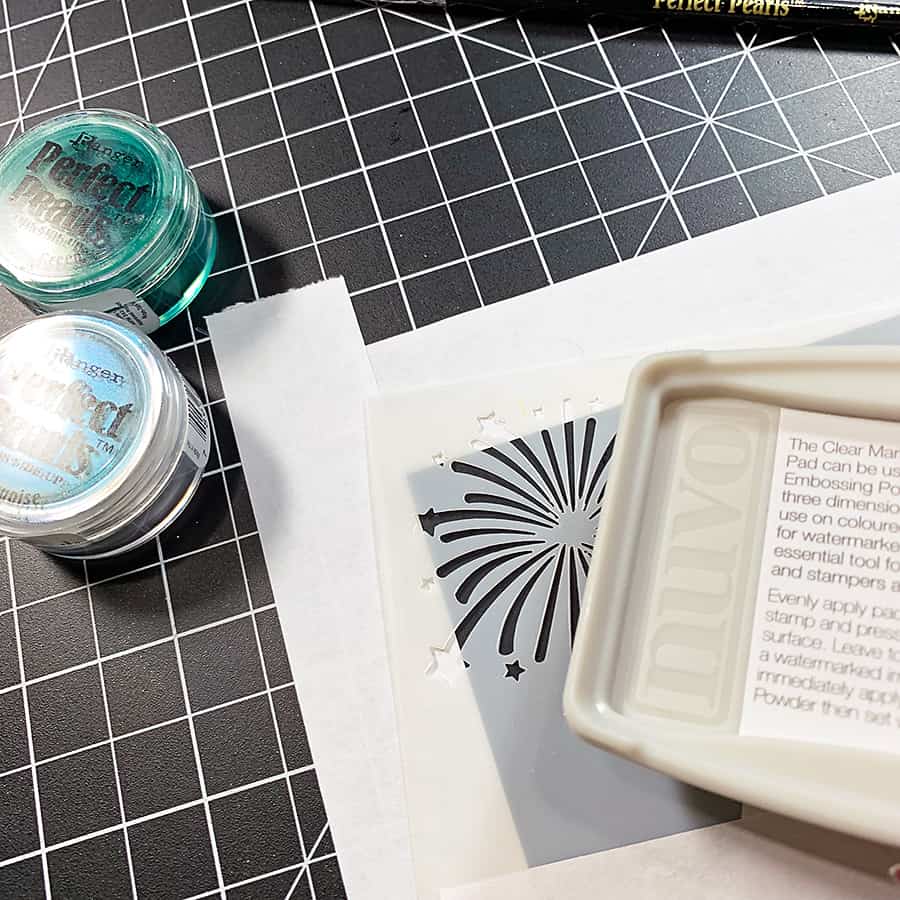
On to today’s project! I pulled out some black cardstock and taped it down to my craft mat. Then, I chose the top two fireworks on the stencil and used some Post-It® Tape to mask off the rest.
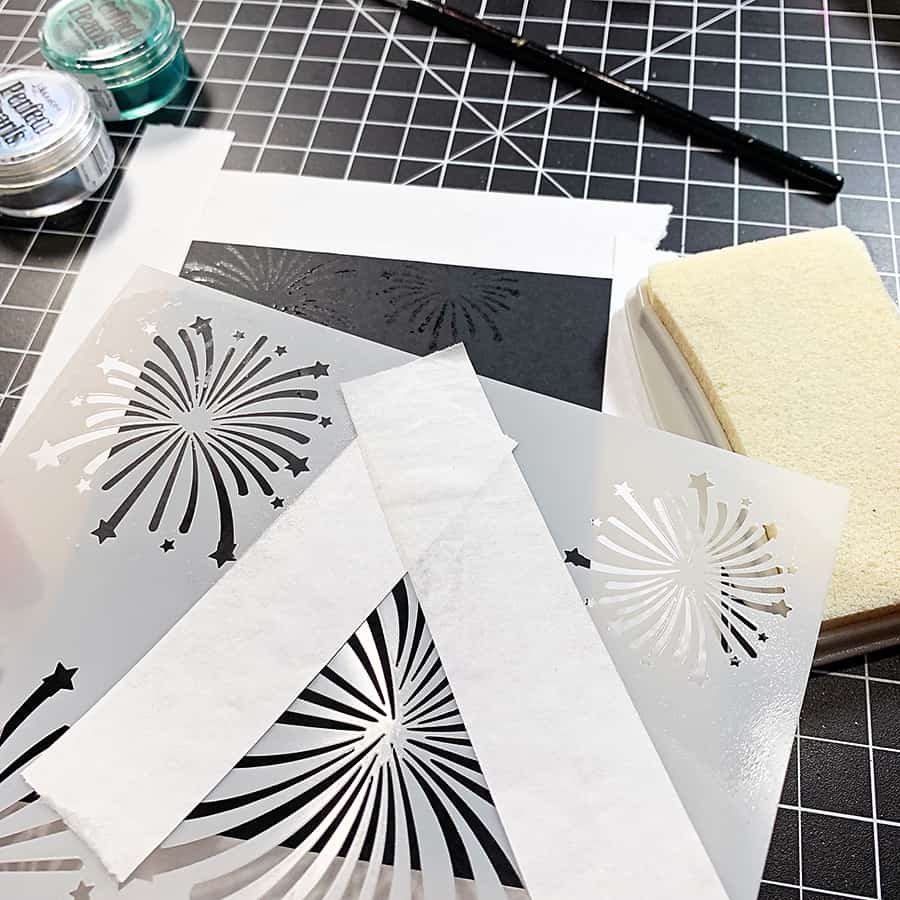
Instead of using Perfect Medium, I smooshed Nuvo Clear Mark right from the pad through the stencil. I didn’t tape down the stencil, I just held it as still as I could as I moved it around the card front.
It ended up looking something like this:
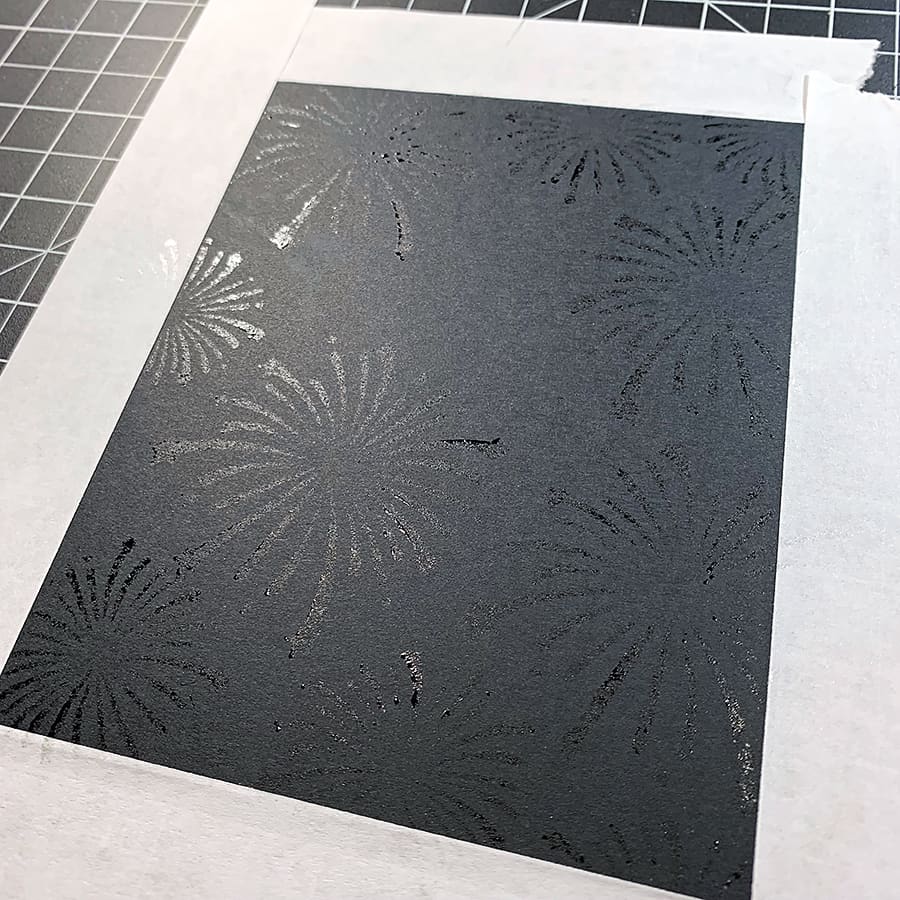
Even though it looks like the Clear Mark is drying, it’s still sticky. I got out my brushes and began buffing on the Perfect Pearls Powder. The colors I used are called Festival Green and Turquoise.
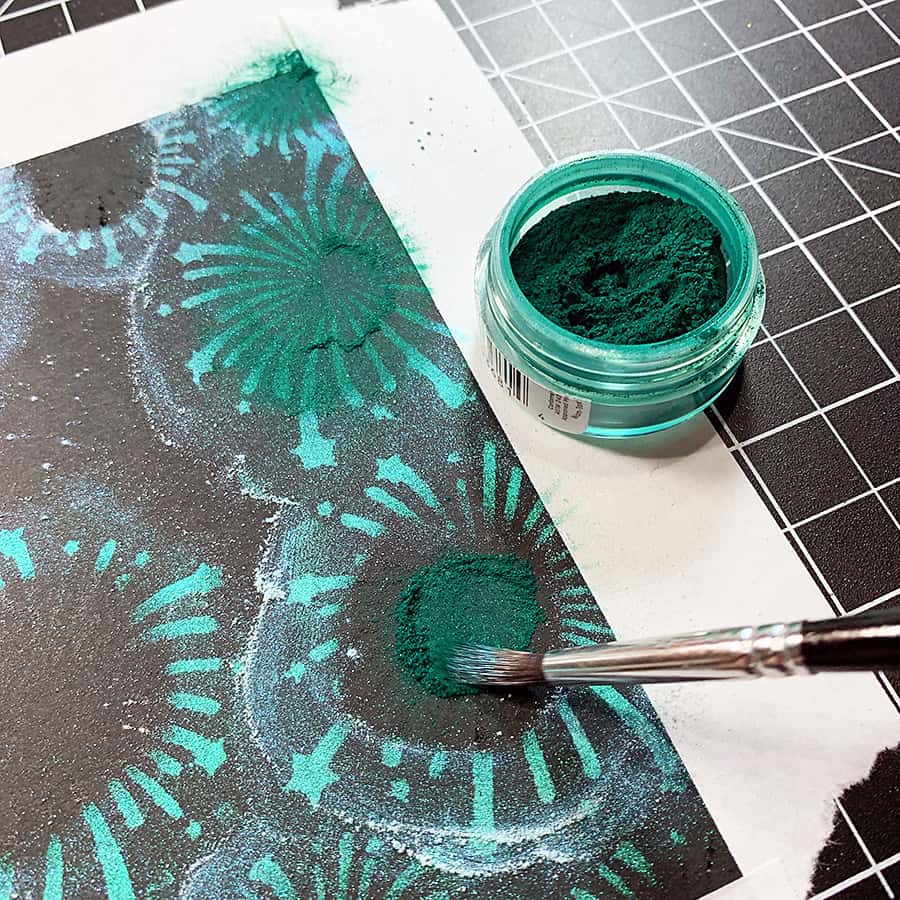
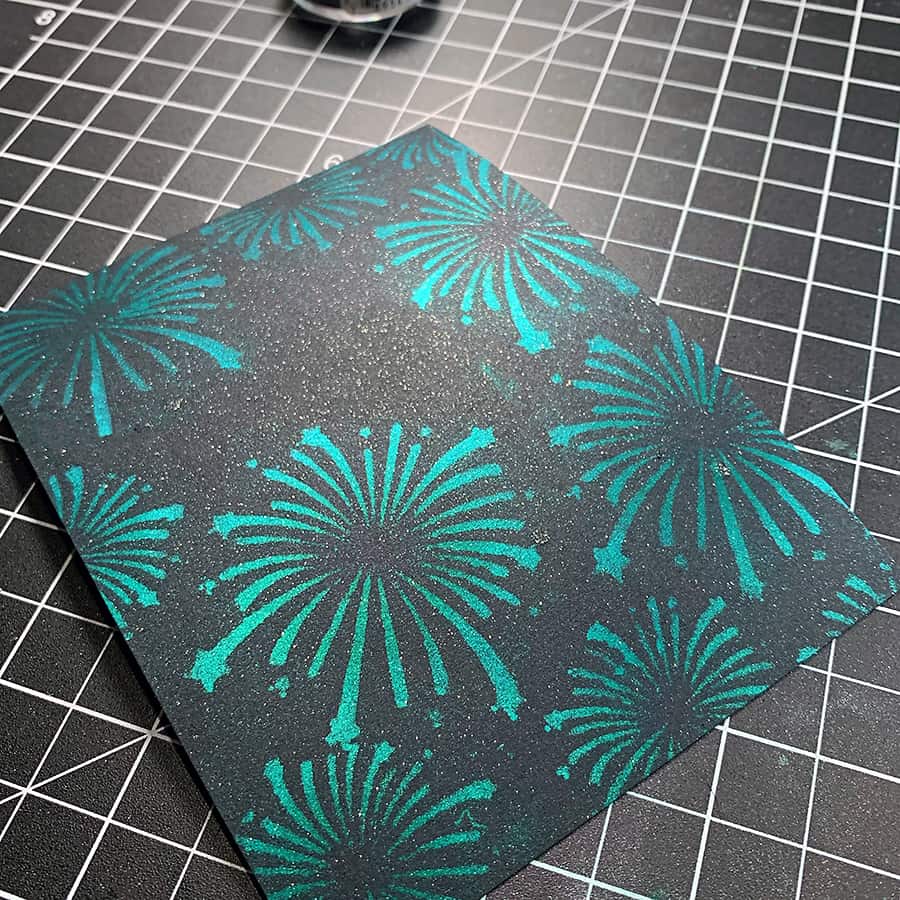
There’s no special way to apply the powder, just brush on what you need until all your stamped areas are filled in. There’s a bonding agent in the powder, so after you dust off the excess, your design will dry permanent.
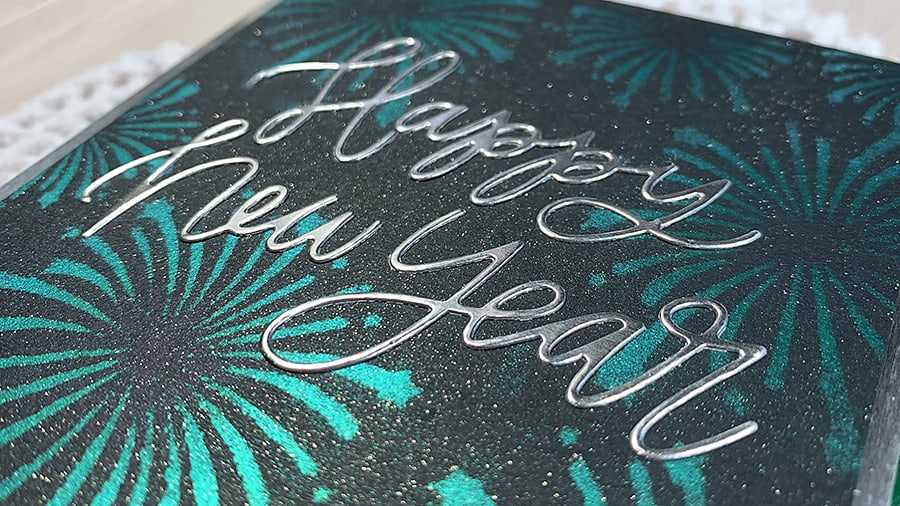
Once the background was done, I wanted more sparkle. To make that happen, I spritzed it with Shimmer Spritz and set it aside to dry.
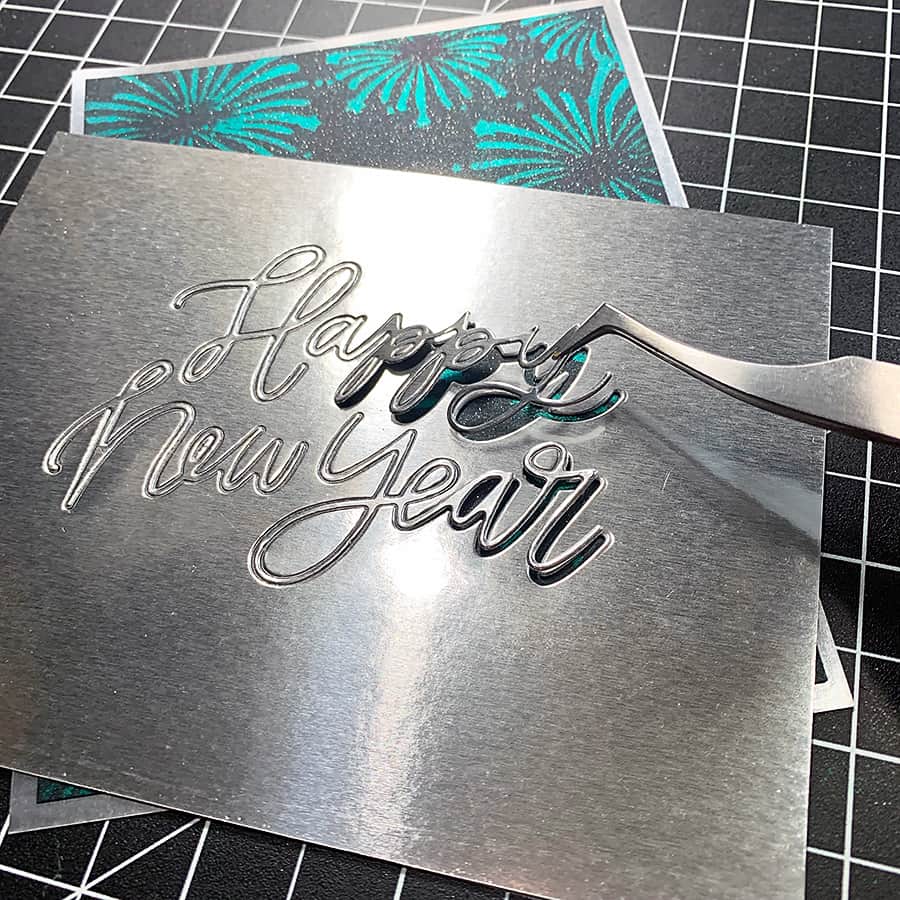
Meanwhile, I trimmed a 5-1/2” x 4-1/4” piece of the silver mirror cardstock for a mat, and die cut the sentiment from a similar cardstock I had in my stash.

Thanks so much for reading today!

PS – here’s another card I made with Perfect Pearls – go take a look!