Spellbinders Large Die of the Month | Fall Flora
Howdy! For today’s project, the lovely people at Spellbinders sent me a set from the Large Die of the Month Club Kit to experiment with. It’s called Fall Flora, and it is a beauty! There are lots of flowers and leaves, and what is now my new favorite pumpkin die.
I didn’t use the pumpkin on this card, though. I’m saving that for this weekend. I did, however, use nearly all of the floral dies to emboss a pattern – and at the same time, too 🙂

The Set Up
To use the dies for embossing, I arranged them out on a 4 1/4″ x 5 1/2″ scrap piece of veneer I had at my desk.
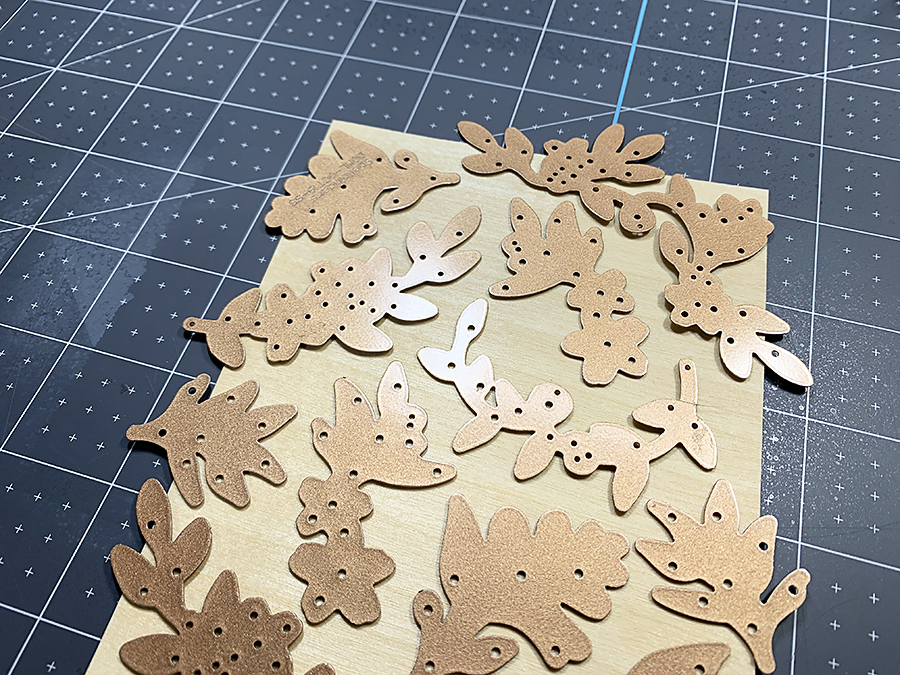
Once I was satisfied with the placement, I used a sheet of masking paper to pick everything up at once.
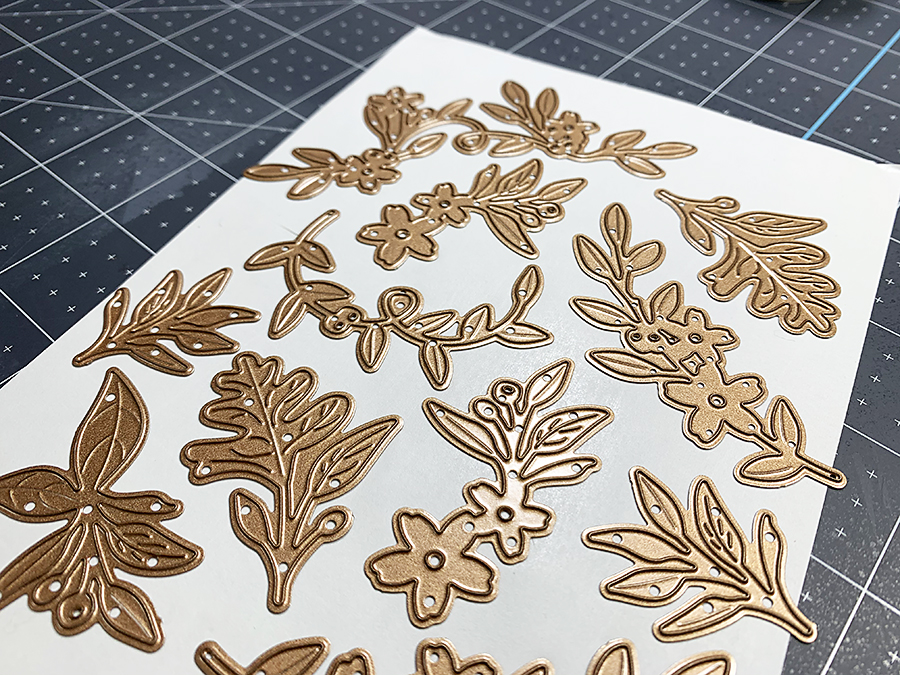
Then, I used the Platinum XL Embossing Plate and Mat in my machine to press them into my Basis Teal cardstock.
The sandwich is (starting from the bottom and building up):
- the platform,
- dies facing up,
- cardstock,
- embossing mat,
- embossing plate,
- and roll it through!
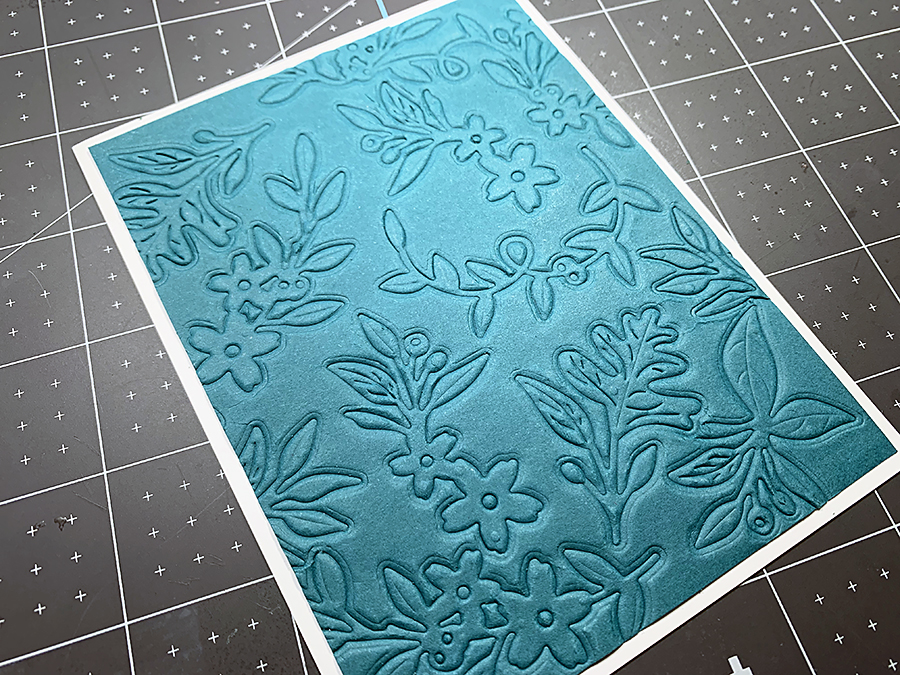
I trimmed down the teal cardstock to 4″ x 5 1/4″ and matted it on white cardstock before I moved on to the next step.
From Fall to Winter
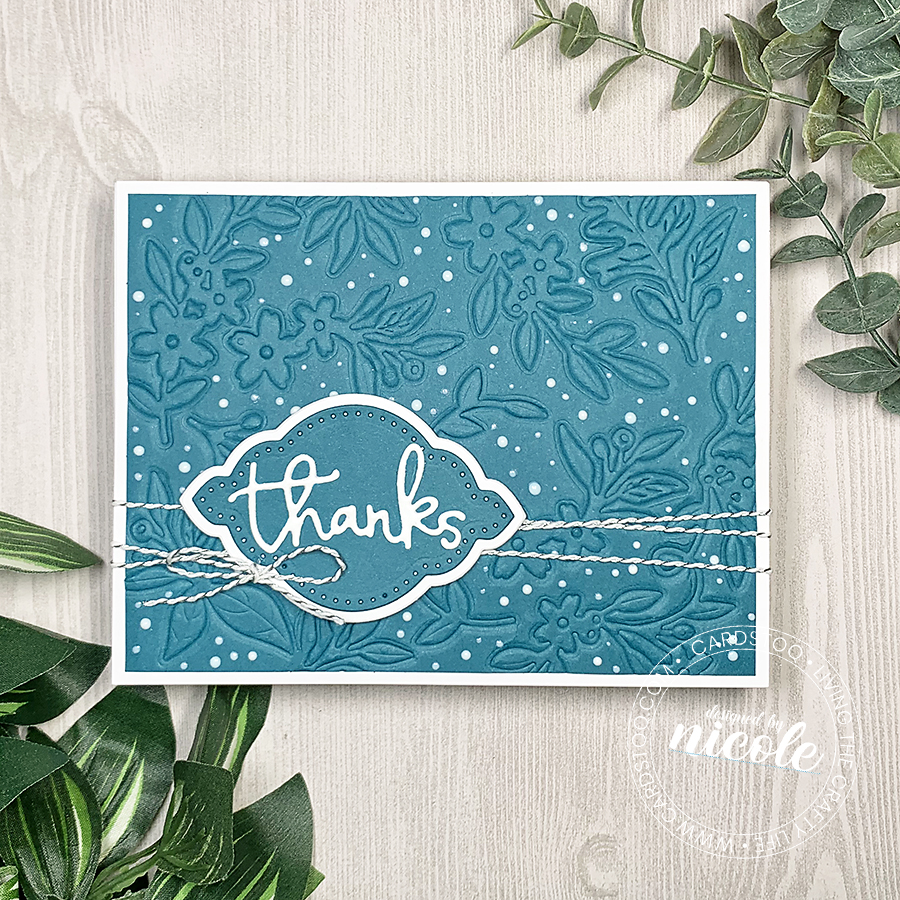
Even though this is an autumn-themed set, I decided to give it a more wintry feel. To do that, I added little beads of Nuvo Crystal Drops in Gloss White around the embossed leaves. It kinda looks like a light snowfall, doesn’t it?
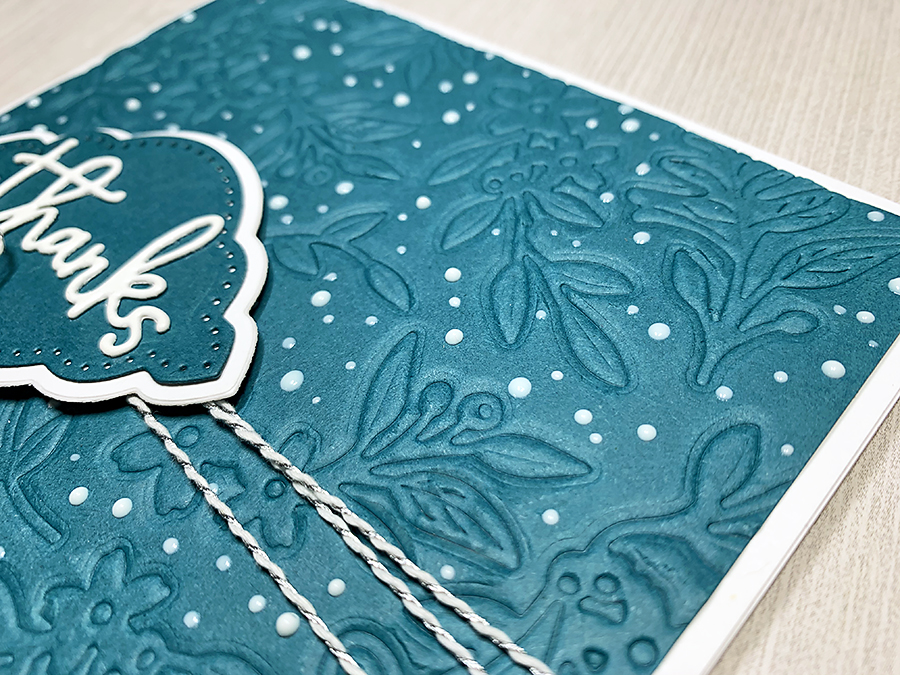
For the sentiment, I used the label dies that were included in the Fall Flora set, as well as the scripty “thanks.” I wanted the word to echo the gloss of the Nuvo drops, so I heat embossed it with three coats of Ranger Detail Embossing Powder in White.
Then, I adhered the “thanks” to the layered label with Aleene’s Fast Grab Tacky Glue.
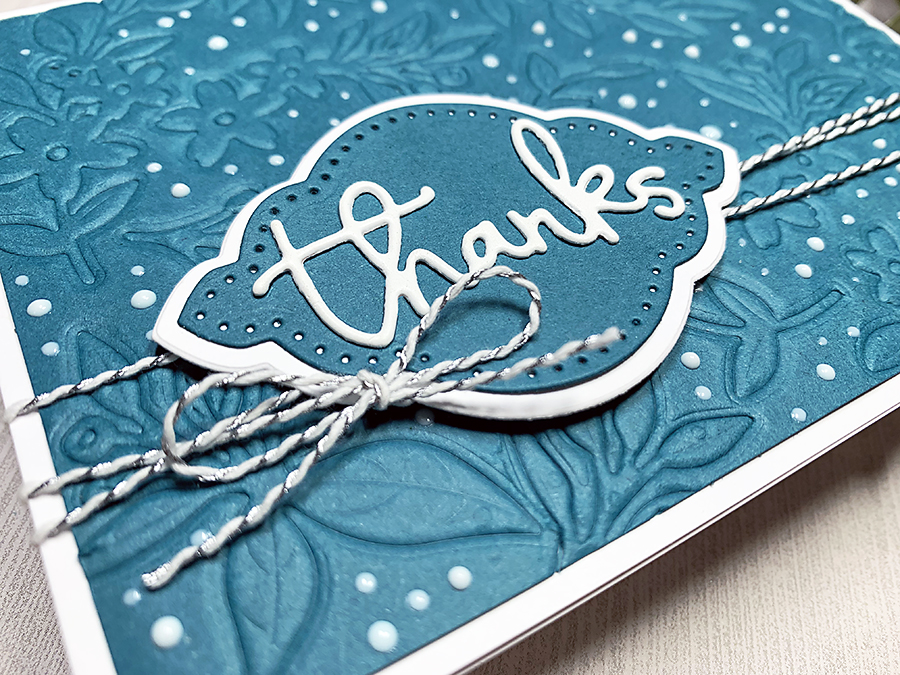
To finish up, I wrapped and tied a long piece of twine around my card front, then attached the sentiment label with foam squares.
You can do this technique with any dies you have in your stash!
Pro tip: run a test piece through your die machine. That’s to ensure your paper is thick enough, so the dies don’t accidentally cut through. The teal cardstock I used today is an 80lb cover weight, and it worked like a charm 🙂
Thanks for reading today! I’m glad you stopped by to check out the card I made with the Fall Flora kit from the Spellbinders Large Die of the Month Club. If you try out this technique, leave a link to your photo in the comments. I’d love to see what you make!

PS: Here’s another project from a previous Large Die of the Month Kit I think you’d like!