Signed & Faux Wax Sealed Card: Congratulations
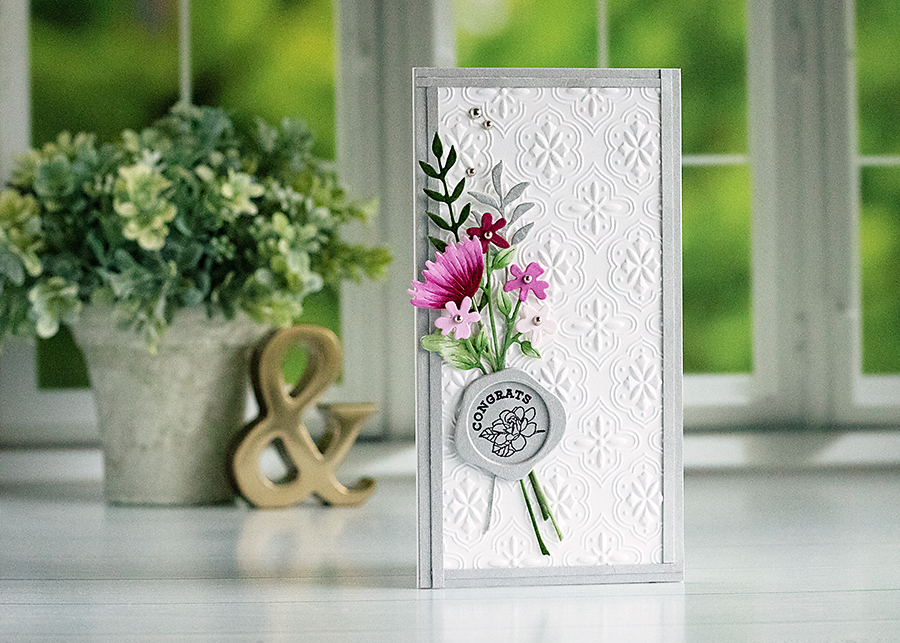
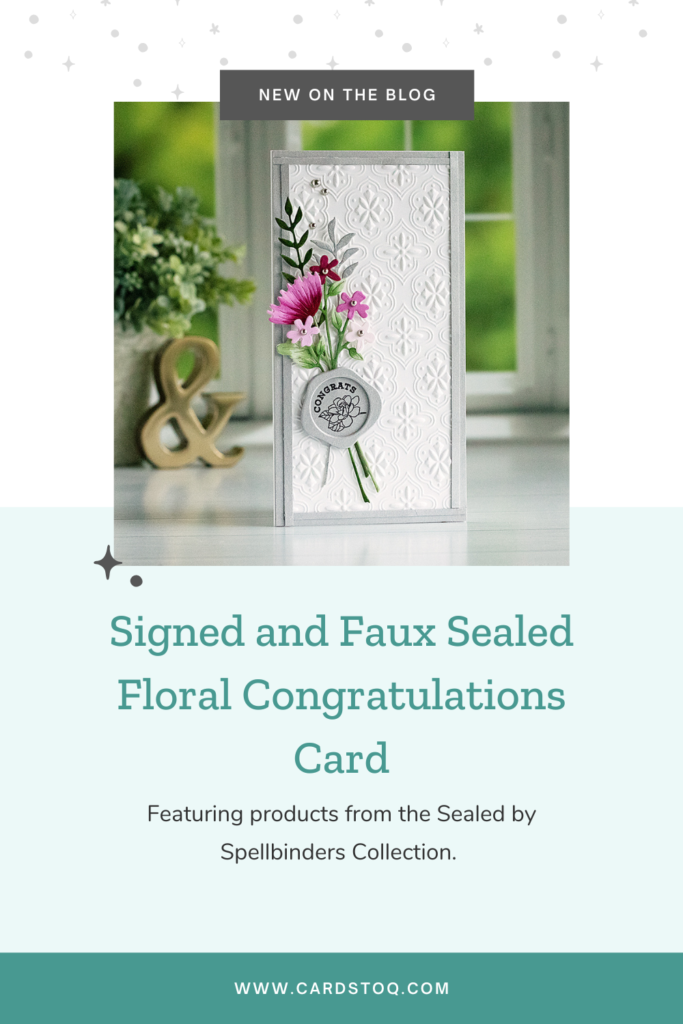
I love a pretty embellishment on a solid white background. And today’s faux wax sealed card is the perfect example.
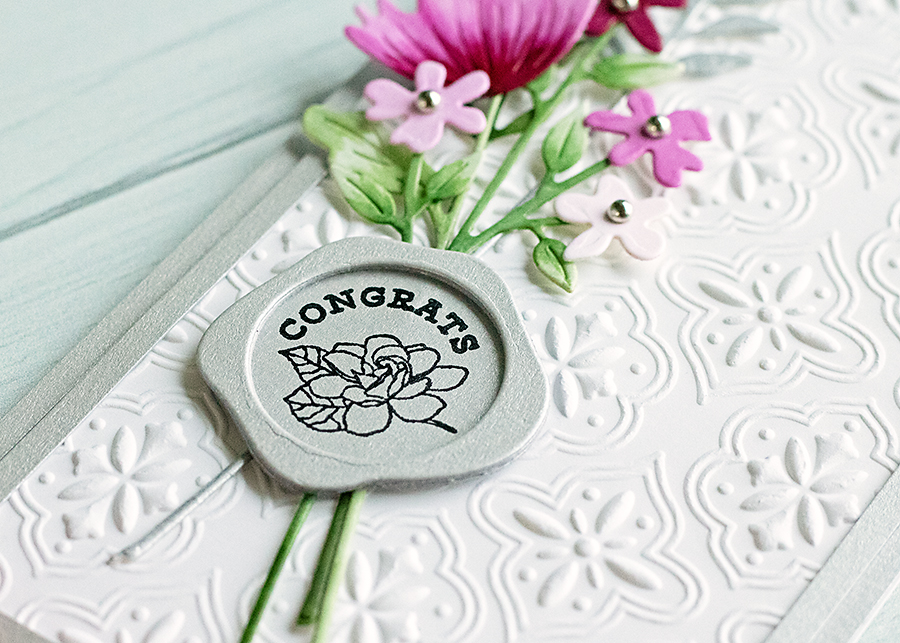
I say faux because I used a stamp and die set called Faux Wax Seals from Spellbinders to make the “seal” out of silver Stardream Metallic cardstock.
After stacking the edge three times for dimension, it looks like a pretty good stand-in for a wax seal. What do you think? I send many cards to Canada, so I always look for cute embellishments that won’t get smashed during the trip.
Choosing a Background Style
Now, there are a couple of ways to dress up a white background.
For example:
- Embossing paste. Adds lots of great textures and comes in lots of different finishes.
- Embossing powder. Adds spot shine and helps elements stand out against the background.
- Shimmer Spritz. Add subtle sparkle without all the glitter mess.
- Paper glaze. Leaves a super cool glossy finish like glass.
Of course, this isn’t an exhaustive list. There are tons of fancy mixed media products that you can use to dress up white cardstock without adding color. You can always use specialty white papers with fancy coatings, too.
In any case, My favorite thing to do is add texture with an embossing folder. The pattern I chose was from a Spellbinders folder called Tile Reflection. I used that one to ensure the paper would be tall enough to cut a mini slimline-sized card front.
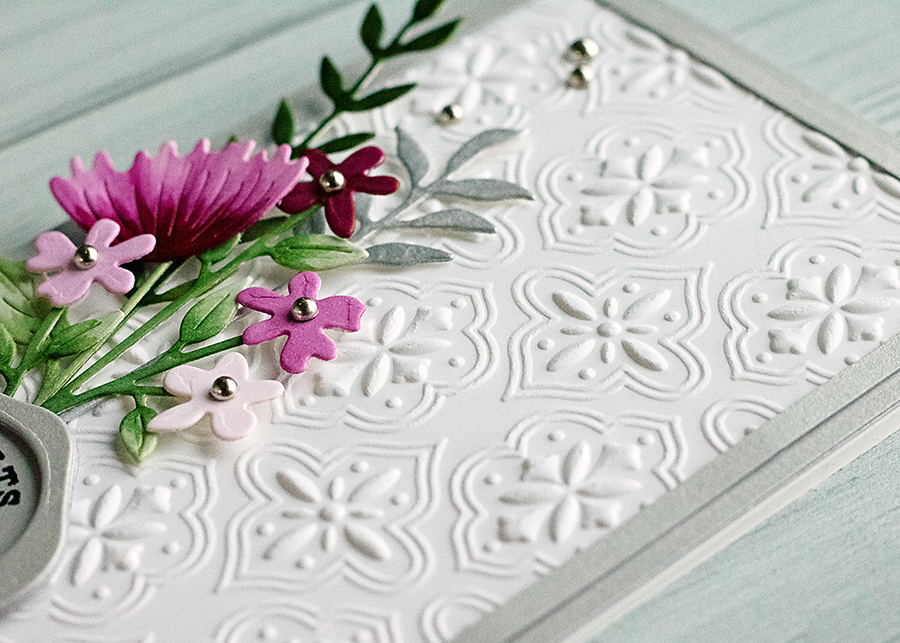
You can probably do it with a regular sized folder too, but I’m a clumsy person. Ha!
Coloring the Flowers
The flowers also come from a die set from Spellbinders. It’s called Sealed Wildflowers. The long, elegant stems go perfectly with a mini slimline style card. So pretty!
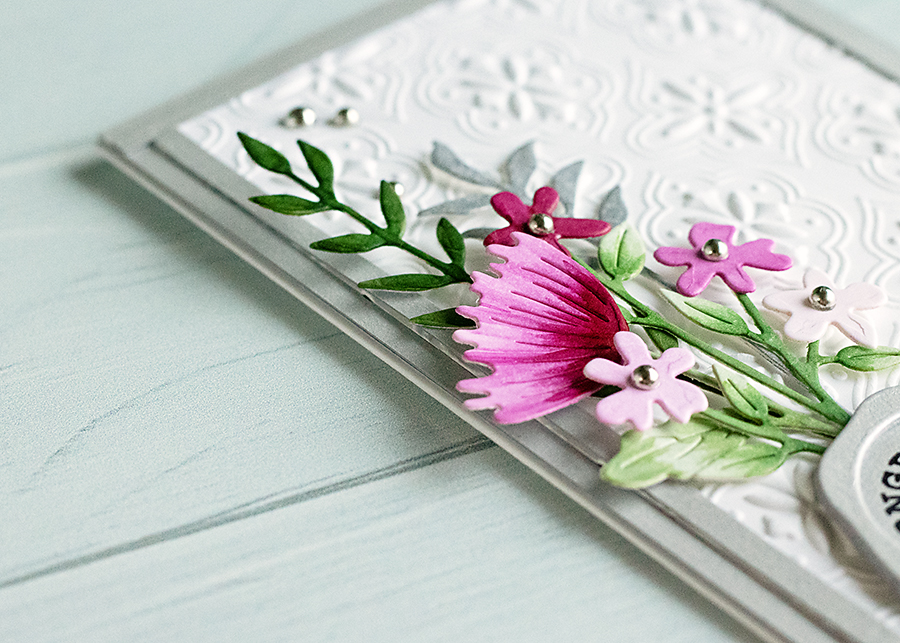
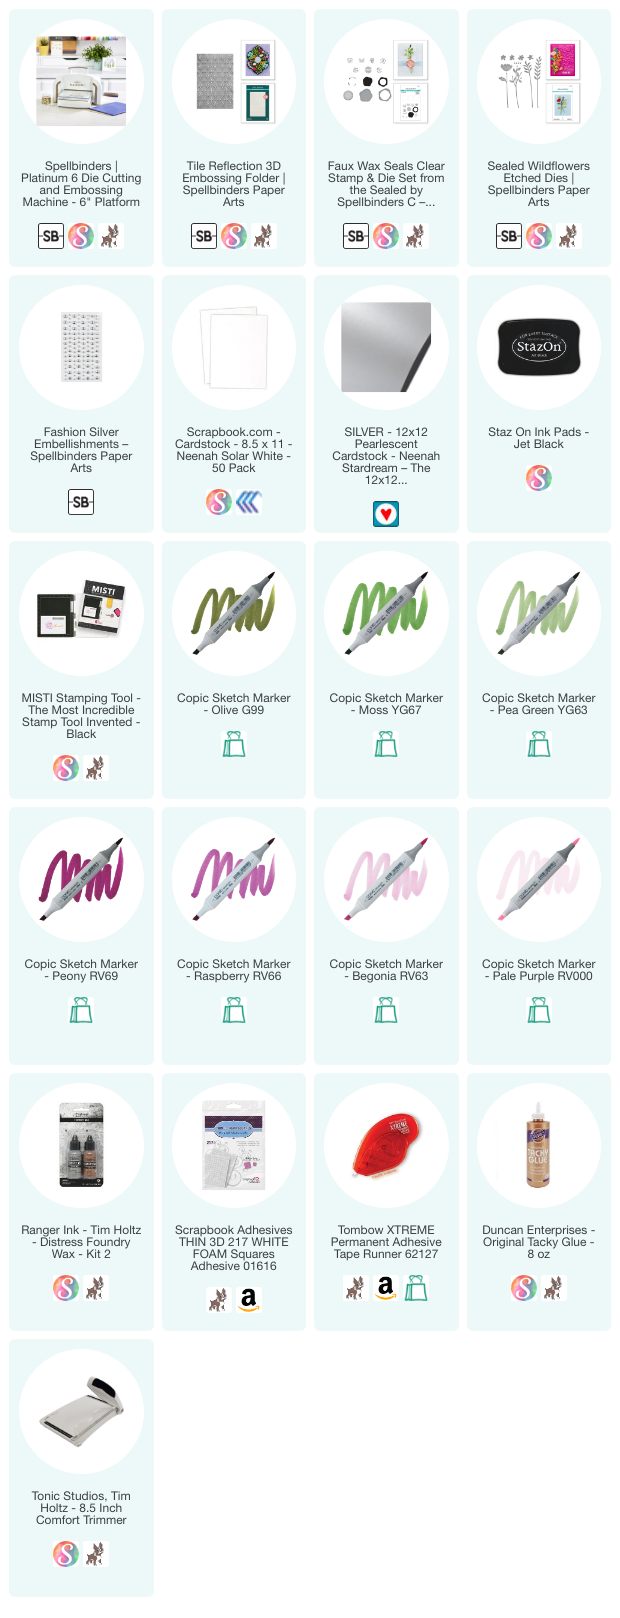
You can always diecut different shades of cardstock to build a bouquet like this. However, I chose to color them with Copic markers (I added links to them in the supplies section below).
The colors are:
- G99, YG67, YG63 for the stems
- RV000, RV63, RV66, RV69 for the flowers
For the silver sprig, I left it as white cardstock but added a coating of Ranger Foundry Wax in Sterling. I let it dry a bit, then polished it up with my finger. This was my first time test driving the Foundry Wax. I gotta say, it’s a pretty neat finish.
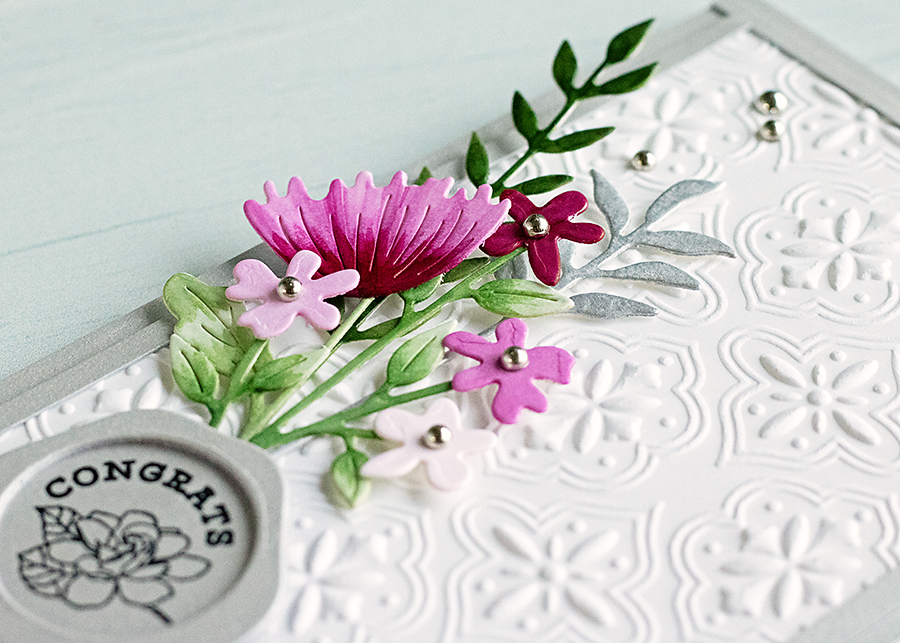
You’re probably wondering why I didn’t just cut it out of the silver cardstock I used for trim, right?
Well, at that point, I didn’t know there would be silver trim! I kinda wing it when putting cards together. Some come out good, others… not so much.
Full disclosure: A LOT of cards don’t come out great. If you have the same problem, don’t let it get you down. Anything easy isn’t worth doing.
Anyhow, to attach the flower stems to the embossed panel, I used a few thin foam squares. That added a bit more dimension without looking too, er… chunky? It makes me sad when I can still see a bunch of foam squares under embellishments, so these thin ones do the trick.
Once I chose the silver metallic cardstock for the trim, I felt it needed more silver. So I added a few polished silver gems to the flower centers and at the top for balance.
The Finished Card
And what you end up with is a delicate and feminine congrats card for your bestie!
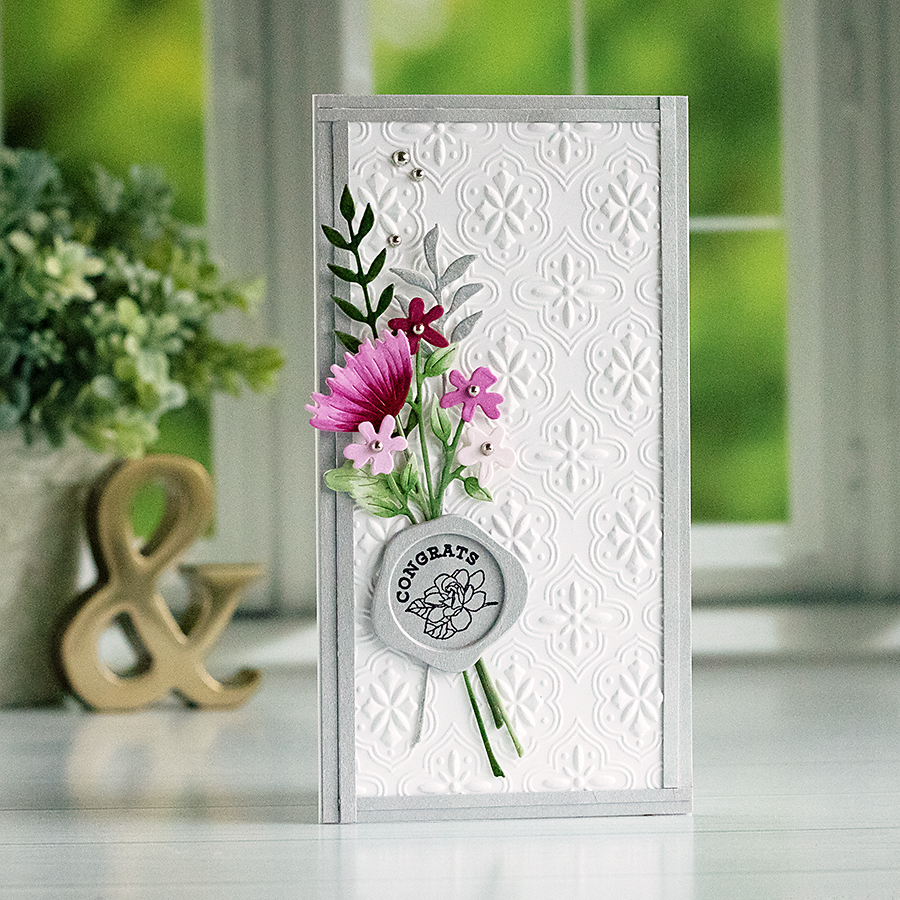
Thank you so much for reading today. Why not take a break from the holiday buzz and create a faux wax sealed card? Sales are going on now for the holiday season at Spellbinders, so pop over and pick out a few new favorites!

Mini slimline card size varies from manufacturer to manufacturer. In general, though, the usual mini slimline card size is 3.25 in x 6.25 in, or 8.25 cm x 15.88 cm.
Yes! And they require no additional postage unless they are heavily embellished or can’t bend a little (non-machineable).
A mini slimline card envelope is 3.63 inch x 6.50 inch envelope (9.21 cm x 16.51 cm).

