Quilled Coneflowers Card with Distress Ink
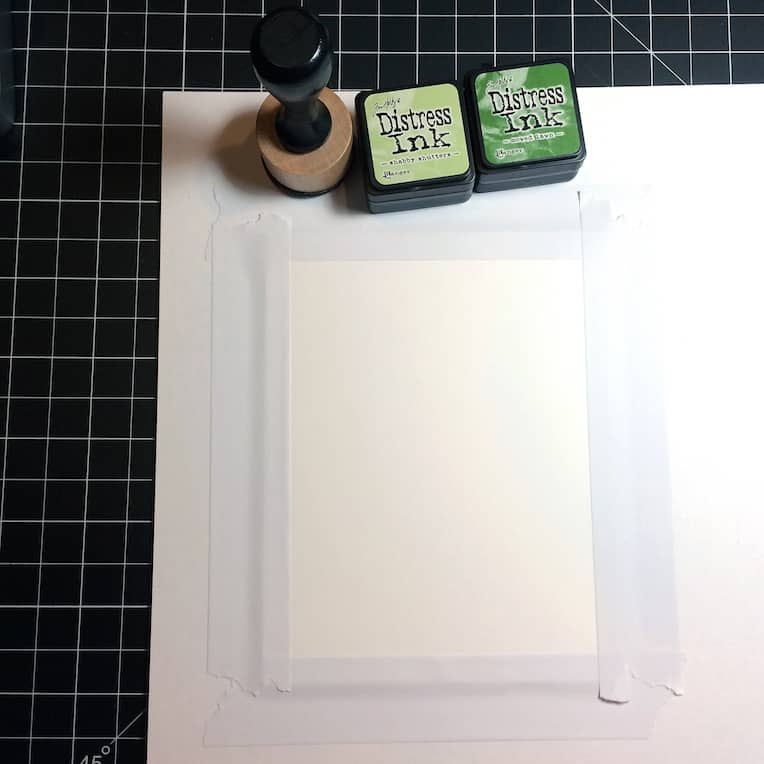
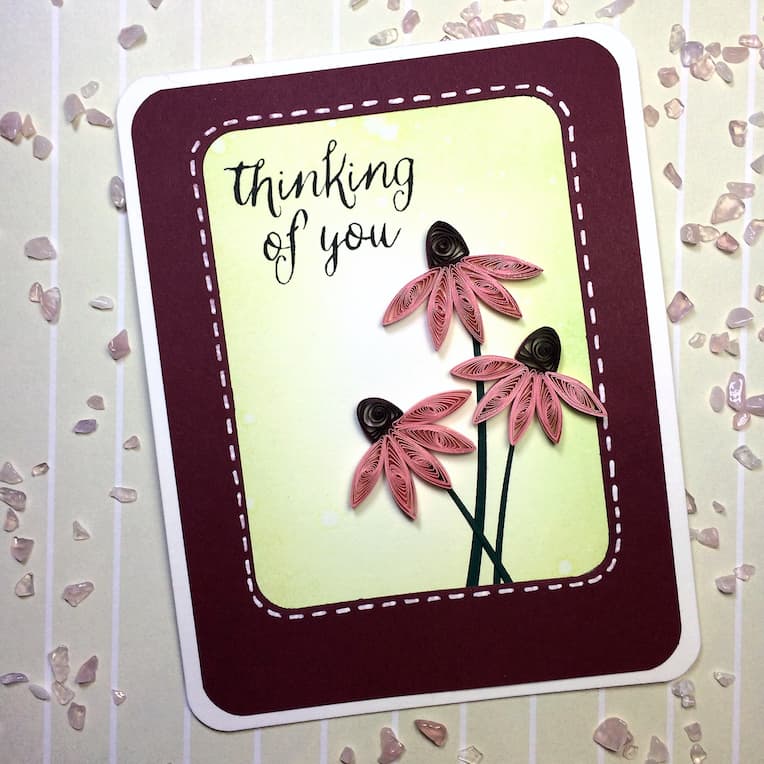
Today I decided to put together a card with quilled coneflowers for a friend. Since I didn’t have a background, out came the Distress Ink cubes. First thing I did was tape down my card base with a little Eclipse tape:
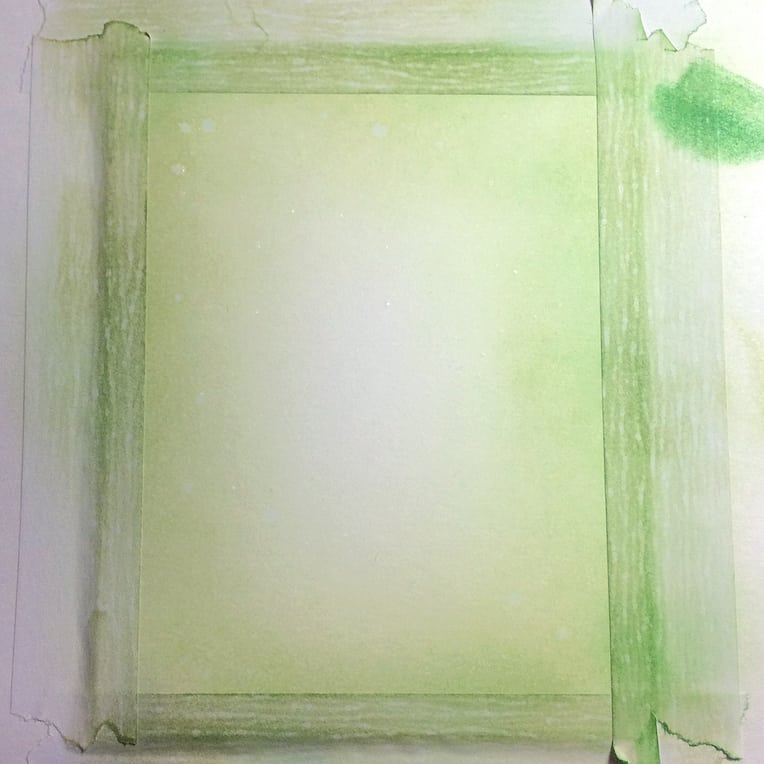
I started with the lighter of the two distress inks and gradually worked it in from the edges, leaving the center light. Then, I went in very carefully with the darker ink around the edges. I didn’t want to lay down too much of it because it was a kinda bright for the card; it needed just a little more of a green hue.
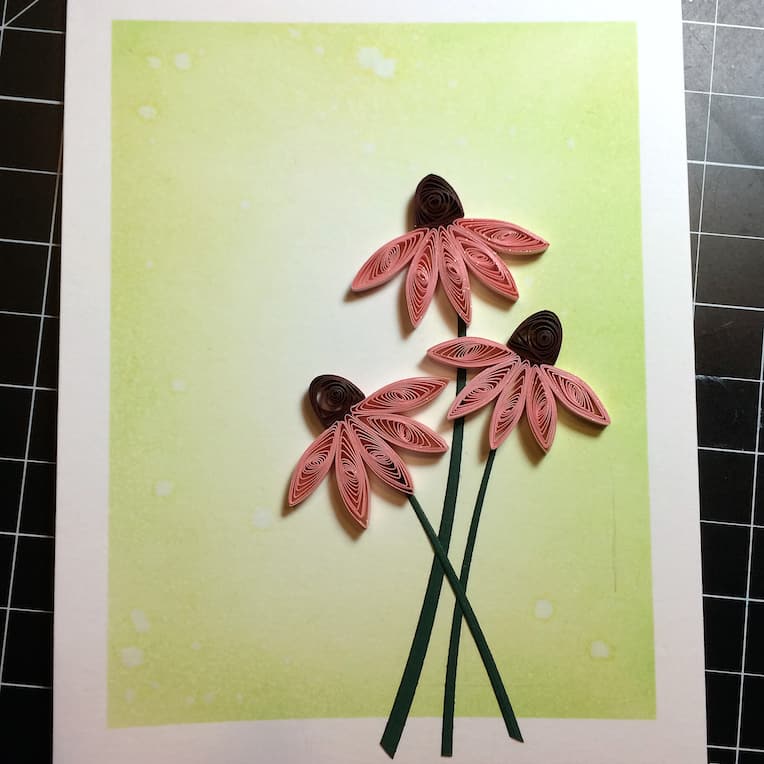
Once I finished inking, I dripped some water over the card by tapping off a paintbrush. Distress Inks will lift and move around when you add water to them. You can see in the top left corner where I just sprinkled a bit, and the ink is beginning to lighten 🙂 After the water was dried, I gently peeled up the tape.
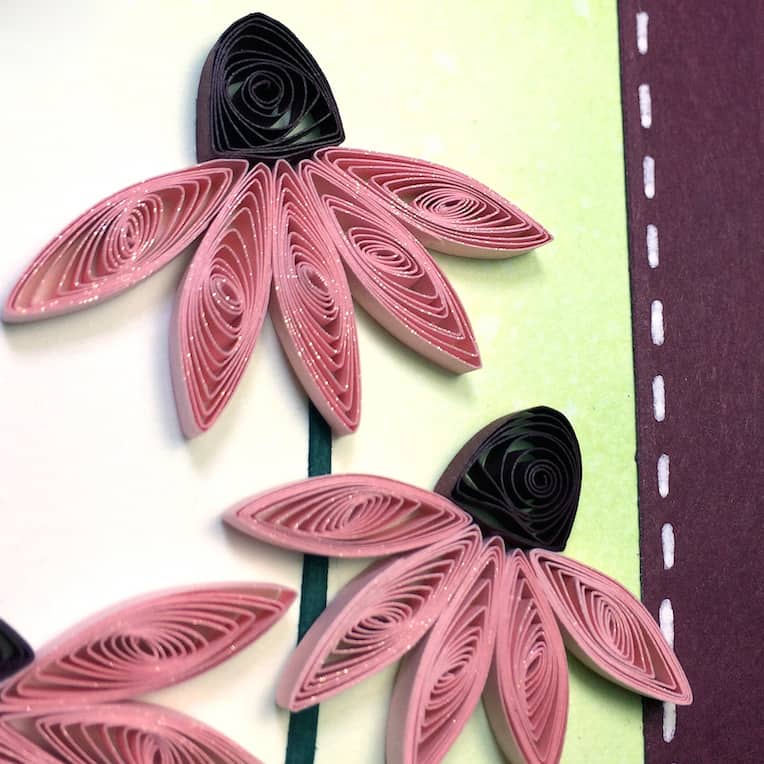
I had the quilled coneflowers ready to go before I started inking – they are made from 8″ strips of 1/8″ quilling paper; the centers are the same length and width, just shaped into a gumdrop. If you scroll down, you can see how I painted a bit of clear Wink of Stella over the petals.
I gotta say, I love those brush pens. It’s definitely a staple for your craft stash.
After I had settled on where to place the quilled coneflowers, I tried to draw the stems lightly with a pencil. Ha! Let’s just say that didn’t work, so I tried a different method:
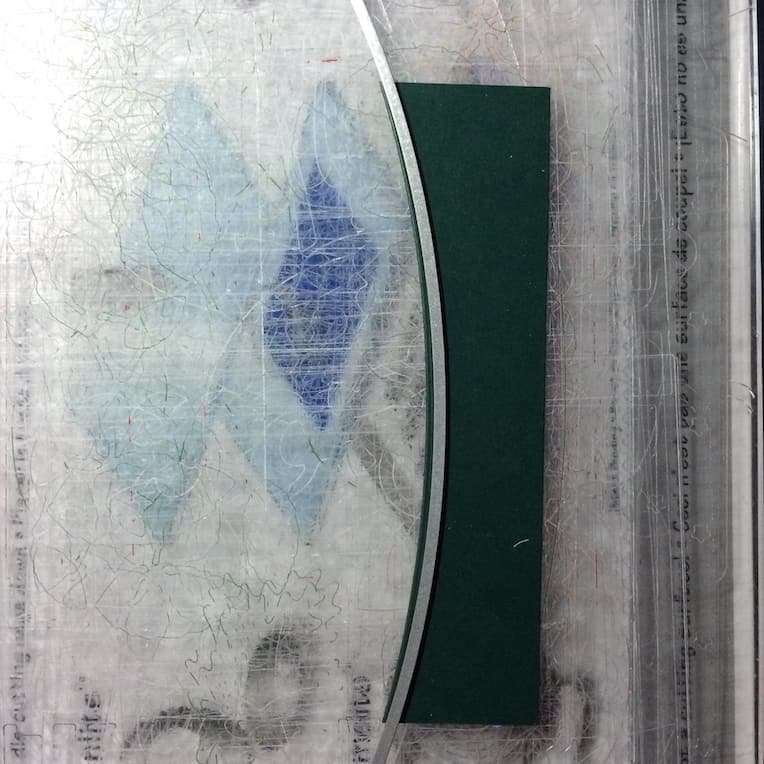
This is the Curved Edge die from Simon Says Stamp. I got some scrap cardstock in dark green and die cut skinny pieces to make stems. I use a magnetic platform to hold my dies in place, but if you don’t have one of those some Post-It tape works just fine.
Using this die would be a pretty neat way to make the “string” in a banner for the front of your cards, too. You can mail them without all the lumps and bumps from real strings and twines. 🙂
Next, I cut a 4″x 5.25″ piece of burgundy cardstock and rounded the edges. Using the rounded rectangle die from the Project Life collection, I die cut the frame for my flowers and finished the edge with a little faux stitching, courtesy of a white Signo gel pen.
I adhered the frame down flat this time instead of my usual foam squares because I wanted the rightmost flower to overlap the frame slightly. Since I had glued the flowers down at only the center where the petals meet, it was easy to slip the frame just underneath. I stamped a sentiment from the Summer Garden set, and then rounded the rest of the corners to finish my card.
Thanks for stopping by to check out my quilled coneflowers. Do you add freehand borders around your edges? Leave me a comment below and tell me what’s your favorite way of finishing a die cut!


