Making a Paper Tassel with Quilling Paper
On my last shopping trip, I noticed a growing number of products with tassels on them – especially handbags and necklaces. I love tassels, so today I thought I’d try making a paper tassel as a decoration for a gift for a friend of mine.
There are a couple of different ways I could have gone about making a paper tassel; the most popular technique involving a wide strip of paper that’s been fringed and rolled up, like this one I made last year:
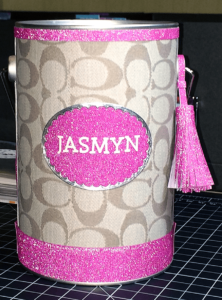
You can buy specialty scissors to fringe paper (if your tassel is going to be big enough to use them). But, if you are making a smaller paper tassel or don’t have the fancy scissors, you are pretty much left with having to cut each fringe by hand. That can take up a lot of time, so I opted to use quilling paper instead.
This post will be a little photo heavy – bear with me 🙂
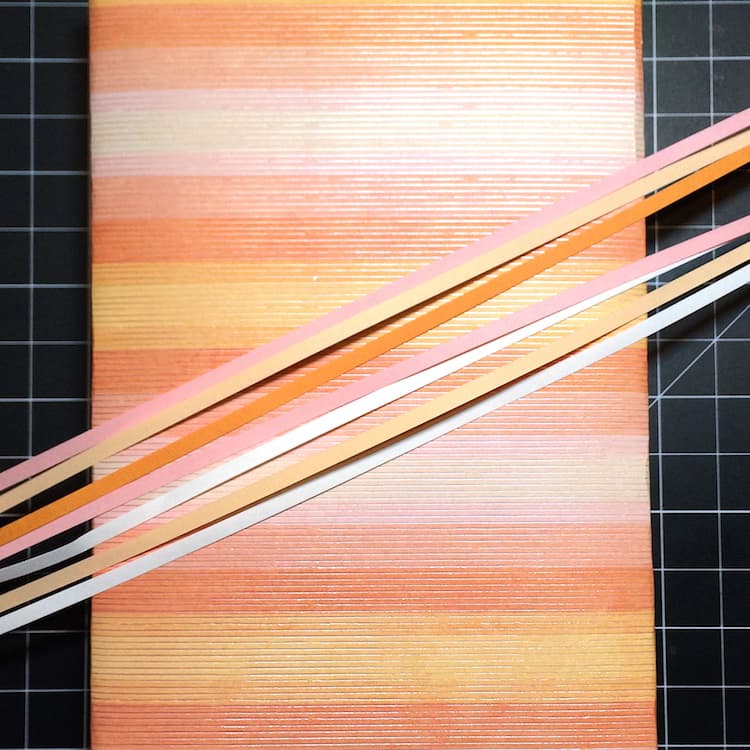
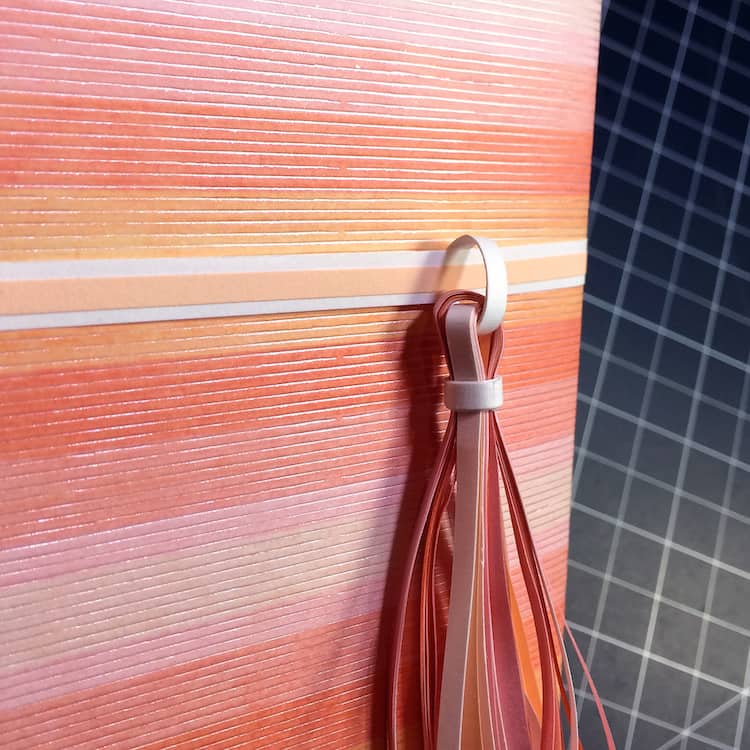
The first thing I did was to match up my strips on my wrapping paper. You can pick contrasting hues to add a bit more interest, or you can go for coordinating colors (like I did):
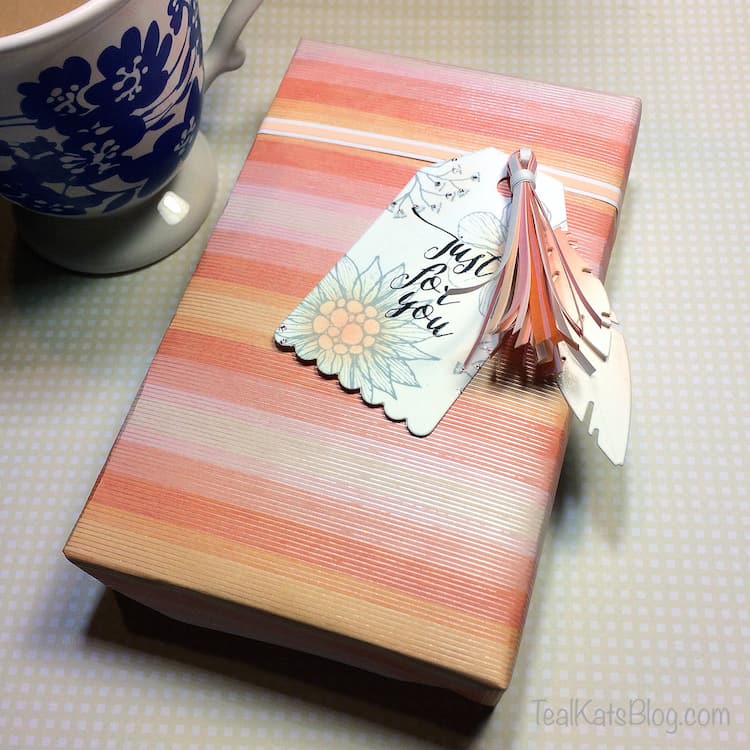
For those of you interested in the wrapping paper, it’s not actual wrapping paper – it’s a sheet of scrapbooking paper from SEI’s Mia Bella Collection. It reminded me of lazy summer afternoons, so I thought it perfect for the gift inside. It’s a book. I can say that because I know the recipient won’t read this until after she gets it.
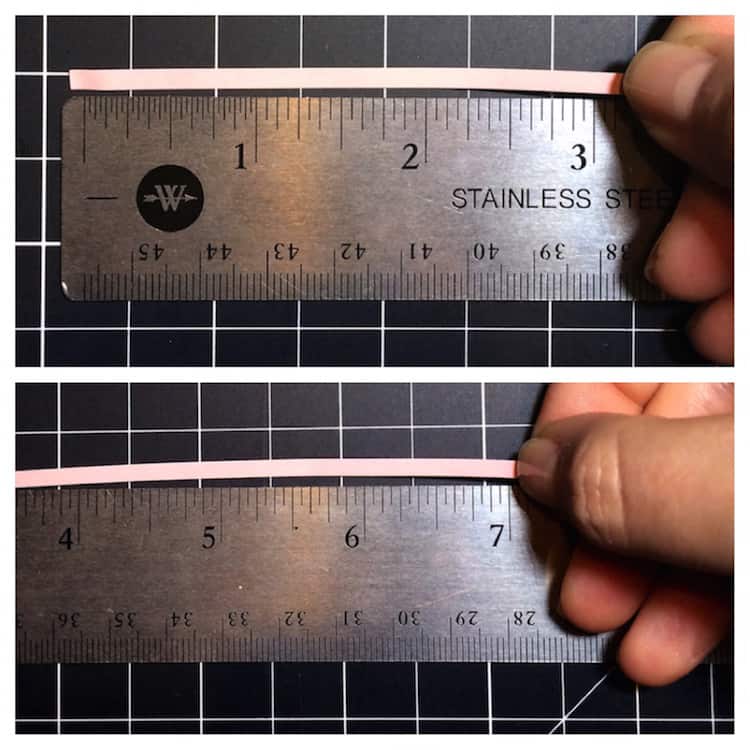
To start out, decide how long you want your tassel to be. I chose 3″ because I can always trim it down if I want a shorter, fluffier one. Take that number, then double it and add an extra inch. In my case, the lengths of quilling paper I’ll be cutting is 7″.
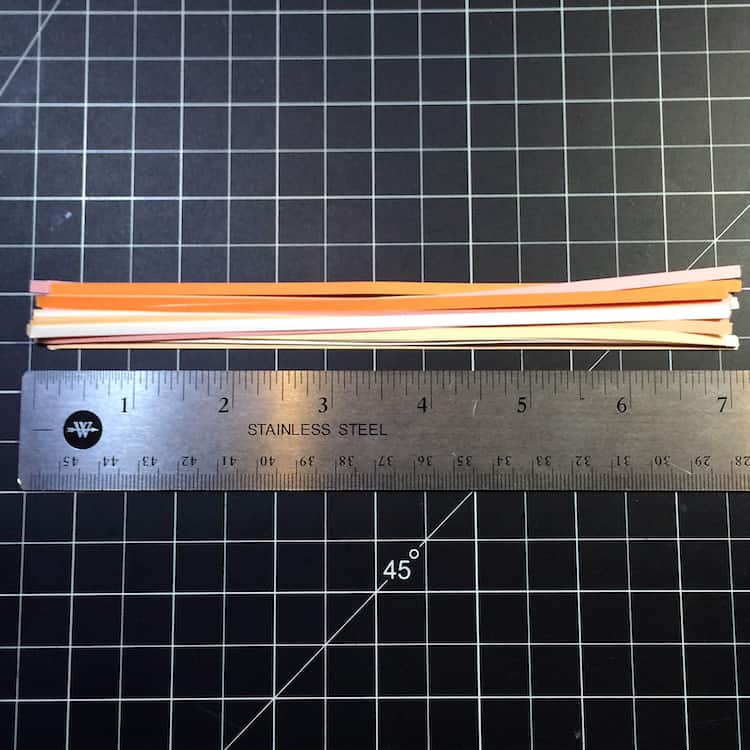
The next question is, how many strips do you cut? I used three different colors, with nine pieces of each color – so about 27 to 30 seven-inch pieces ought to be fine. If you want your tassel to be a little thicker, just add a few more strips.
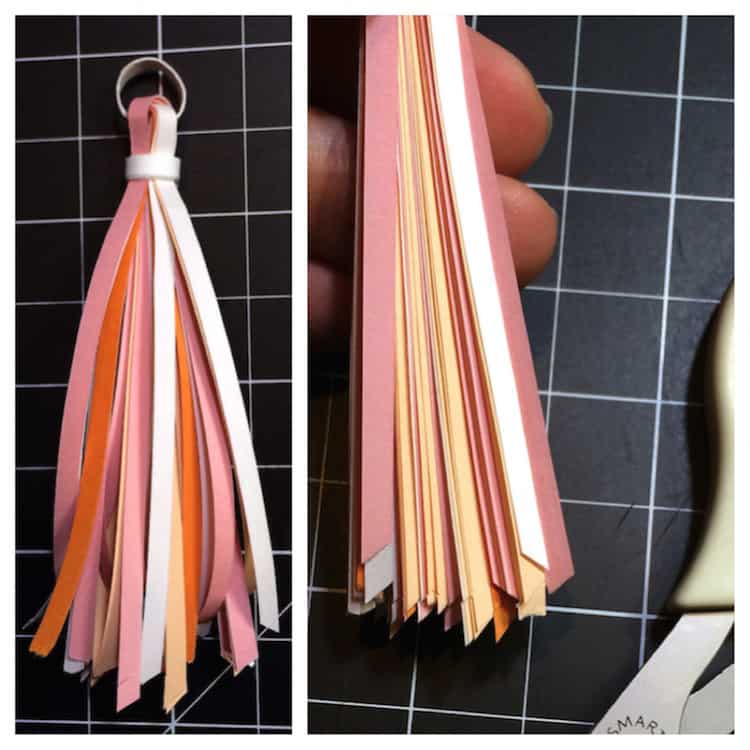
Lay those aside and tear off two pieces of white quilling paper, about 4″ to 5″. Wrap one around a pen, quilling tool handle, or your little finger to make an open loop and glue the end. Bunch your tassel strips together and slide them into the ring as shown. Try to get the ring to about the halfway point. Next, you’ll need to fold your paper bundle over it to secure the top.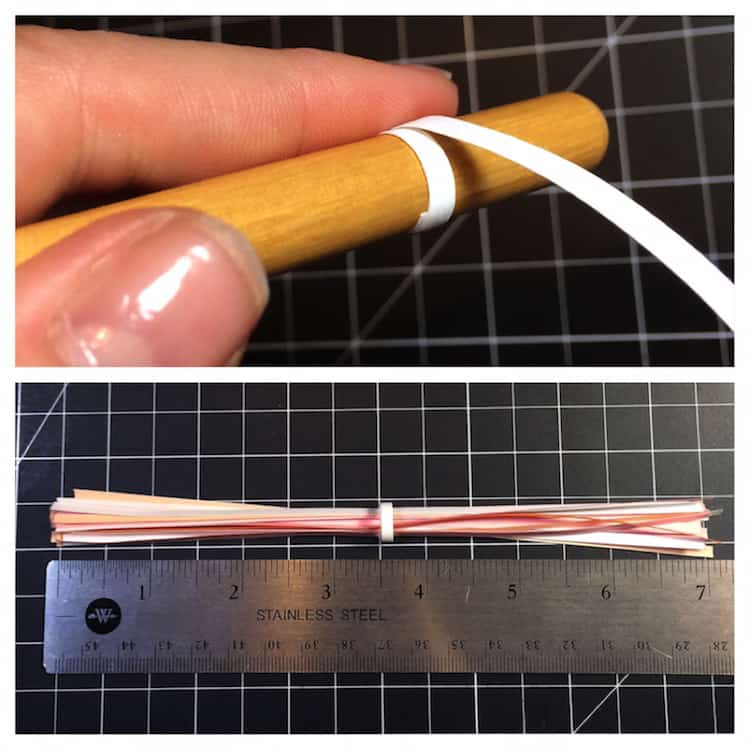
The easiest way to do it is to fold them down over either side of your finger with the ring on the top. They will naturally want to stack together on top of the other; turn a few so they create an X shape through the ring.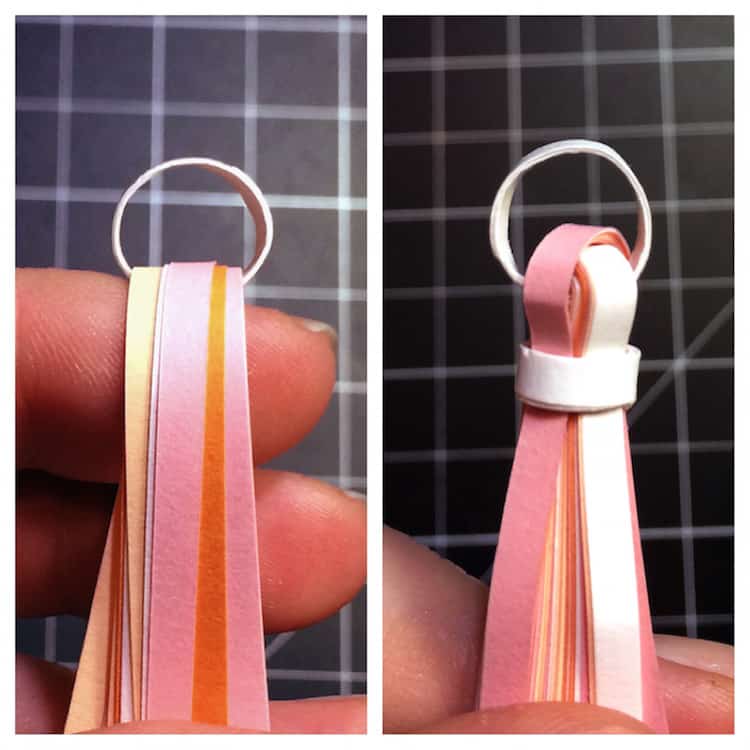
Now for the tricky part. Grab the other piece of white quilling paper you ripped off. Put a tiny dab of glue on one end and adhere it to one of the strips of the tassel part, right where you want your band to be (this should be about 0.5″ below the ring). Once it has dried a little, begin wrapping it snugly around all the strips. Use another dab of glue to secure the end.
Trim your ends however you like and to the length you want. Quilling strips are meant to be curled, so it’s easy to put a bend in them. If you want you can leave them straight, but I shaped mine with my fingers, just to add a little fullness. You can then attach your completed tassel to your project.
There are a bunch of ways you can do that too; the fuss-free way is to loop it through another full-length quilling strip and use it as a band:
Of course, there’s no reason you can’t snip open the ring and add extra things together with the tassel. You can simply re-glue the ring closed and hide the seam.
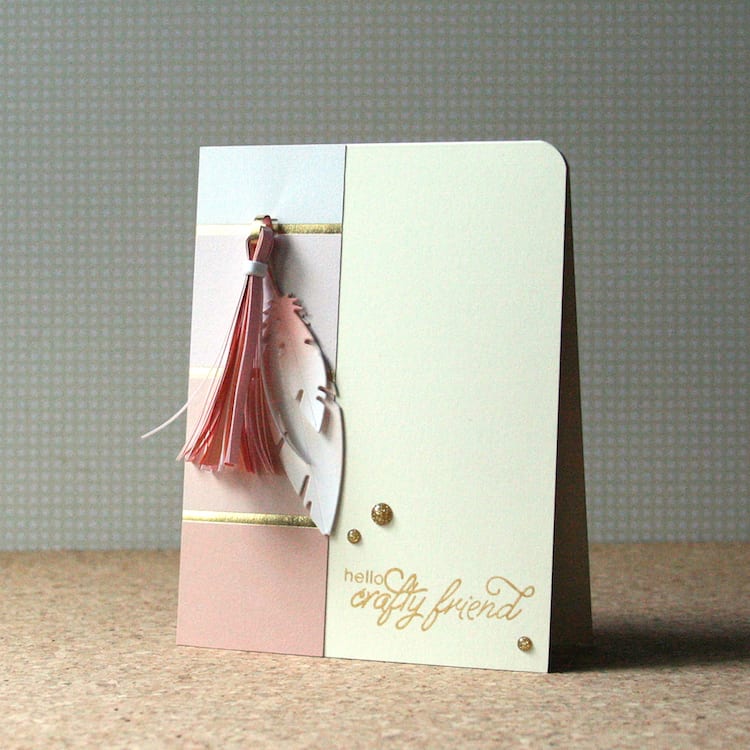
Or add it to a card 🙂
And there you have it – another way to use up the quilling paper in your stash. Thanks for stopping in to see how to make a paper tassel!
Do you use quilling paper for something other than quilling? Leave a comment below and tell me how you incorporate them into your projects!
