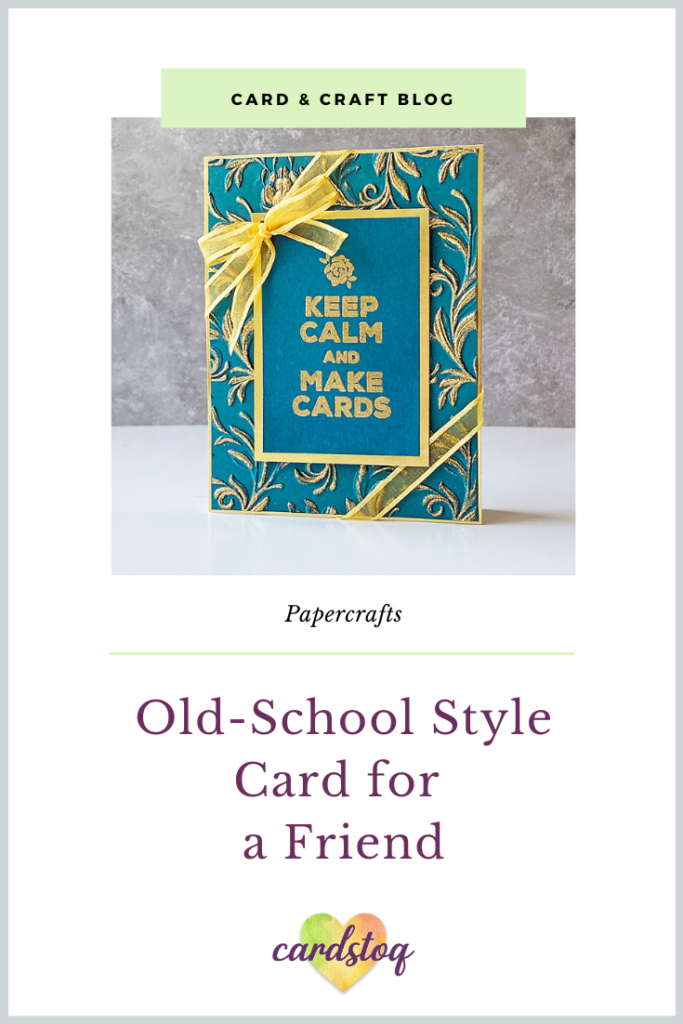
Old-School Style Card for a Friend
Hello hello! Today I have an old-school style card for you. What’s old-school, you ask? It’s a throwback to more traditional paper crafting decorations. For example, eyelets, ribbons, stitching, and other general scrapbook embellishments. That’s the challenge for this week at the Make The Cards Challenge!
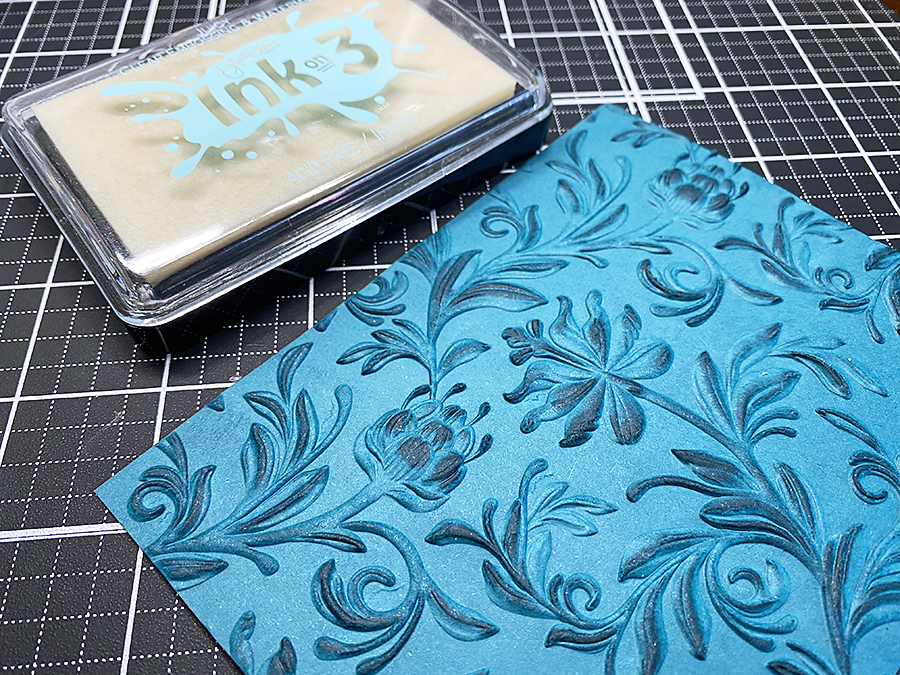
So, I thought I would start with one of my favorite embossing folders for my guest design submission. It’s from Tim Holtz and is called Botanical. There’s even a mini version of it that will fit your Sidekick, too, if you fall in love with the pattern 🙂
Make the Card
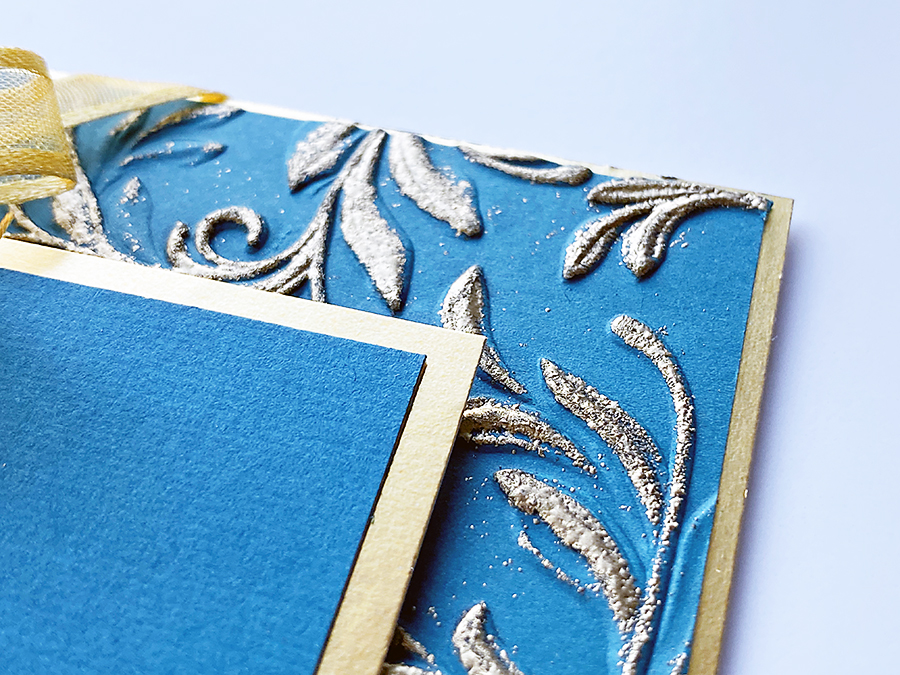
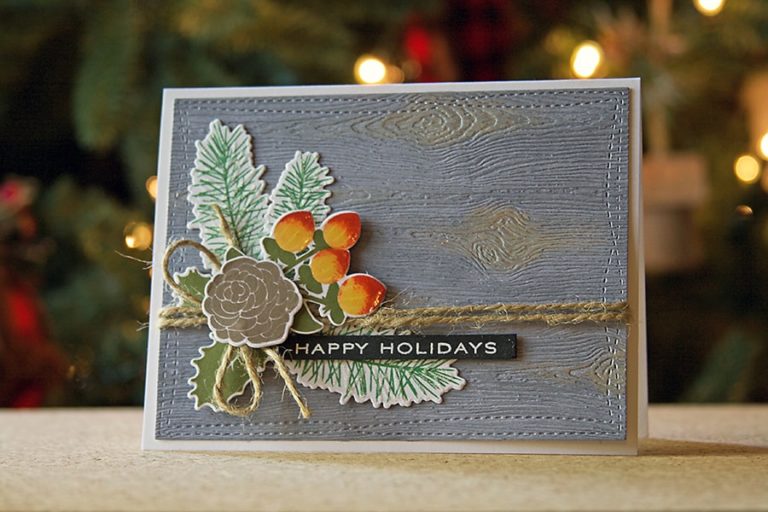
To get started, I embossed a piece of teal cardstock with the folder, then brushed a little bit of InkOn3 embossing ink over the raised areas. There was no need to hit every spot; I was going for a bit of a messy, aged look for the background.
Next, I sprinkled Princess Gold embossing powder over the panel and heated it until everything melted. Isn’t that gorgeous?! I love teal & gold together. Obsessed!
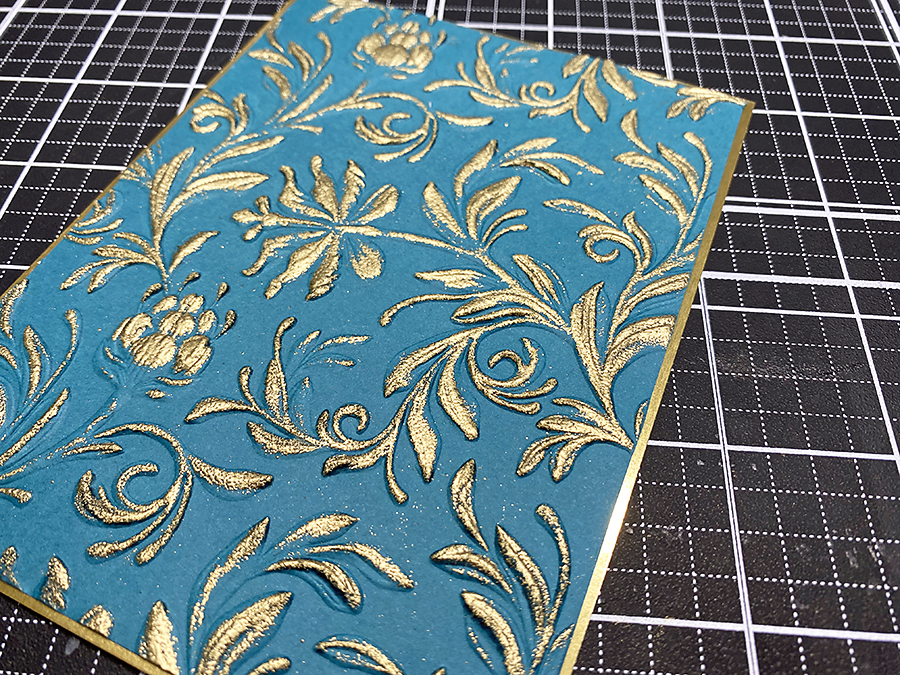
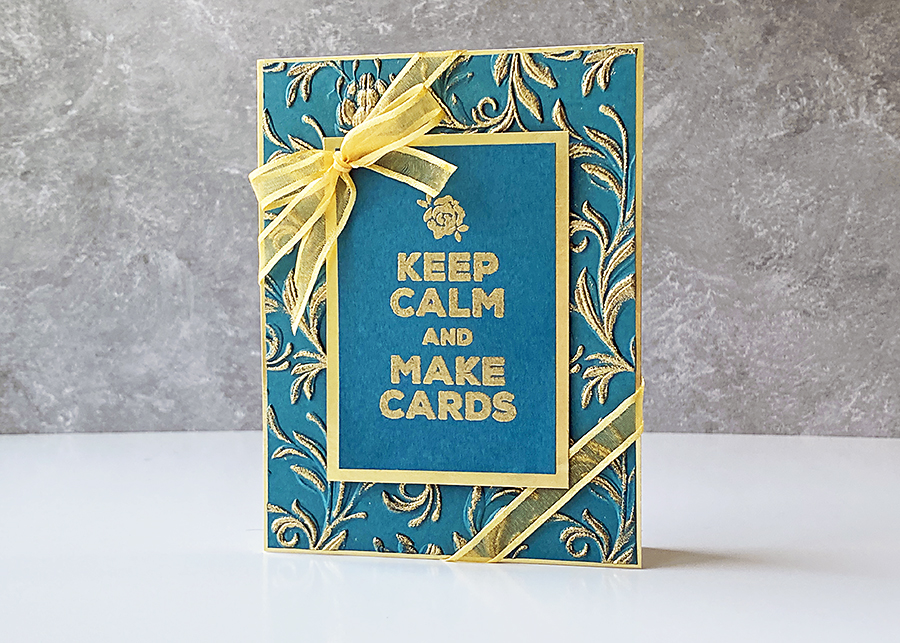
Then for the trim around the teal panel, I cut a piece of cardstock in Currency Gold from CutCardStock. After that, I did the same thing for the centerpiece, which was to be for the sentiment.
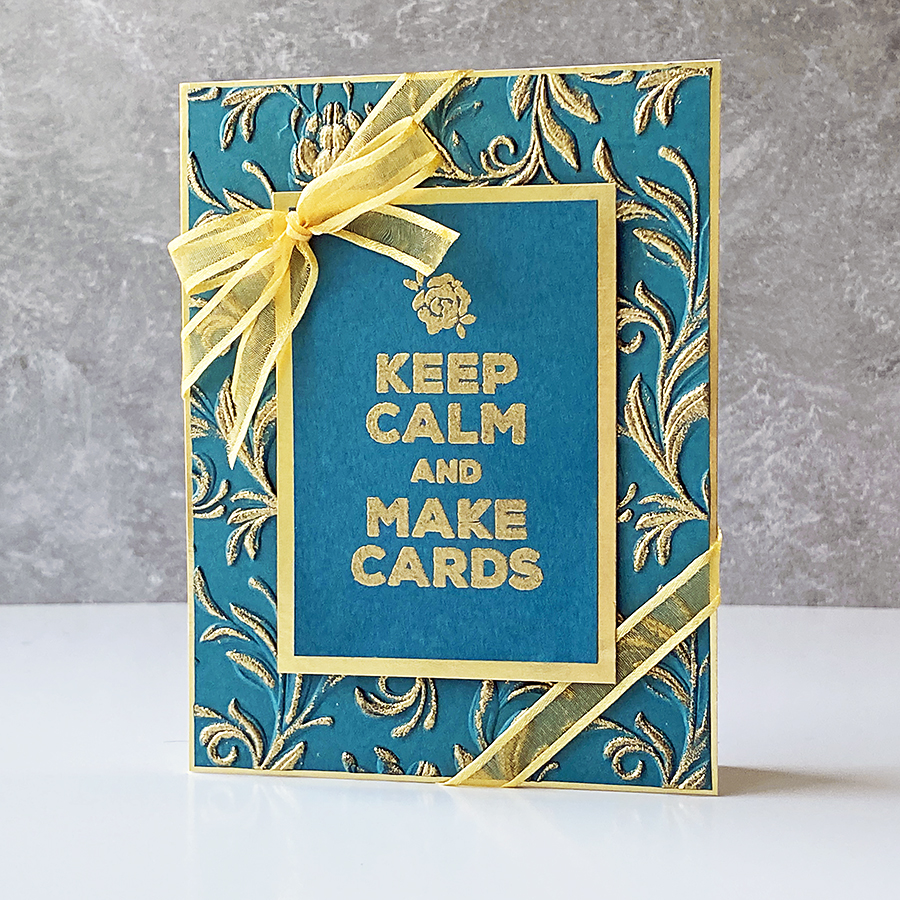
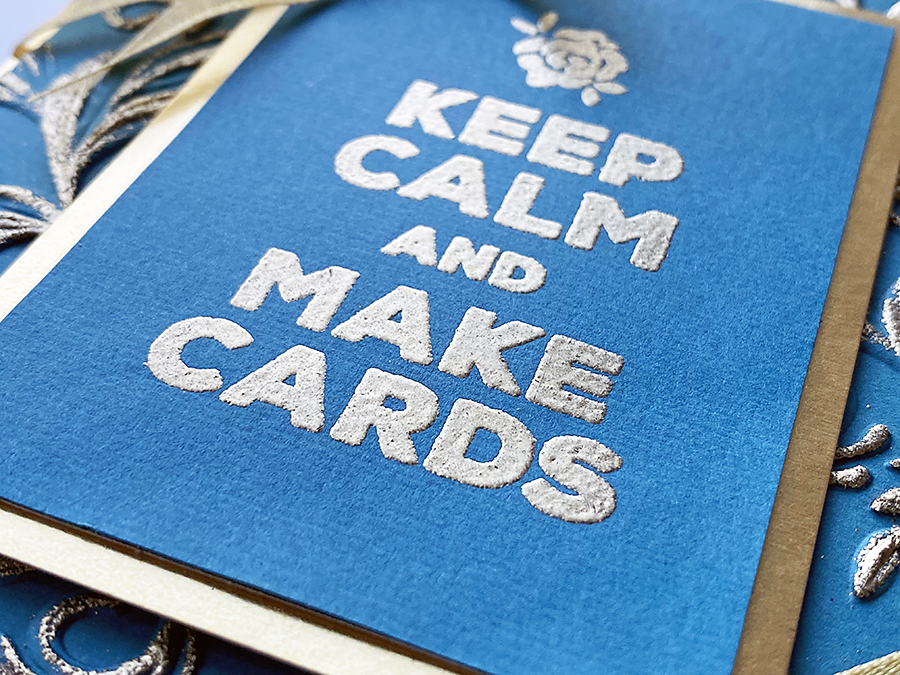
The sentiment is from a stamp set called Crafty Friends by Altenew. I stamped and heat embossed that before mounting it onto the embossed panel with some foam squares.
Then, it was just a matter of adding a few snips and a bow with a lovely gold ribbon and ta-da! Finally, I popped my finished card front onto an A2 card blank. Don’t ya just love the shiny?
Thanks for visiting the blog today to check out my old-school style card! Got some eyelets hanging around? Go ahead and make a card for the challenge and submit it for your chance to be featured next week!
This is just GORGEOUS Niki! Thanks so much for being our guest designer and sharing awesome inspiration!
How beautiful, I love the teal and gold together, and of course a PERFECT sentiment!
Your card is amazing! I have never thought to heat emboss with my embossing folders! Your results are spectacular! I will definitely have to give it a try! So glad you joined us at Make the Cards Challenge!