Movers & Shakers: Snowflake Spinner Holiday Card
We don’t get much snow here in Texas. Well, a little more north of here they do, but San Antonio hardly sees any at all. The last good snow we had was a flurry back in 2016 that lasted about two hours. I took full advantage: hot chocolate, a book, a cat, and a Christmas tree. It was magical, if only for a moment.
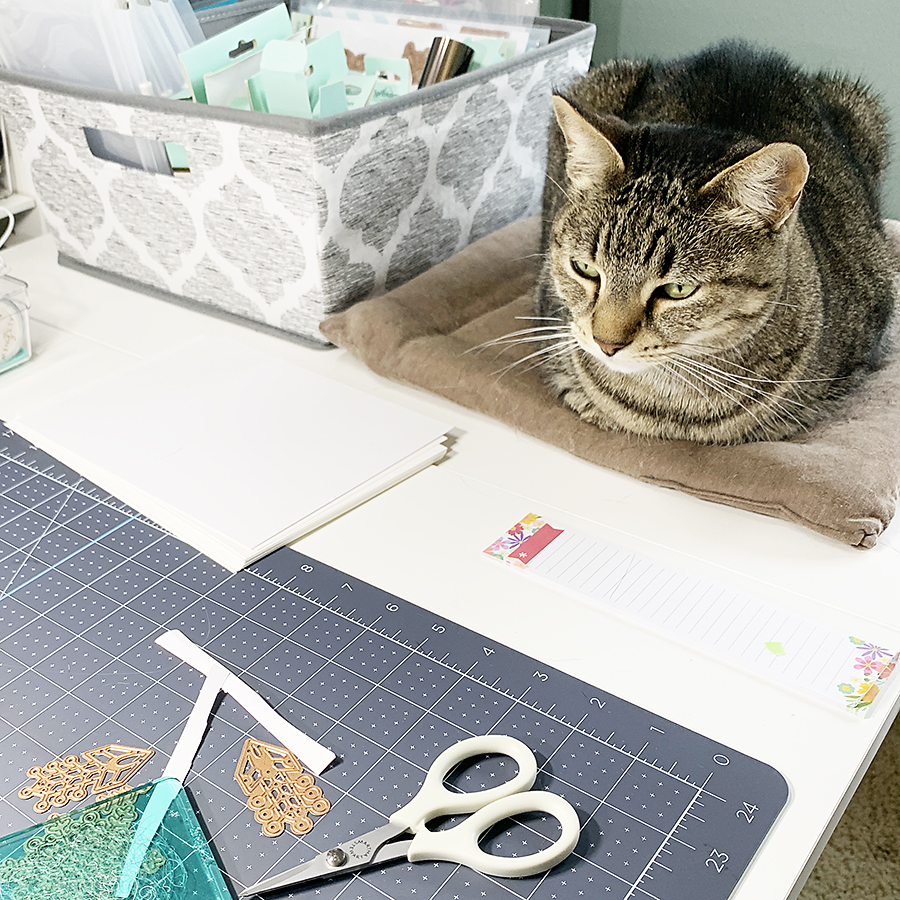
The lack of cold here doesn’t stop me from crafting snowy themed cards, though. The latest Small Die of the Month Kit from Spellbinders, called Kaleidoscope Snowflake, has some ah-mazing dies in it.
For today’s card, I decided to make a snowflake spinner element. Have you ever made a card with one of these kinds of spinners?
It can be a little tricky to get the thread tight, but it’s not super hard.
But the first thing you want to do is prep your card front.
Making the Pieces
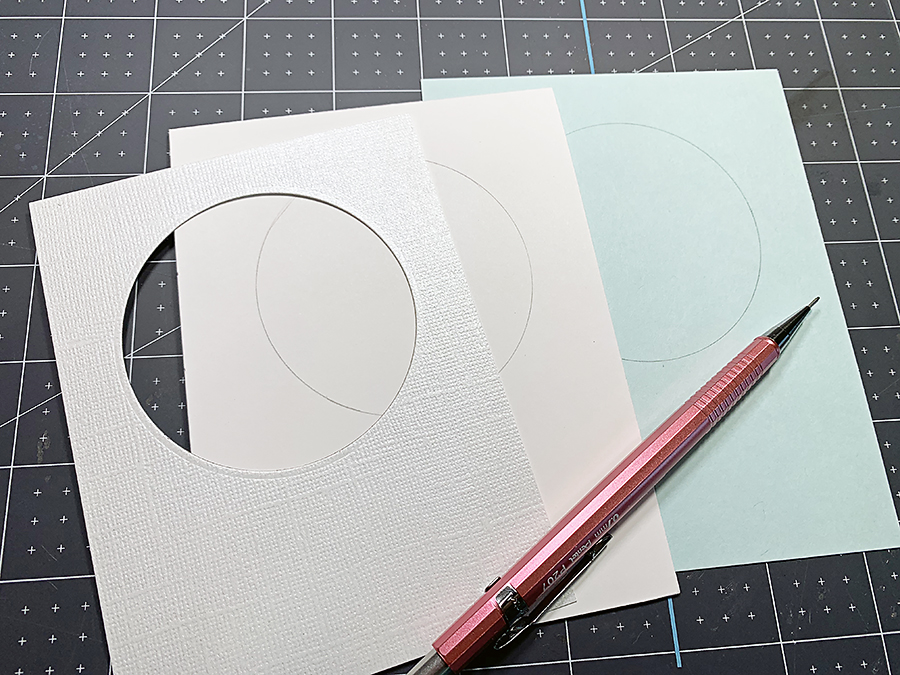
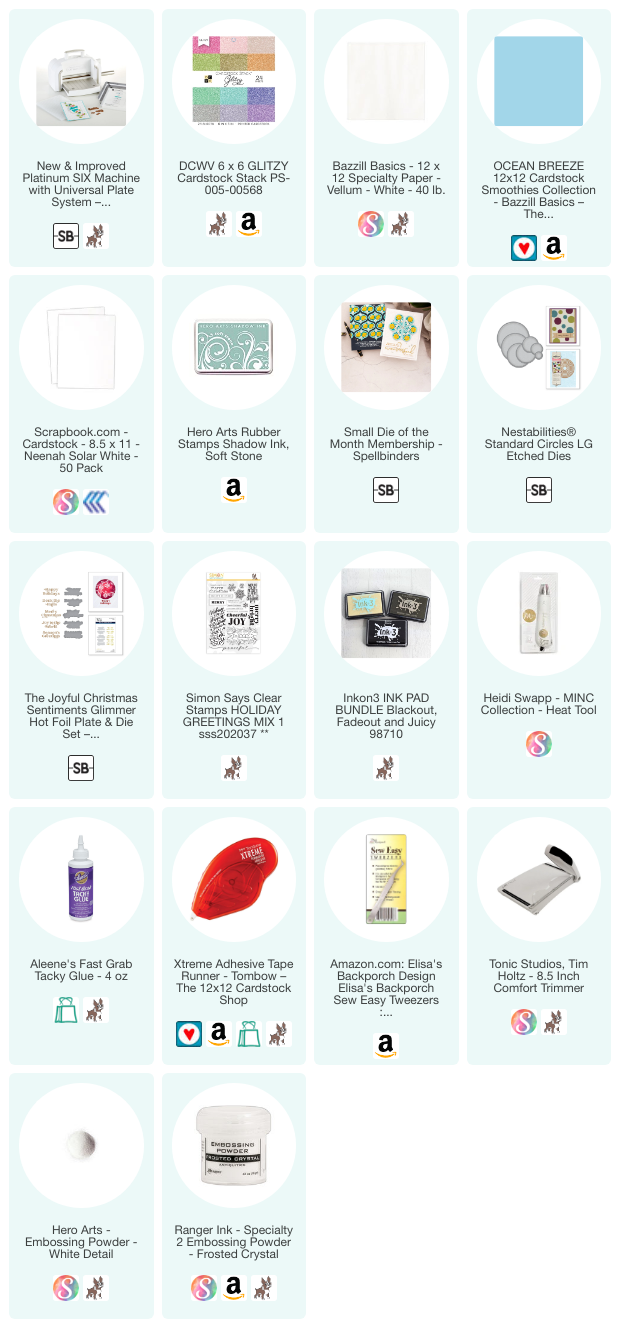
For the front card panel, I chose Ocean Breeze cardstock (A2 size) and Diamond cardstock (cut to 5 ½” x 4”). I used a 3” circle die to cut the window from both pieces and used a pencil to make sure they would line up correctly. I also cut the circle through the front of my card base.
To make the snowflake that spins in the center, I cut several of each snowflake (just in case; they are beautifully intricate) from Glitzy Glitter paper, vellum, and plain white cardstock.
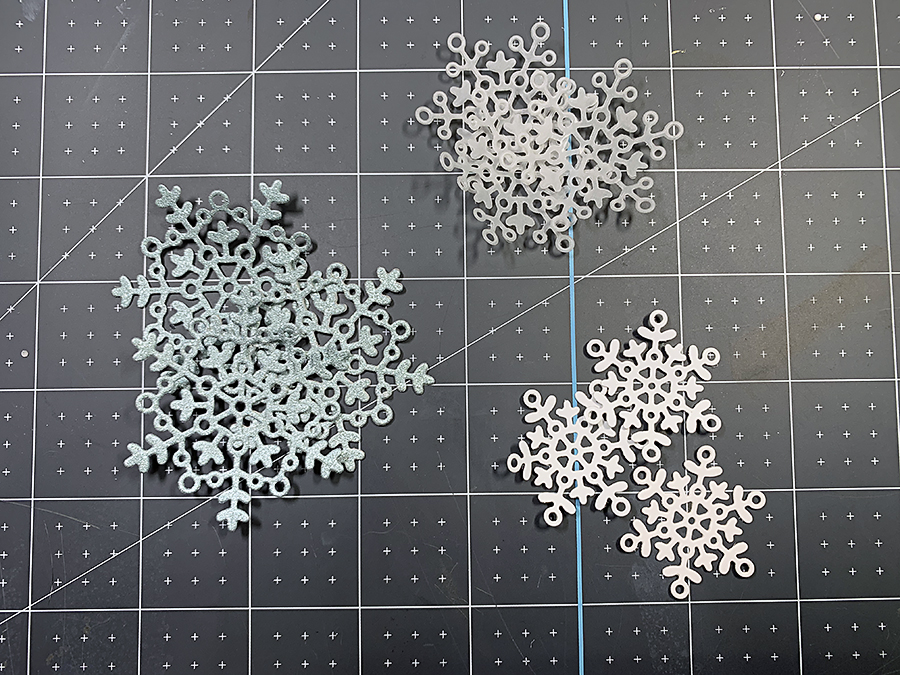
For the plain cardstock, I heat embossed with Frosted Crystal Embossing Powder, then went over it again with a White Embossing Powder to give it a caked-on frost look.
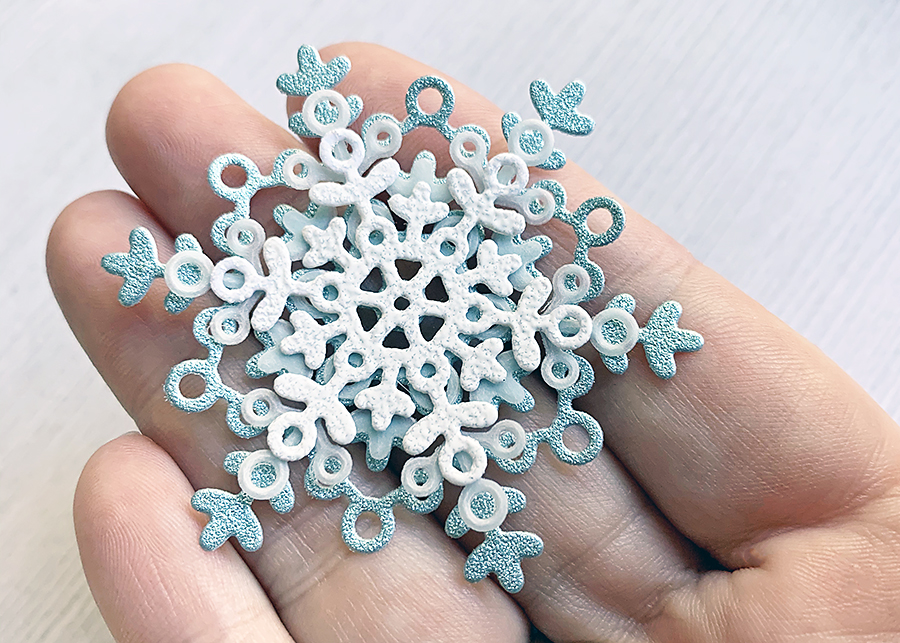
I made two snowflakes like the photo above using Aleene’s Tacky Glue. Next, I cut a long piece of thread (you can use white or even the transparent kind, white is what I had on hand) and used the same glue to adhere it to the back of the snowflake.
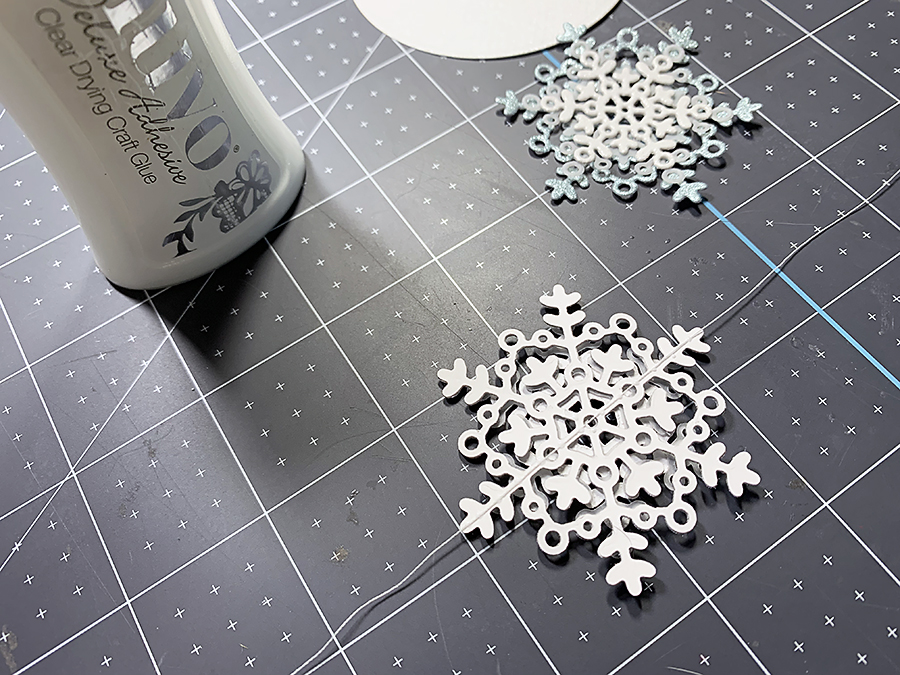
Then, I lined up and stuck the other snowflake to the threaded one, back to back. With the help of a little lick of Tombow Xtreme glue runner to keep the thread taut, I lined up the spinner inside the circle window in the card base.
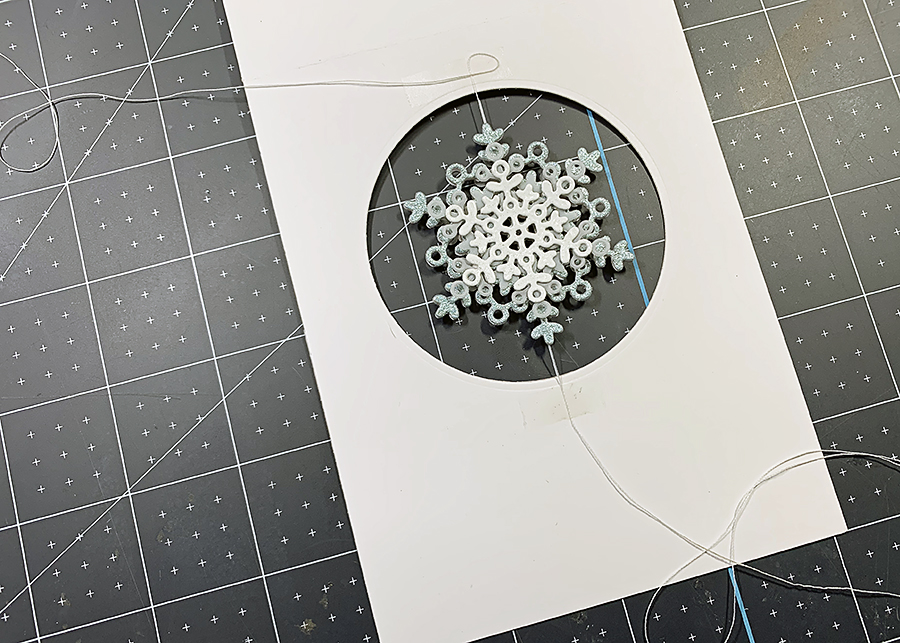
Making sure the thread was nice and tight (and being careful not to break it), I adhered the Ocean Breeze/Diamond card front.
I used a couple of stamp sets to finish up this card. The first one was Holiday Greetings 1 from Simon Says Stamp. That was for the snowflakes inside the card, which I stamped in Soft Stone Shadow Ink.
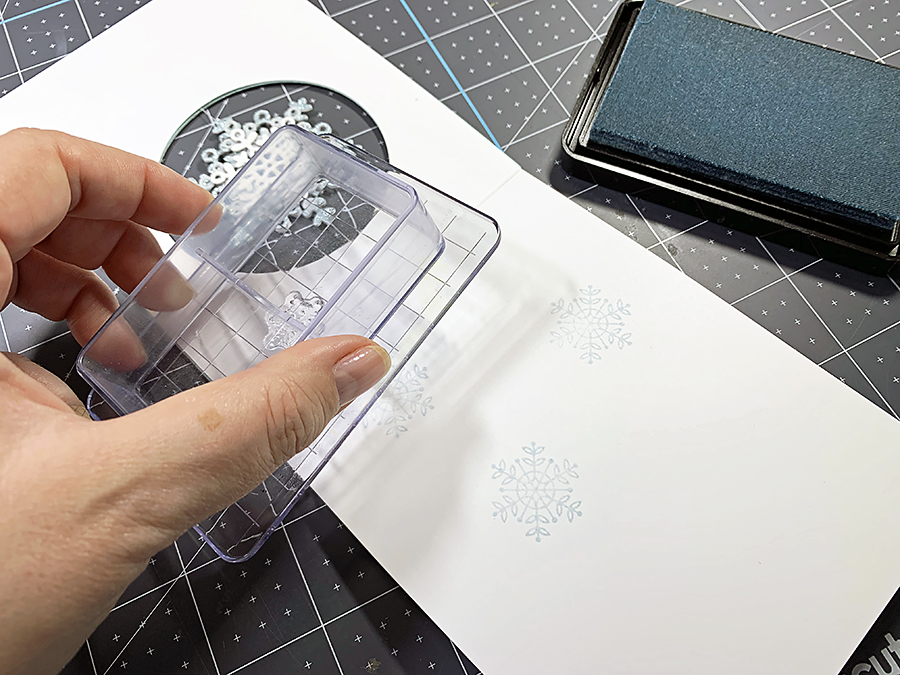
The other stamp set was for this gorgeous sentiment. It’s from the Sentimental Christmas Stamp & Die Set at Spellbinders. To get this to show up well on the Diamond cardstock, I used a MISTI and Inkon3’s Blackout Ink.
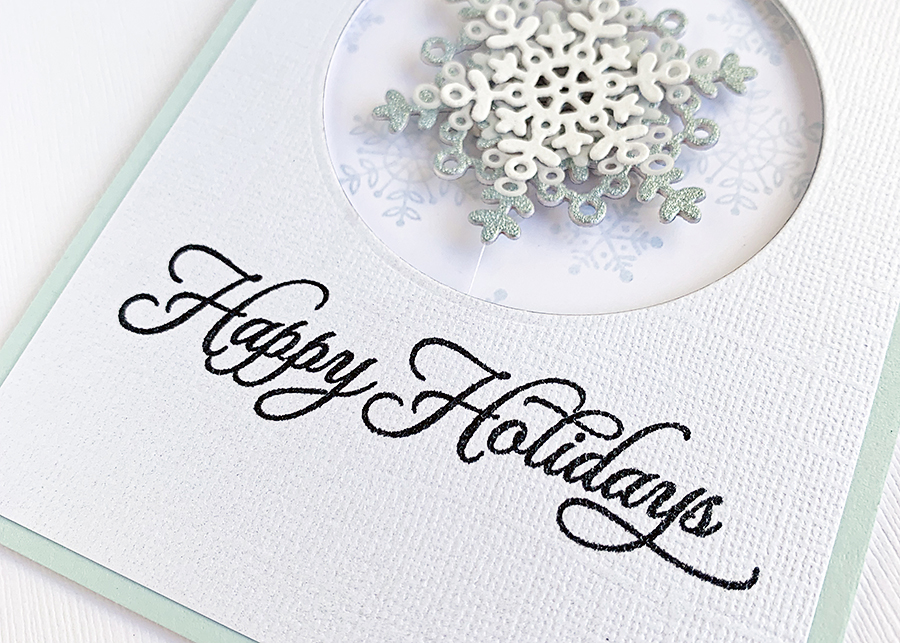
And here it is all together!
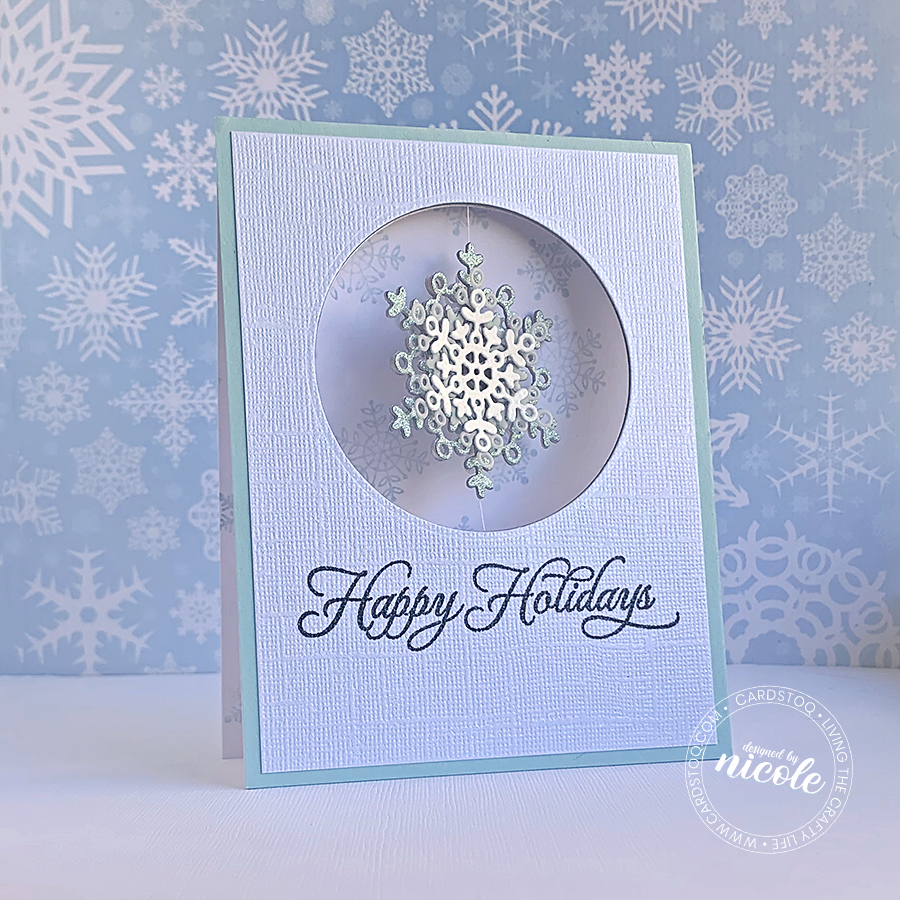
Make sure you save this cute snowflake spinner idea to your Pinterest inspiration board and happy crafting!
Ready to see another Mover & Shaker card? Take a look here!

