Tips on How to Make Patterned Paper with Stamps
Have you ever needed a patterned paper to match your project, but had nothing in your stash that worked? Me too. Luckily most stamp sets come with some extra little images and bits that coordinate with the theme. You can make patterned paper with them to spruce up your background.
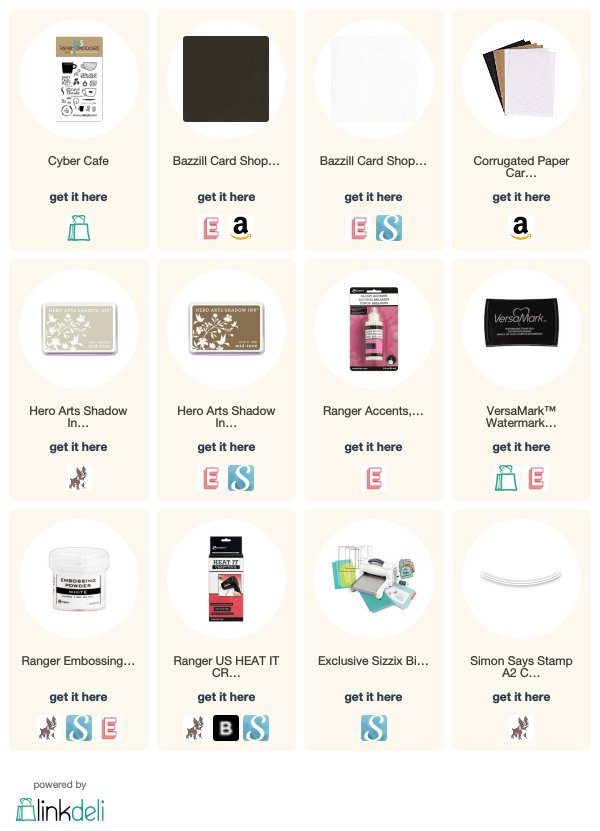
The stamp set I needed paper to match was for Cyber Café from Paper Smooches. There were a couple of images of just coffee beans that came with it, so I used those to create my patterned paper.

- Use two or three inks to add interest. Starting with your lightest ink, stamp some images randomly on your paper. Repeat with your medium ink, then your dark ink. This way you won’t overpower your design with too many dark elements.
- If you are using more than one image, stamp with the largest one first and after you are completely done with it, fill in open areas with the smaller image. You can get a more balanced look using this method since it helps you space things correctly and prevents areas that are more ‘stamp heavy.’
- After stamping your design, choose whether to embellish your images or to leave them as is. Glossy Accents, glitter glue, or Wink of Stella brush pens are a fabulous way to add more interest to your patterned paper.
For this card, I left my coffee bean paper stamped only. As an example, I could have coated the darkest beans with Glossy Accents to make them shiny and match the mug.
Edit: The Memory Box “Swirly Tree” die I used for the steam is now discontinued, but you can still find a couple on eBay for a decent price.
Thanks for stopping by to see how I make patterned paper. If you liked this card, share the love by pinning it to Pinterest!
