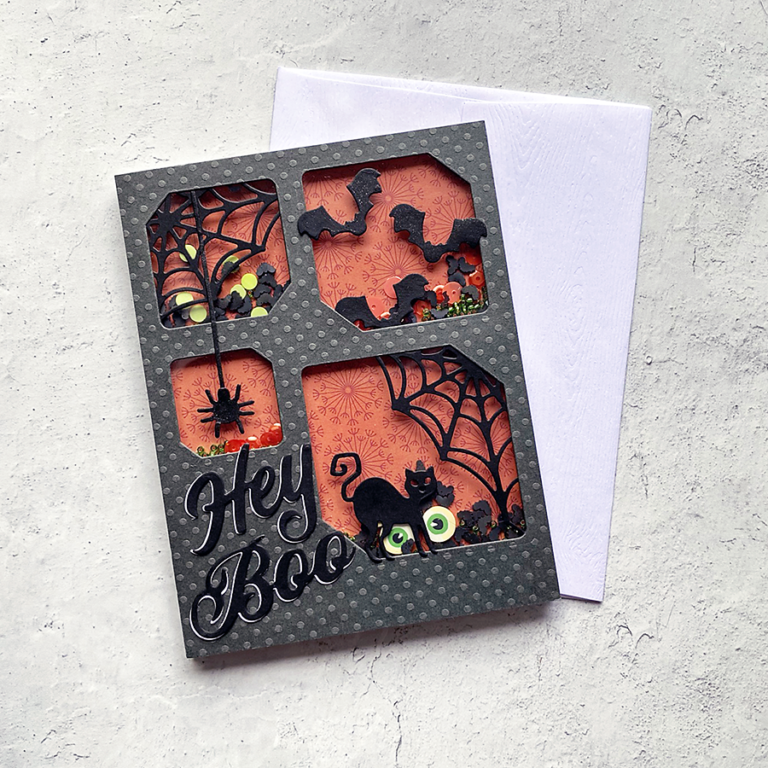
Building a Shaker Card
One of the classes I took at the CKC convention was offered by s.e.i., and was all about creating shaker cards with little 1/8″ deep plastic bubbles like this:
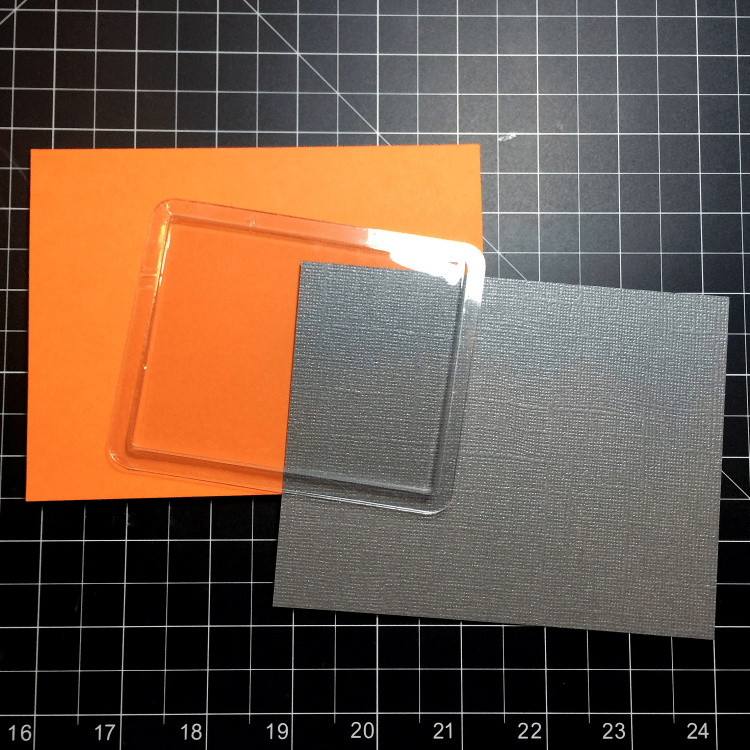
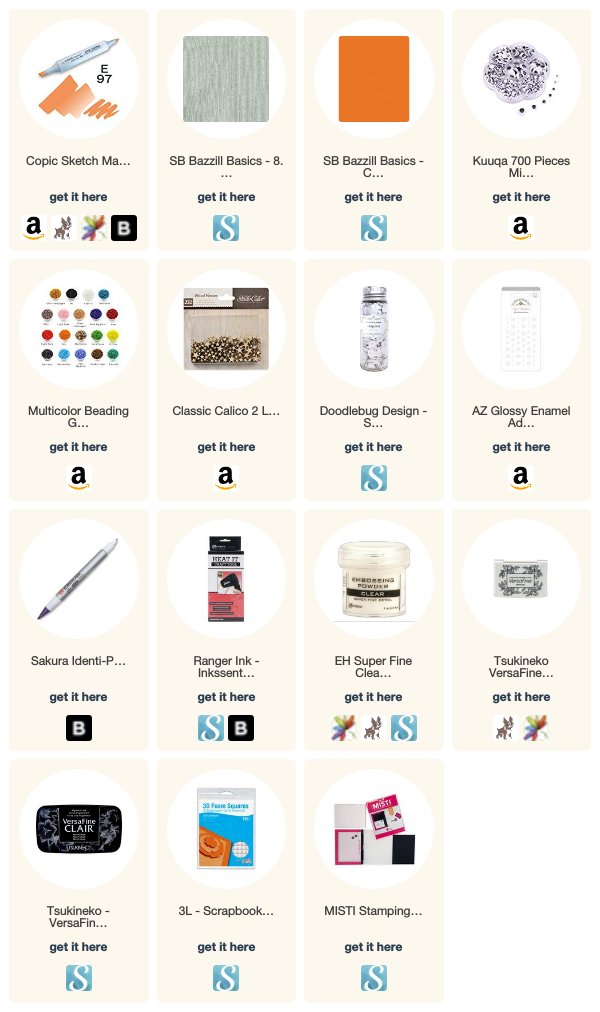
Sadly, their booth had run out of the windows very early in the day, so I spent some time hunting them down on the internet. You can find them in the supply list below!
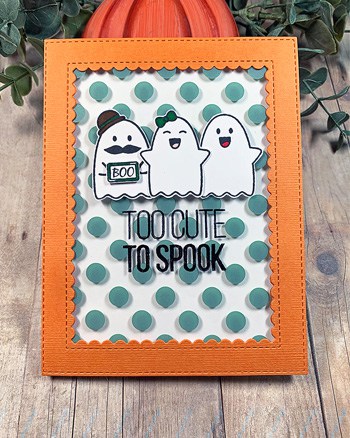
I had some Halloween-ish patterned paper hanging around my desk that I wanted to use up (it’s been there three weeks!). I chose an orange card base and a metallic grey paper for the background of my shaker card. I cut about a 1/4″ off the bottom of the grey piece so a strip of my orange base would show at the bottom. I planned to align all layers against the upper edge.
I then chose my sentiment and centered it on my grey card stock. I stamped it with pigment ink and heat embossed the image since the paper was of the coated variety and I was worried dye would not be vibrant enough or would smudge.
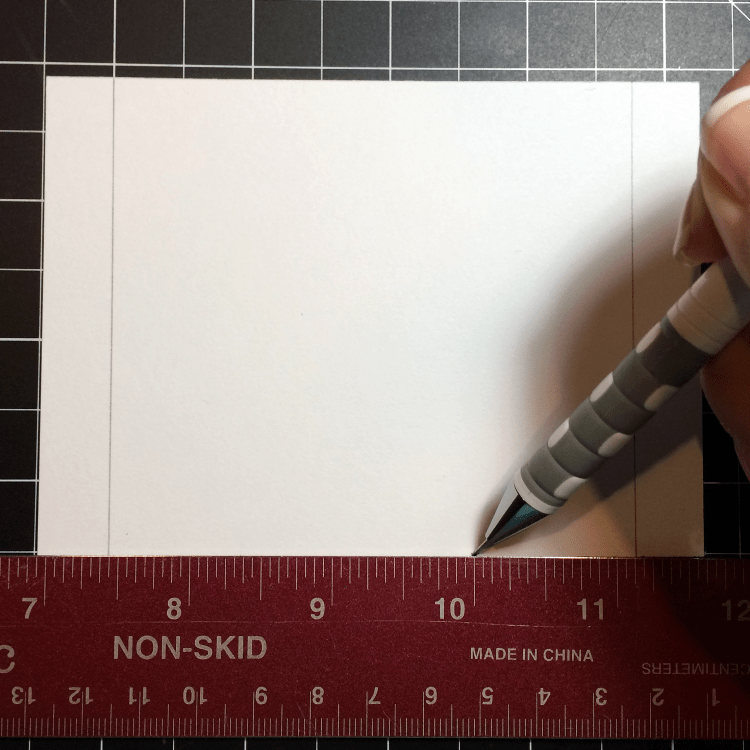
As the patterned paper would be the overlay for hiding the edges of the window, I flipped it over and drew lines 1/2″ in from the edge on all sides to create something I could cut along to form a frame.
You can use a cutter like this one to cut frames pretty accurately. You align the pencil marks with the wire, look straight down and insert your blade where two lines intersect, pull down to cut and stop where the marks line up with your blade handle.
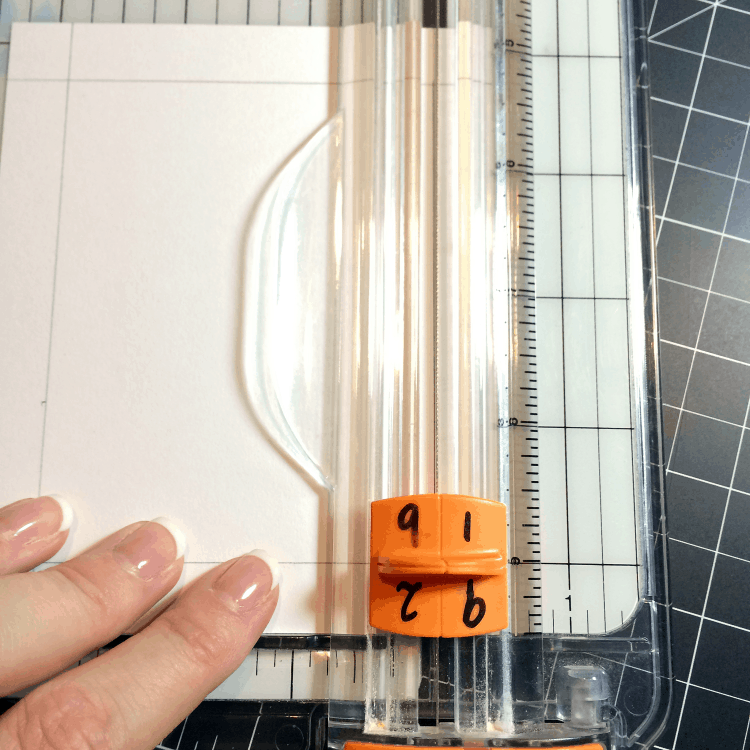
Oh, in case you are wondering, those numbers on my blade represent when I started using it; ‘9’ for September and ‘1’ for the first edge I am using. When that side gets blunt I will flip it around to the ‘2’ side. I find it easier to keep track of when to replace blades that way 🙂
Ok, this is the fun part. I flipped over the shaker window and tossed some google eyes, seed beads, flat sequins, wood veneer stars and enamel skelly heads into it. Not too many, though – they need room to move.
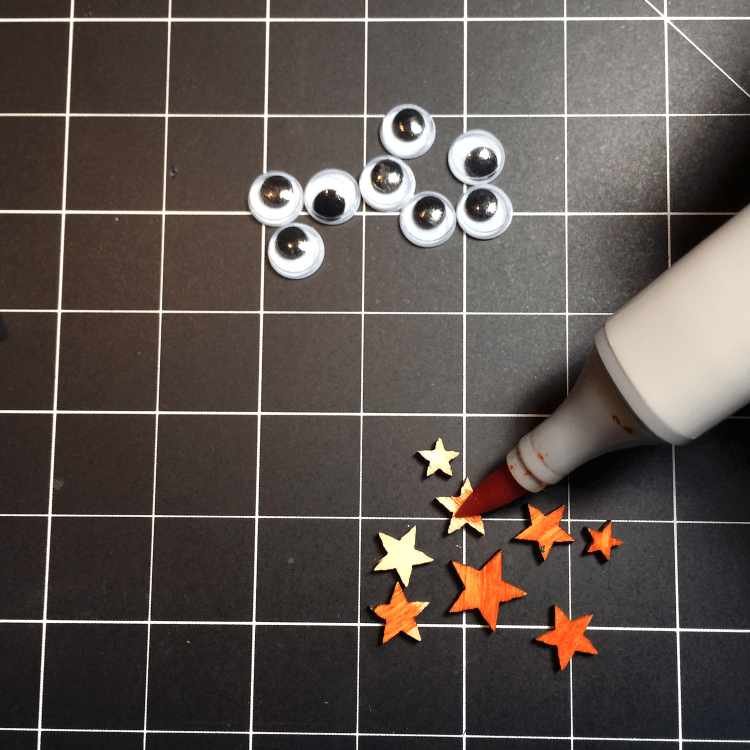
The stars were, of course, wood flavored and I wanted something a little more matchy-matchy, so I dabbed both sides of each star with my Deep Orange (E97) Copic Marker:
To make the little skelly heads, I used enamel dots and drew the faces on them with a permanent marker.
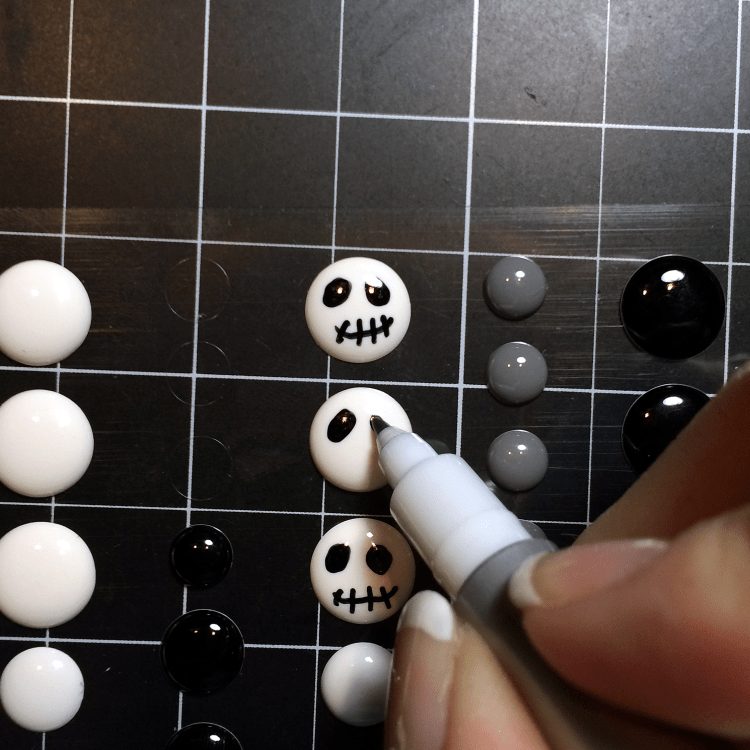
I deactivated the sticky on the back with an anti-static pouch, then put them in with the rest of the goodies.
CAREFULLY, I peeled off the liner paper around the window to make sure I didn’t shake or spill the contents. I knew where on the card I wanted the window to be, so I lined up the patterned paper frame, then the window (still open and face down), and slowly lowered the card base down onto it, lining up the top edges. When I picked it up, the window was where I wanted it to be and all the shaker bits were sealed inside.
If you are working with these kinds of shaker windows, be aware there are no second chances. Always measure twice and stick once. Ask me how I know 🙂
[bctt tweet=”There are no second chances with super-tack craft tape. Measure twice, stick once. #wordsofwisdom” username=”cardstoq”]
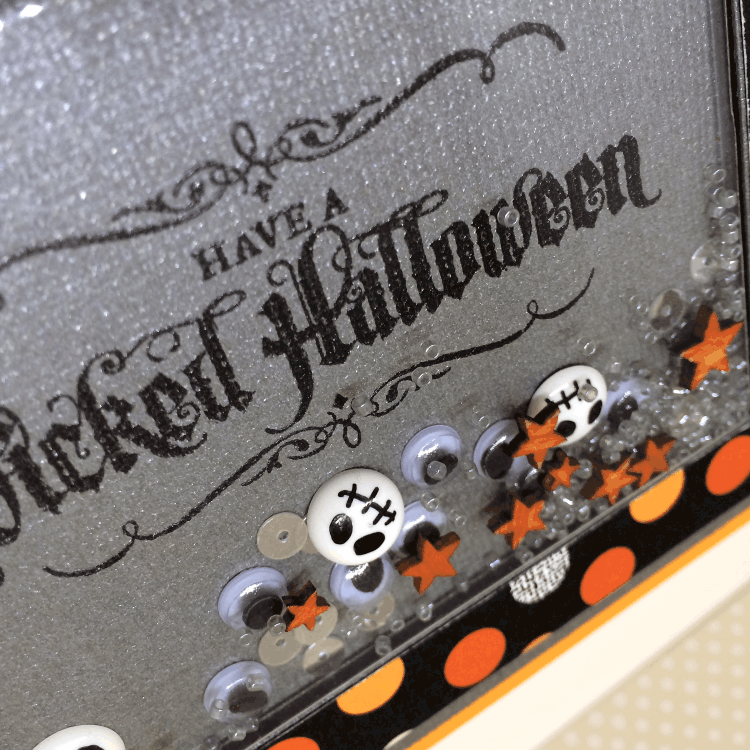
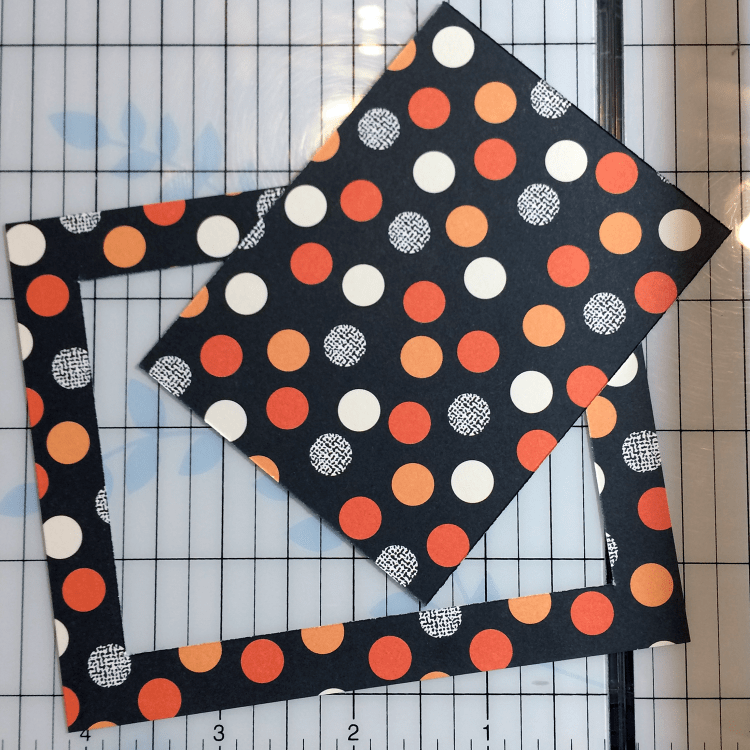
Now that all that was done, I added some foam squares to the back on the polka dot frame and centered it over the shaker window, hiding the edges. It’s just as easy to run your trusty glue gun along the back of the frame and hide the edges that way, but I was going for a flat front look instead of having the window raised out from the frame.
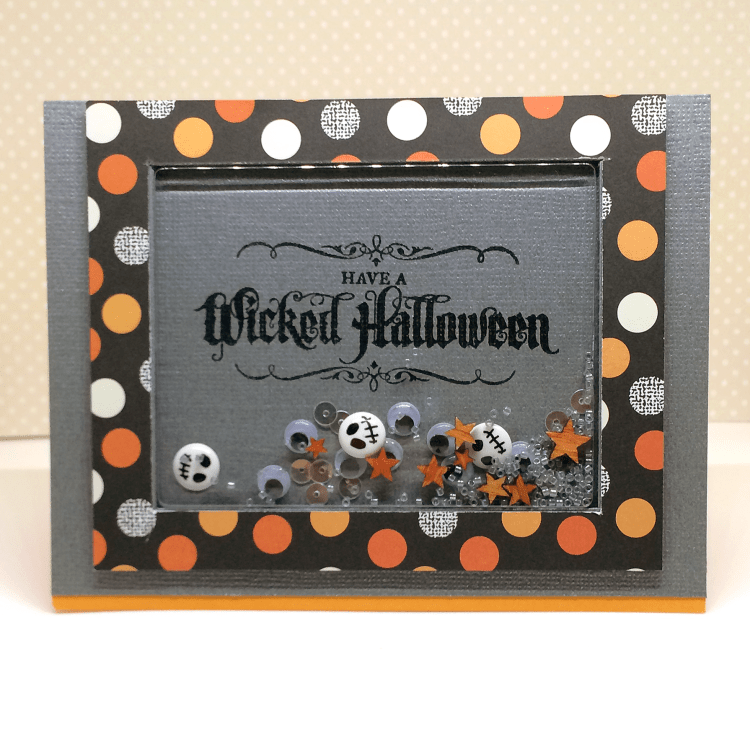
And that’s a wrap! Thanks for stopping by & if you liked this post, please share the love by pinning to Pinterest… I’d really appreciate it!
