Gingerbread Kisses & Holiday Wishes Card
Hello! Today I have a cute holiday wishes card that I made with the Hedgehog Hollow’s November Subscription Box. This month’s box sold out pretty fast, so stick a Post-It to your computer to sign up for the December Box when it becomes available 🙂
Getting Started
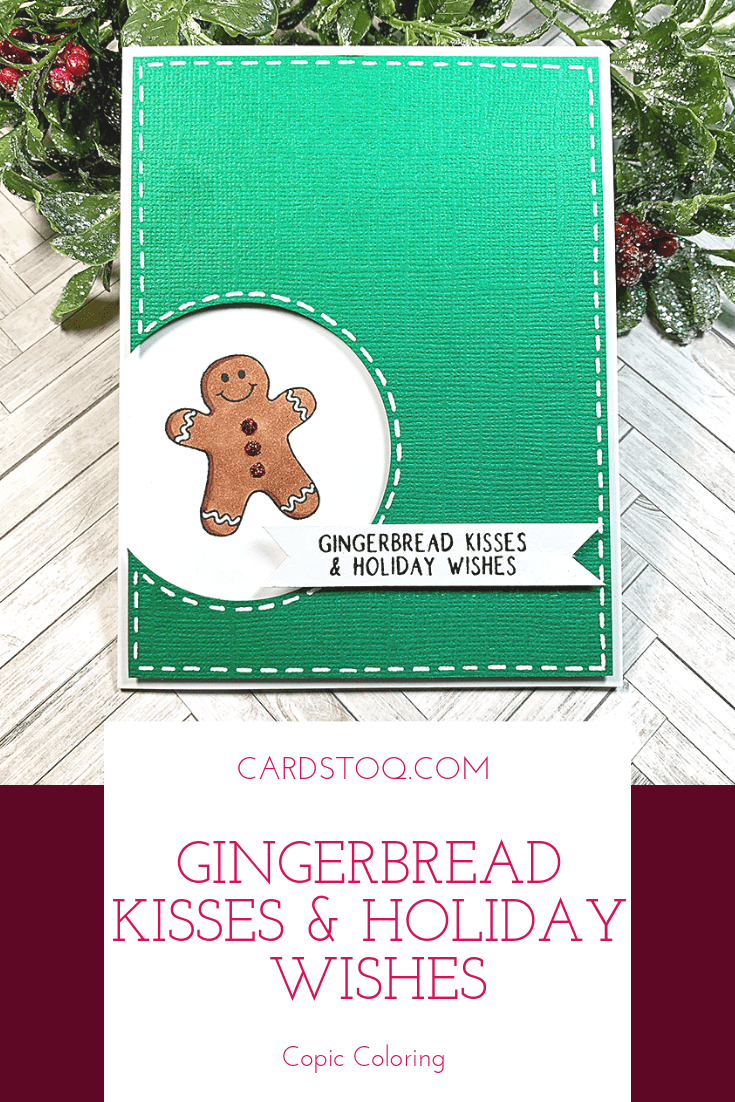
I wanted to make something with just the contents of the November box, but I ended up using a circle punch, too. I picked out that perfect green cardstock for the card front, but since I was going to be coloring the gingerbread boy, he needed to be on white.
So, I made a plate-shaped spot for him 🙂
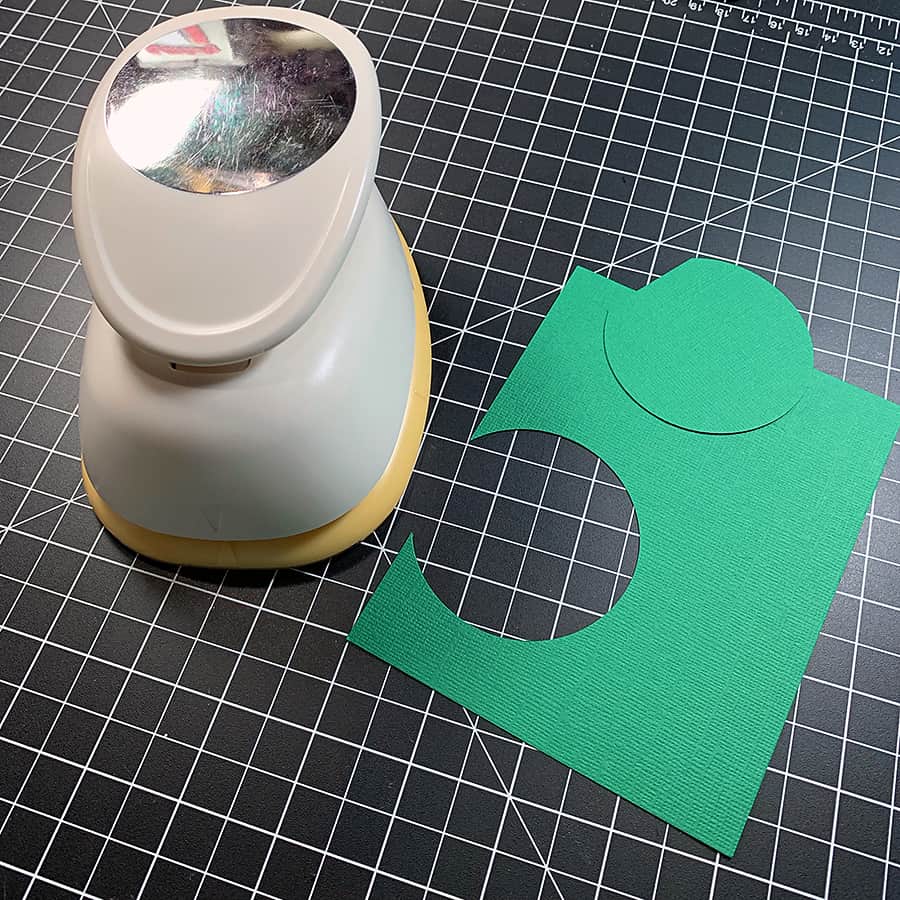
Once I punched out the circle, I trimmed 1/8” all around the edges of the green cardstock to create a framed look on the card base.
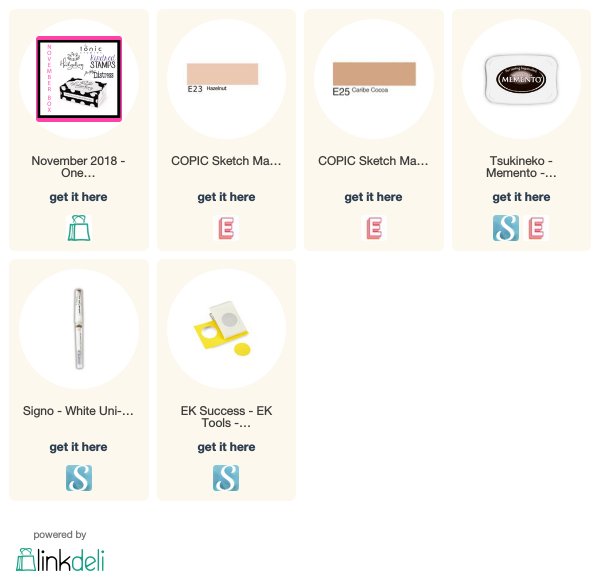
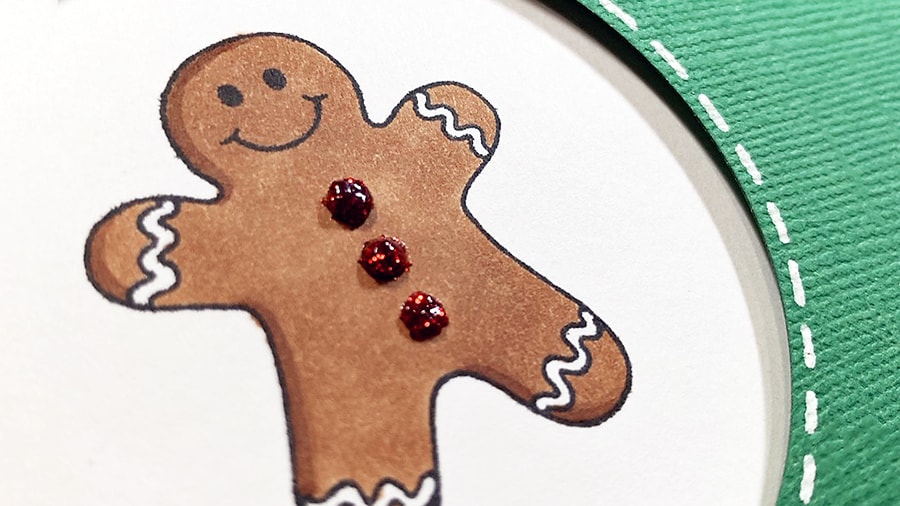
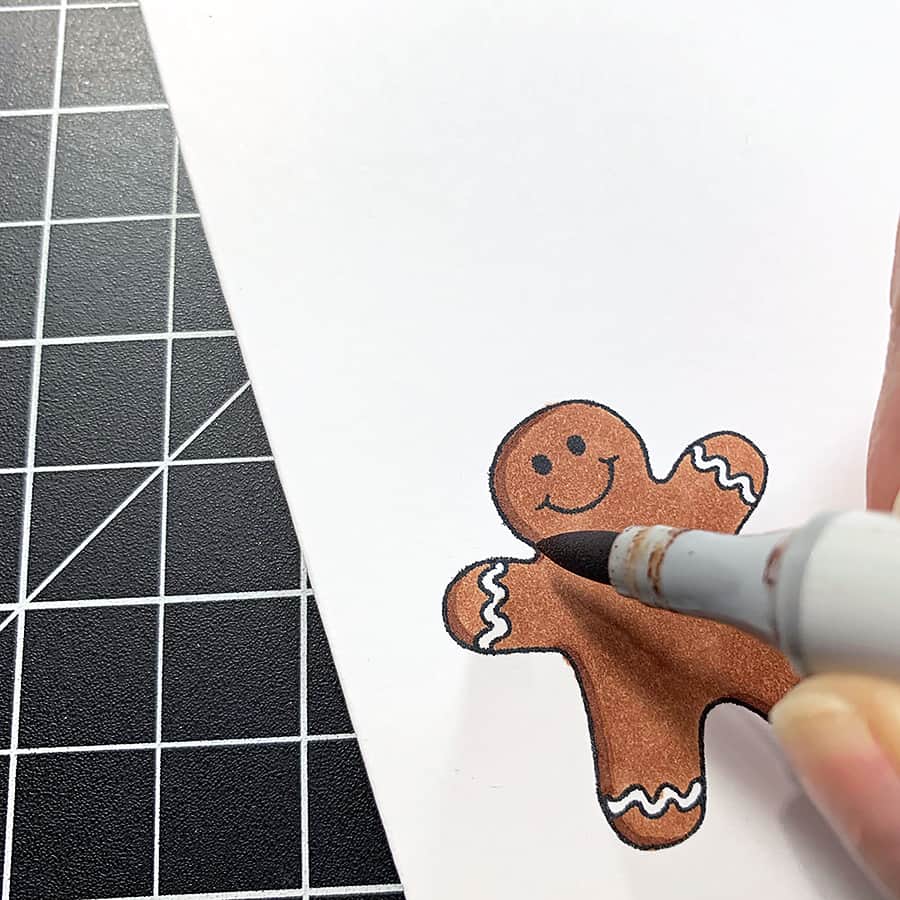
I didn’t stick it on yet – instead, I used it to position the gingerbread boy. I stamped the image directly onto the white card base and got to work coloring him. The two Copic Sketch markers I used are E23 for his body and E25 for the edge.
The next thing I did was add glittery red buttons with the bottle of Glitter Accents that came in the box. I thought this stuff was similar to Glitter Drops when I first saw it.
Nope. It’s very different – the gel is a thicker, creamy consistency and there’s a LOT more glitter. It dries beautifully!
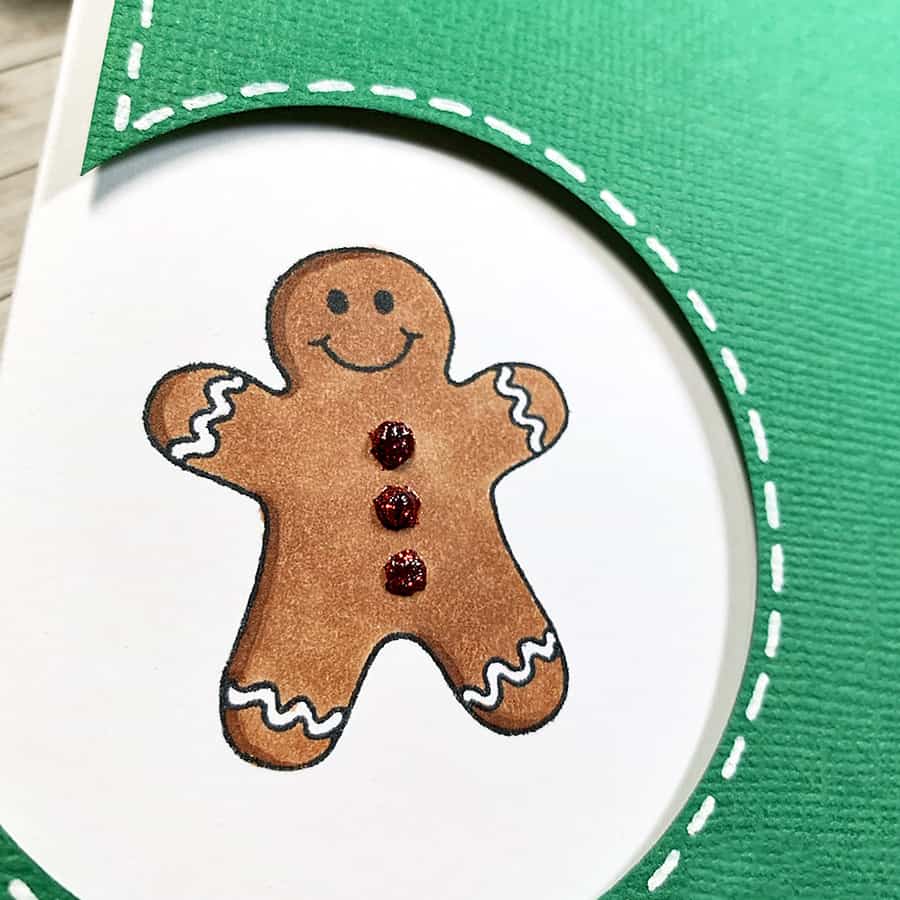
He’s so stinkin’ cute, isn’t he?!
Putting It Together
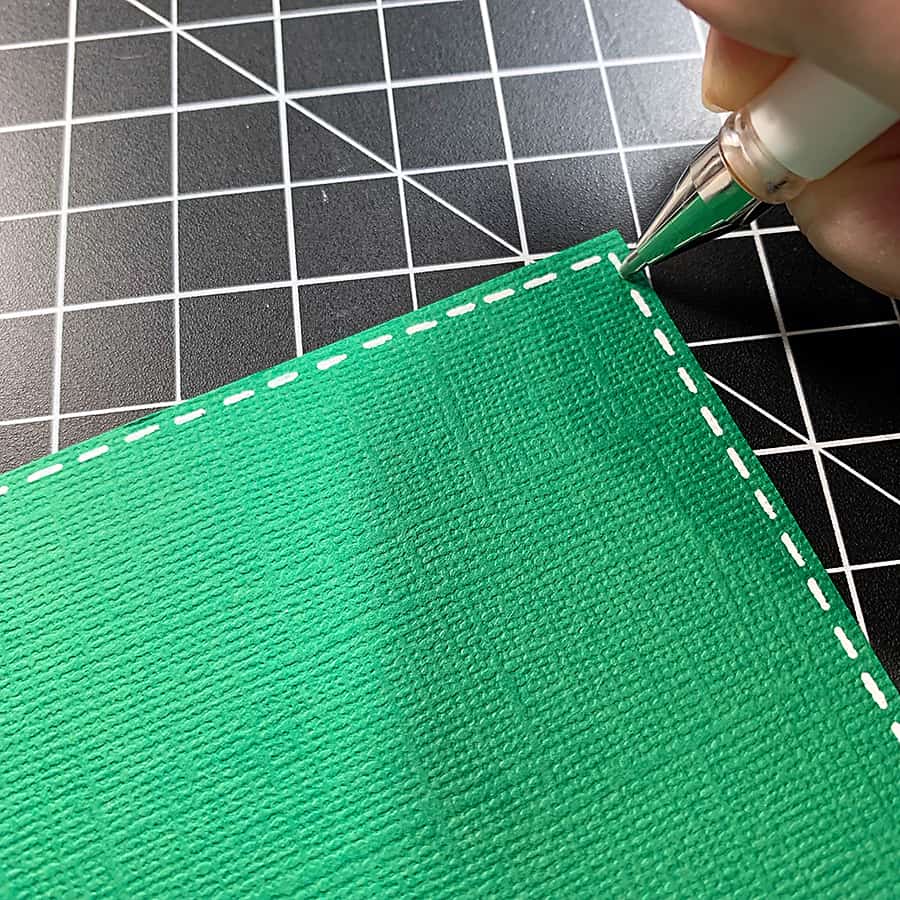
While those Glitter Accent buttons were drying, I used the time to draw some faux stitching around the edges of the green cardstock with a Uniball Signo pen in White.
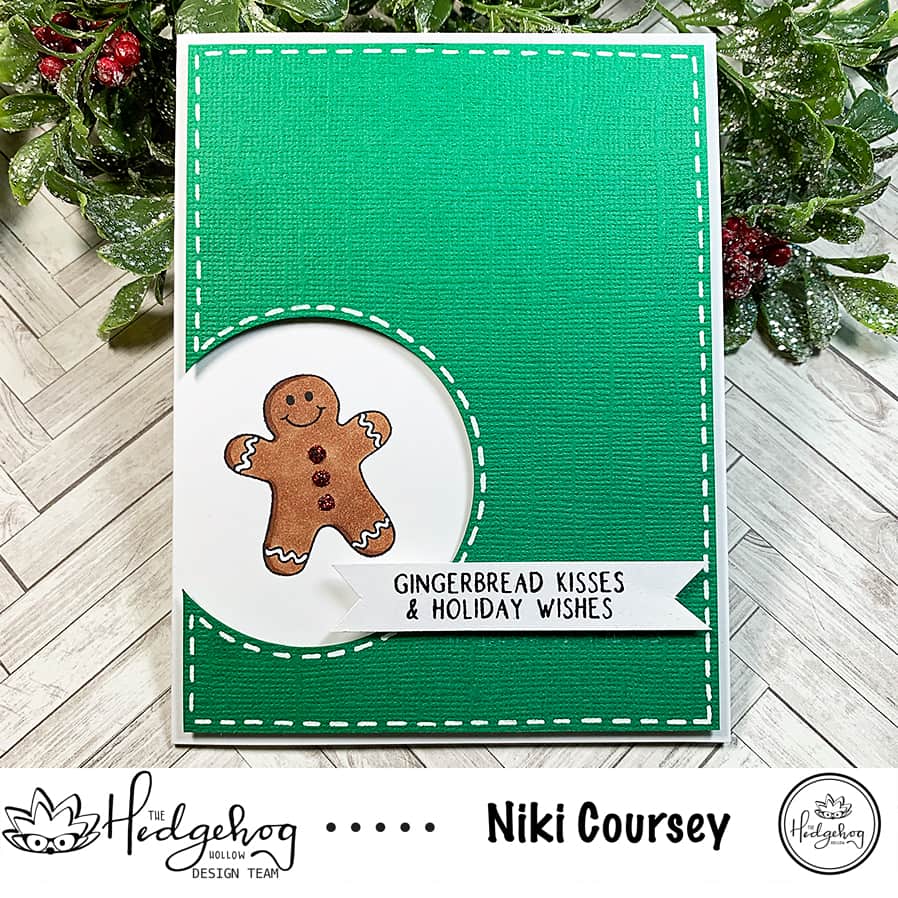
Then, I added some foam squares to the back of the green cardstock and adhered it to the card base. For the sentiment, I cut a 1/2” wide piece of white cardstock, stamped it in Memento black ink, and flagged the ends. I used a couple more foam squares to add it to the card.
Thank you so much for reading about my
