Inspiration: Fourth of July Mini Project Life Layout
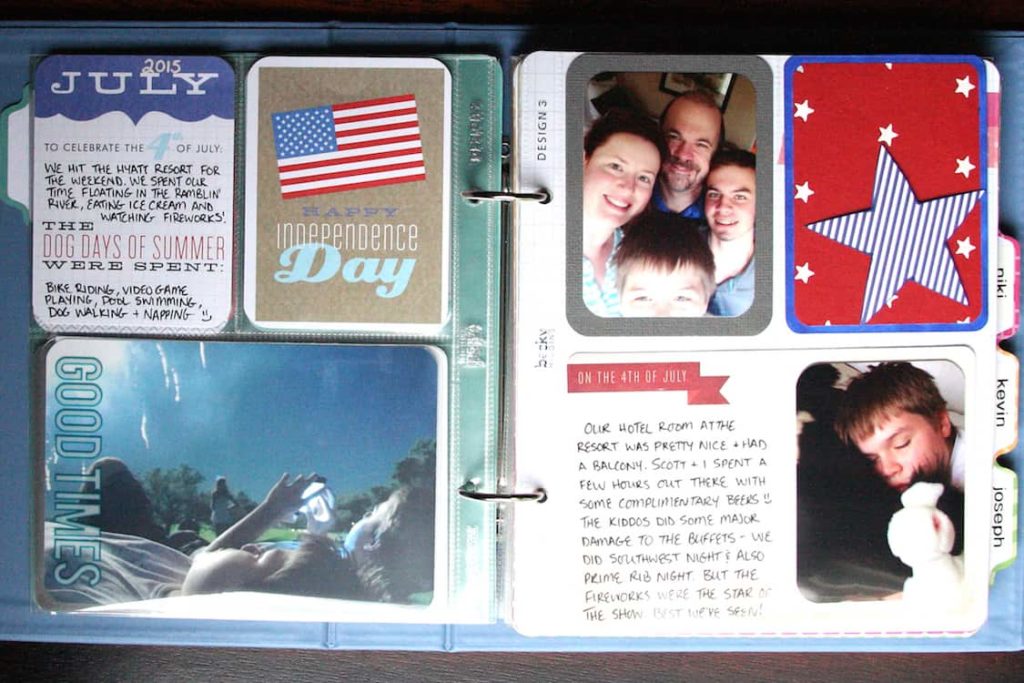
This was a layout I did last summer for our Fourth of July trip to one of the local resorts. I wanted a red, white, and blue theme, of course.
But, I was missing one 3×4 card to complete the layout. It took me a while to wrap my head around the idea that I could make my own cards if I couldn’t find the one that would match just right.
I started simple – don’t laugh 🙂
Even though I am posting this today, I put together this entire post just after we returned last year, but it was too late to publish it.
I noticed when taking the photos that it’s super hard to photograph through photo sleeves without some level of reflection. Hence the relatively bright edges on the lower part of my picture, sorry!
I’m hoping my photo skills have improved since I took these.
Update: I upgraded to a DSLR. MUCH more fun to use!
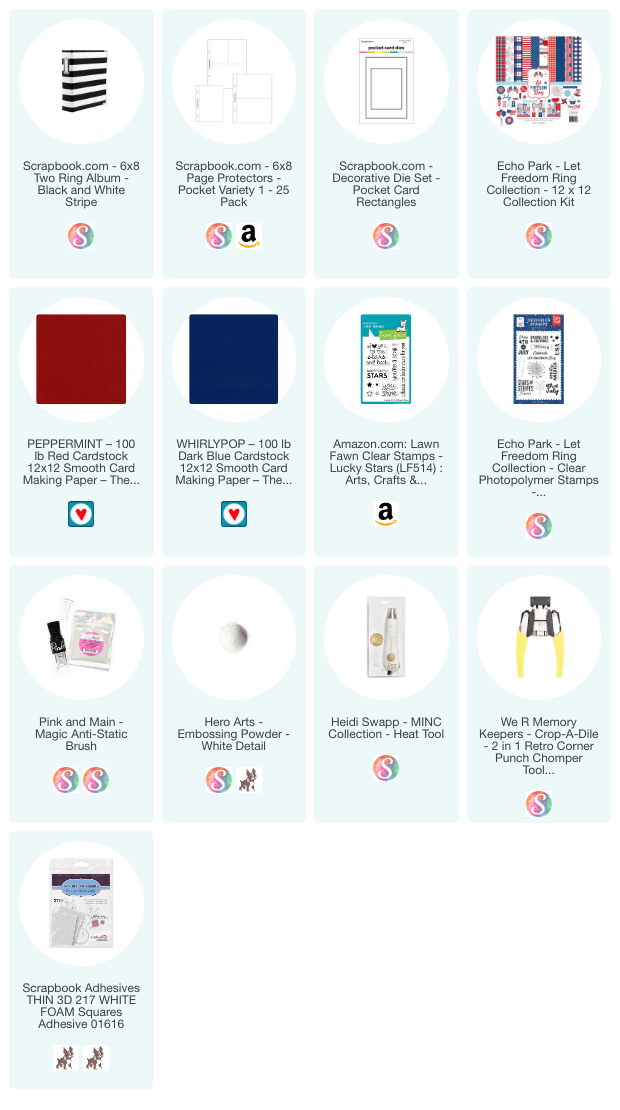
I created the top right card with dark blue cardstock, some red handmade paper, a blue striped patterned paper and some detail embossing powder. Next, used a punch to cut the blue card and then trimmed the red to be framed by the blue.
I rounded the edges of the red paper with a 3/8″ corner rounder.
Before I adhered them together, I used a small star stamp and white detail embossing powder to add the little white stars. I did this first in case the red paper warped from the heat – that way, I could stick it down straight, and any wavy bits wouldn’t be as noticeable.
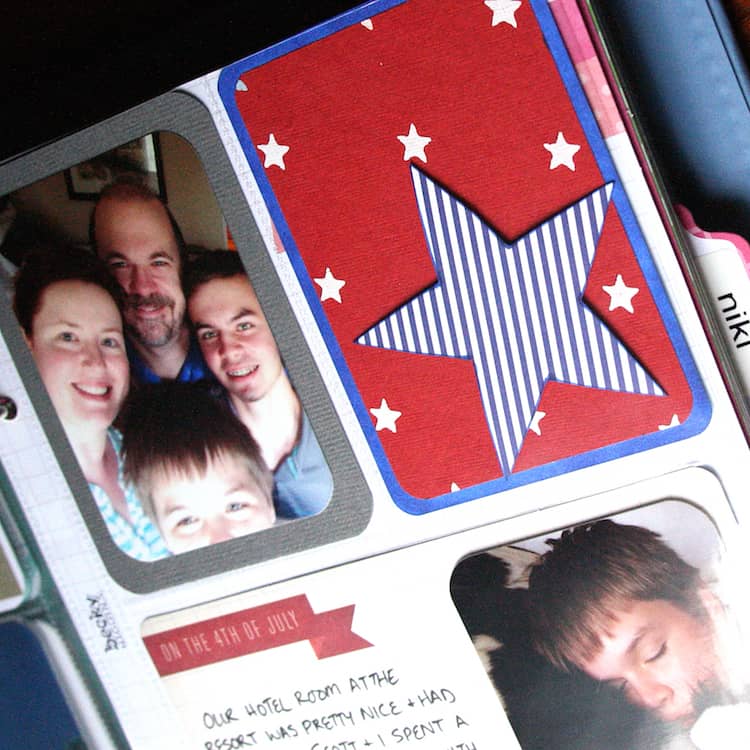
Once the main pieces were together, I hand cut the star from my patterned paper. I adhered it with some thin foam squares to get a little dimension without adding much bulk.
I popped the completed card into its pocket and arranged the rest of my cards. Then, I finished my layout with the “Good Times” photo overlay.
Thanks for stopping by for the Fourth of July – happy holiday weekend! Leave a comment below & tell me: do you do Project Life or traditional scrapbooking?
