Embossing Two Ways: Congratulations
We’re almost halfway through May! You know what that means – soon there will be wedding dresses, cake, and flowers everywhere and we will be knee-deep in wedding season.
My husband and I had an “enchanted evening garden” feel going on with twinkling lights and dragonflies. It was a little different, though. We didn’t opt for the typical music you’d hear at a wedding. Let’s just say there was a little hard rock among the flowers in that garden 🙂
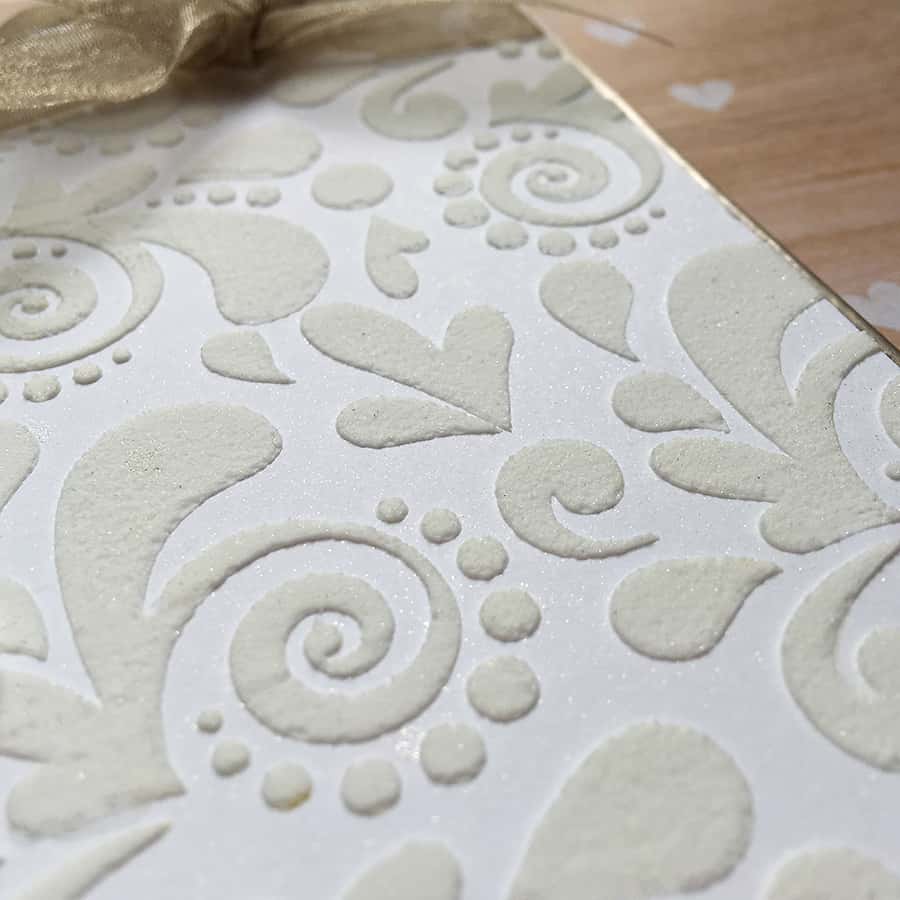
For today’s wedding style card, I went with metallic and white for the color palette. I decided to try to use embossing two ways to build this card, so I revisited my “Embossing & Finishes” bin in my craft stash and dug out my texture paste.
I realized after I peeled up my stencil that I’d used embossing paste by accident. Embossing paste and texture paste are pretty much the same. The embossing paste feels more like canned frosting when you work with it versus the texture paste, which feels a little thicker and slightly more gritty. So, it still worked.
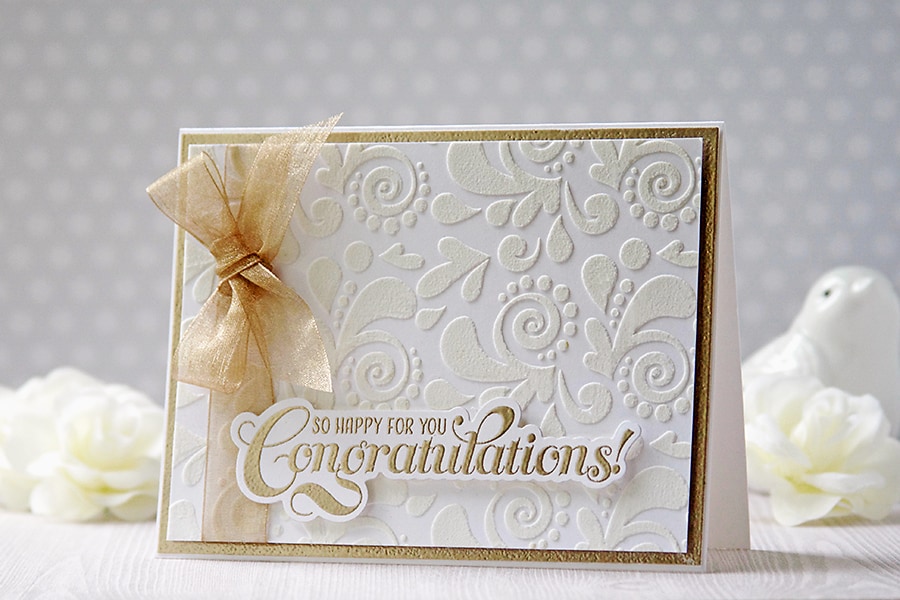
I love tying my bows sideways. For starters, it’s easier. You just wrap one ribbon around your card base and adhere the ends behind the panel, then use another piece of ribbon to tie a bow around the first piece and you can slide it anywhere it looks best. Easy-peasy, right? I think this method adds a little more interest to the card as well.
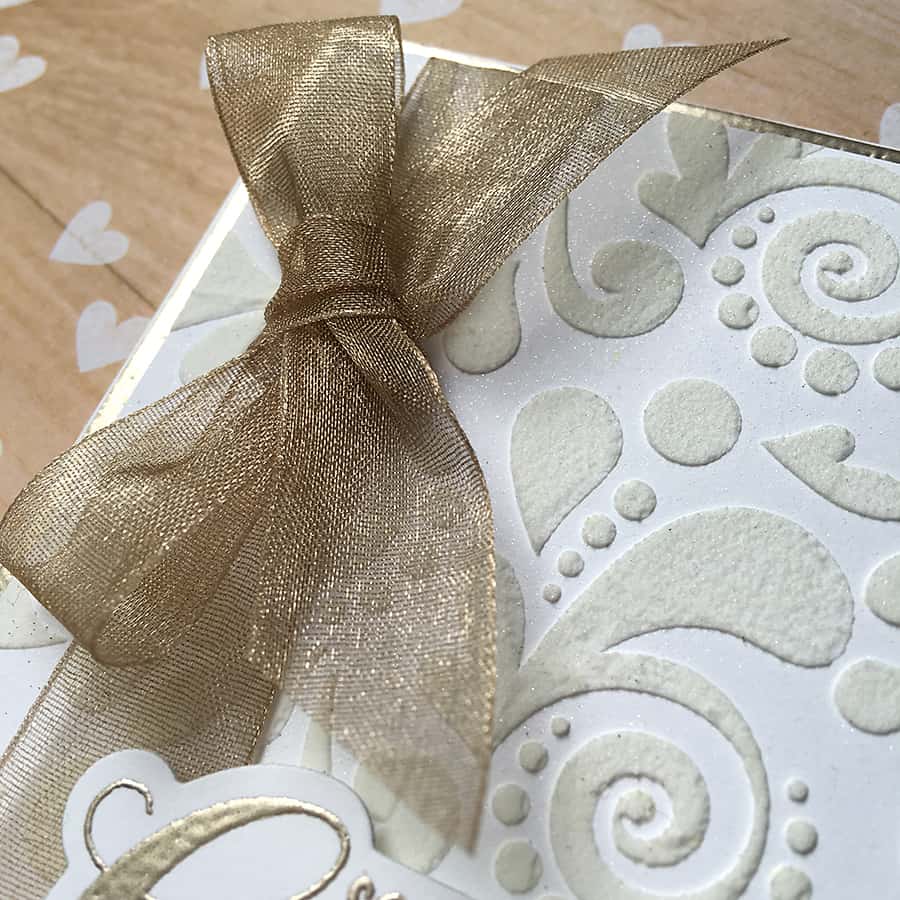
After the paste had dried I spritzed the card with Sparkle Spray so that it wouldn’t look too dull. It’s not a heavy sparkle – it’s very subtle. The spray tends to land pretty evenly, which I’m thankful for. I only like splotches and drips on my Distress Ink 🙂 You can see the glittery finish if you look closely here:
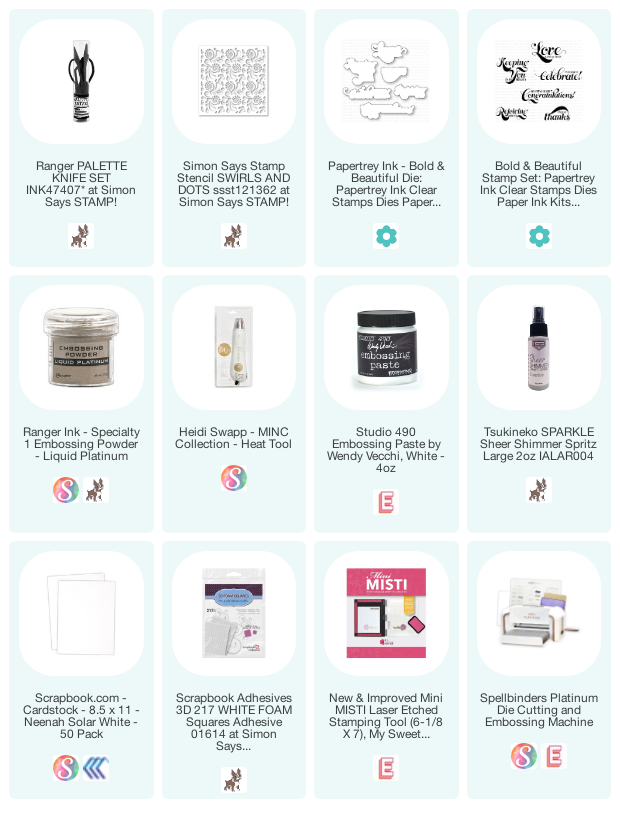
To finish up, I heat embossed my sentiment with Ranger embossing powder in Liquid Platinum and Versamark Ink. Then, I taped down the sentiment die to my stamped image, ran it through the machine and adhered it to my card front with a few foam squares.
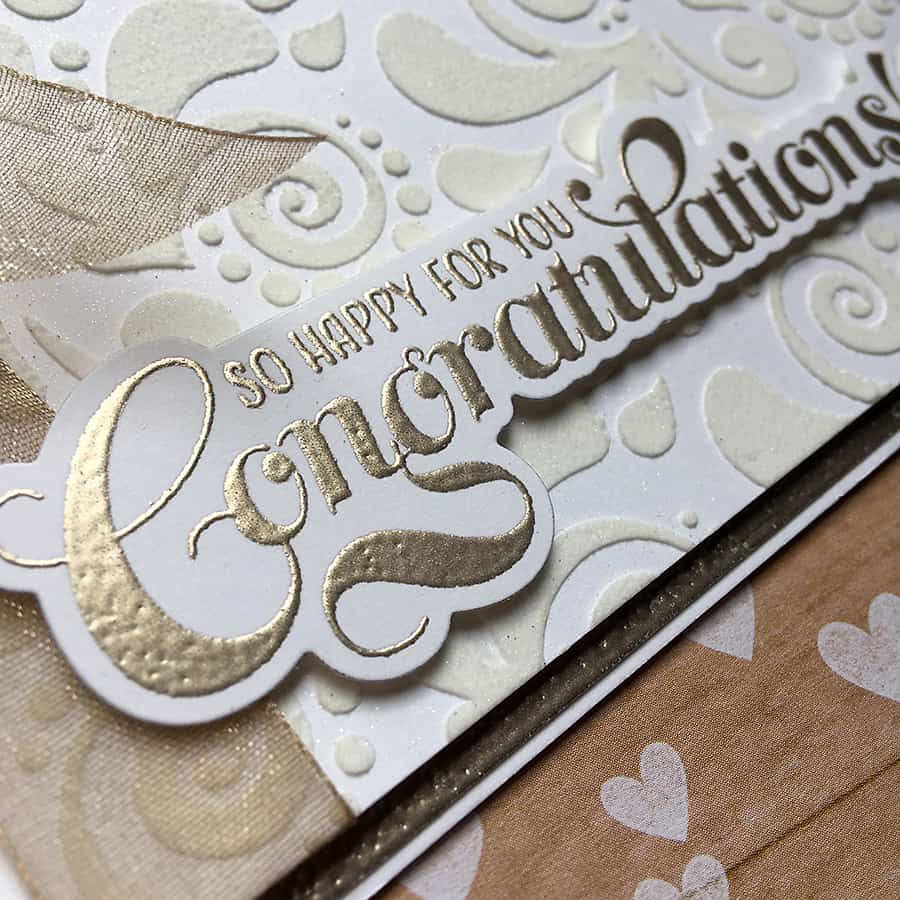
To make the matching edge, I grabbed a piece of white card and swiped the edges with Versamark Ink, sprinkled it with more embossing powder (Liquid Platinum, same as the sentiment) and heat embossed the whole thing.
I may try to edge some tags like that – it makes for a nice finish 🙂
Thanks for coming by to see me try out embossing two ways on my “congrats” card. If you like this post, please share the love by pinning it on Pinterest!
