Technique: Embossing Paste and Glitter
For today’s card, I decided to play around with embossing paste and glitter. I usually shy away from techniques that cause a mess. I’d need to clean up before I can move to the next step in my card – partly because my crafting time is limited, but mostly because who wants to clean while they are playing with cool stuff?
Embossing paste and glitter, however, is worth the effort.
I accidentally deleted the photo that showed how to spread the embossing paste over the stencil, so let me write a step by step to get to the next part.
Stick down the piece of cardstock you want to emboss on. My advice is to use a piece that’s a little bigger than you need so you can trim neat edges later.
I use repositionable adhesive and adhere my 5.5″ x 4.25″ cardstock onto a piece of scratch paper. Pick the stencil (I used Pointed Star Stencil, Jenni Bowlyn) you want to use. Position it on top of the cardstock how you want it to look, and using a wide tape (such as painter’s tape, a Post-It tape roll, or adhesive masking paper – something that won’t damage your cardstock) tape down the top of the stencil so you can lift it like it’s on a hinge.
Make sure the stencil is covering the all of the cardstock, otherwise protect the areas you don’t want to emboss. Then tape the sides as well. If you are careful, there is no need to tape the bottom. Your cardstock and stencil should be secure.
Now you are ready to spread your paste. For this card, I wanted to color my embossing paste to match my green card base. I also wanted it to be a little sparkly.
[bctt tweet=”When in doubt, just add #glitter ” username=”cardstoq”]
I used a reinker from ColorBox to add a few drops of dye ink to my embossing paste and glitter, then smooshed it around with my painting knife until it was well mixed:
Starting from the top, I spread the paste as smoothly and evenly as I could, using the edge of the knife to scrape away excess paste. The key here is to not press hard on the stencil – you don’t want to force paste under the pattern openings; a light hand and smooth passes are what you’re aiming for to create a thin, even coat. It won’t look like it’s thick enough, but believe me, once you lift the stencil you will see how deceiving the paste is 🙂
From here, you need to hold down the bottom of your stencil with a finger, and carefully peel up the tapes on the sides. Don’t take off the top tape yet – use it like a hinge to slowly lift, then remove your stencil. Ta Daa!
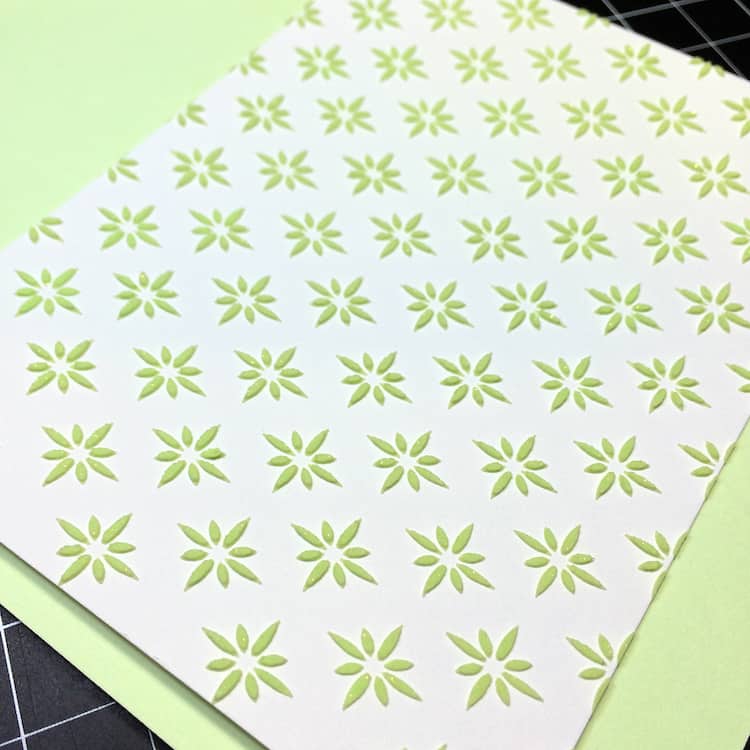
Set your cardstock aside to dry. It doesn’t take long. You can trim off any edges you need to make it fit your card. I trimmed this one to 5.25″x4″.
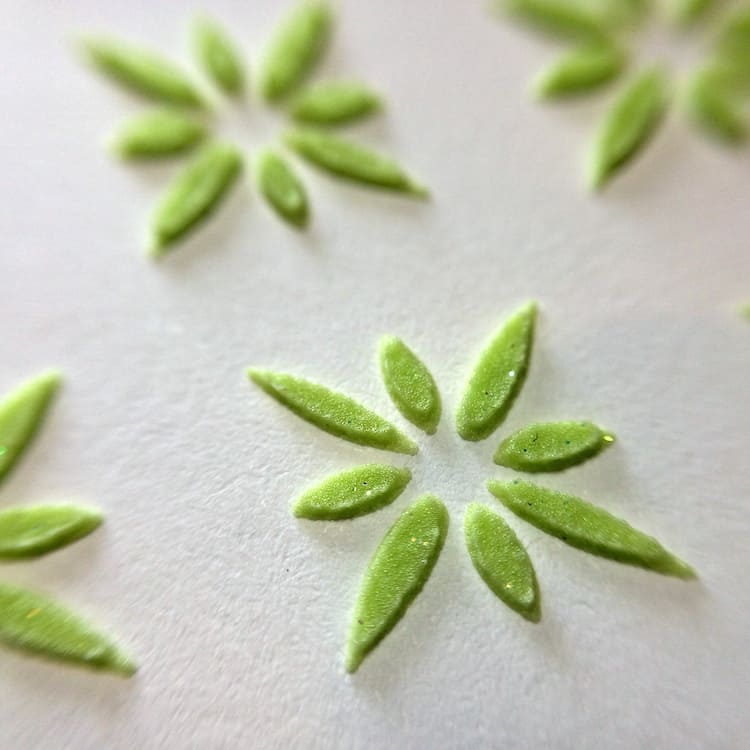
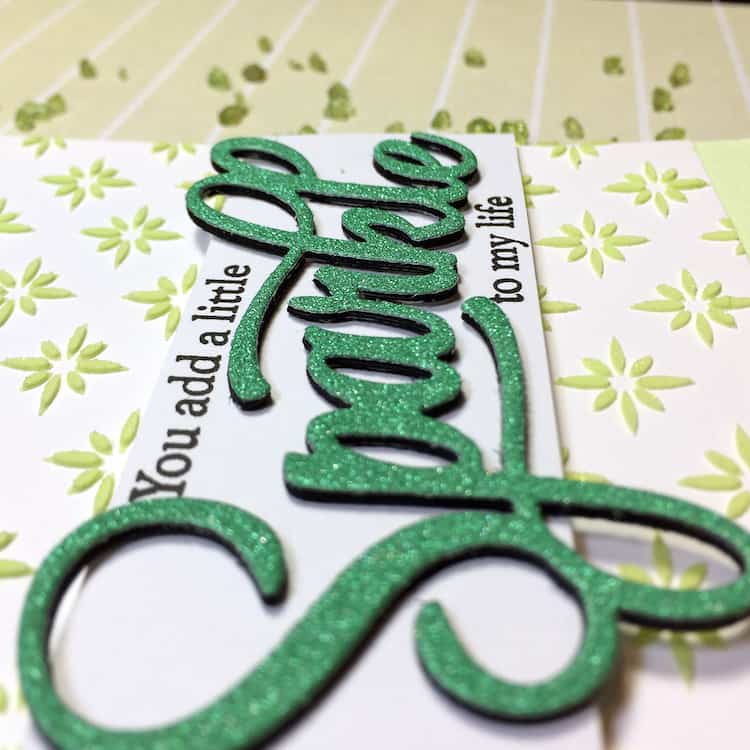
Here’s a close-up so you can see the glitter:
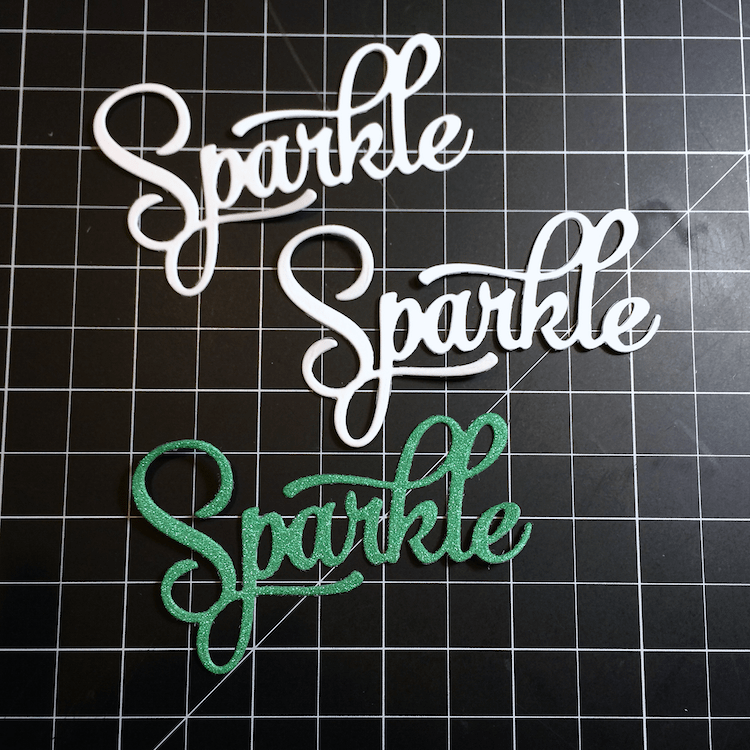
Now, for this card, I die cut the “Sparkle” portion of my sentiment two times out of heavy cardstock and once out of glitter paper for the top layer. I wanted to make it stand out like chipboard on my card, so I lined up and layered the cardstock bits and then the glitter paper layer, sandwiching them with glue as I went.
Here is the silly part: once I had them all stacked, glued and dried, I colored the edges with my black Sharpie to give it a more finished look. In hindsight, I could have just die cut them from black cardstock and saved me five minutes. Always the hard way, lol!
I cut a 1.5″ x 4.25″ piece of cardstock and flagged the end. Using my die cut word, I positioned the stamps for the stamped portion of the sentiment around the die cut, then used my stamp press to pick them up so they were in the exact places I needed. Then I inked and stamped them, and adhered “Sparkle” in place.
You can see how the stacking of the die cuts with black edging really makes it stand out 🙂
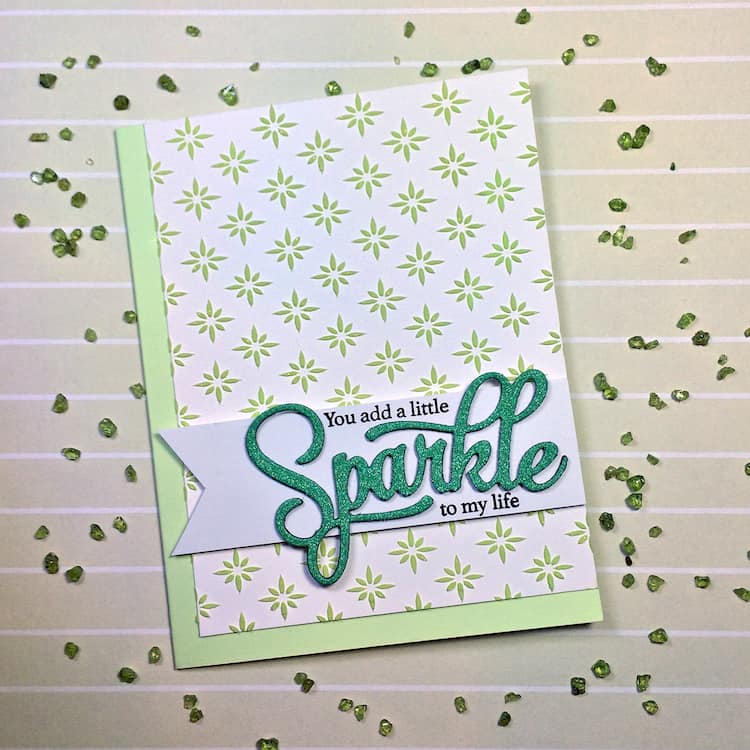
To assemble, I stuck my embossed panel onto my card base with my usual glue runner, then adhered the flagged sentiment (Sparkle & Shine, Papertrey Ink) with thin foam squares to make sure it would stick to the dry embossing paste. Here it is once again:
Thanks for stopping by to see how I made this card with embossing paste and glitter. If you liked this post, please share the love by pinning it on Pinterest!

The links below are affiliate links to the products I used today. There’s no additional cost to you, and if you decide to click and shop, I really appreciate the support! Thank you!


Love that embossing paste and the gorgeous finish you got with it! Such a fabulous creation. The Sparkle sentiment is fab! Hugs, Wends xoxo
Beautiful. I’m going to try this.
Yay! I’d love to see what you come up with!
Beautiful. I’m going to try this.
Beautiful card and very cool way you created the background.
Thanks, Janis!
I really like how clearly you explain the whole process. I don’t ever use stencils or paste myself, but enjoyed reading every bit of it! The tip to add glitter also caught my attention 😉 It’s almost temping to purchase some paste and try this technique! <3
I think you’d like it, Margarita. Imagine how it would look as a background to your Kimmie stamps!