A Clear Emboss Resist Card for Valentine’s Day
I have a bunch of velvet paper scraps left over from my SEI Cardmaking Kit days, and I never seem to find a good use for it. The stuff I make is usually embossed or die cut or stamped or quilled, and pretty geometric for the most part. I feel like the velvet is a little more shabby chic.
For this card, though, I wanted something more textured than plain cardstock, and I had a lovely scrap of dark gray velvet that went really well with my red/pink distress inks.
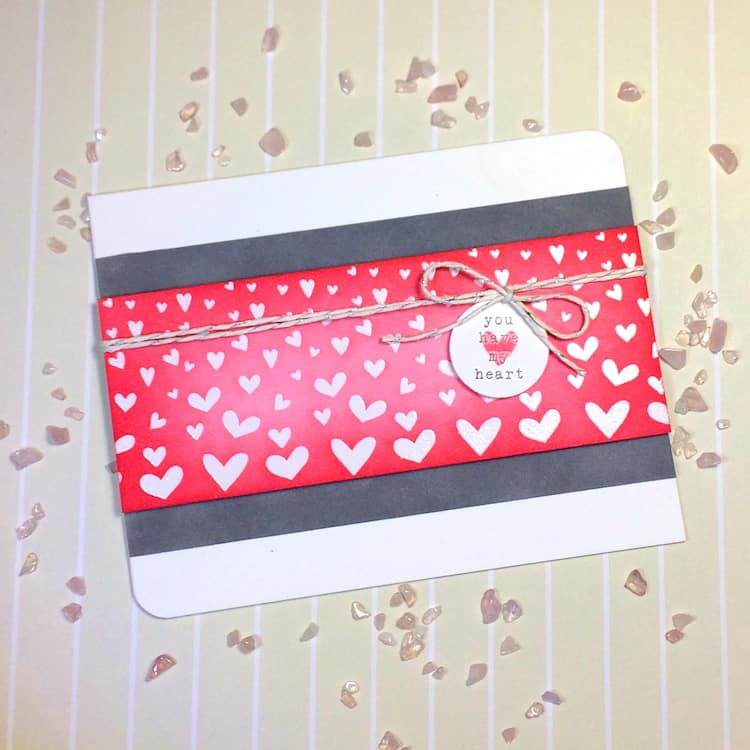
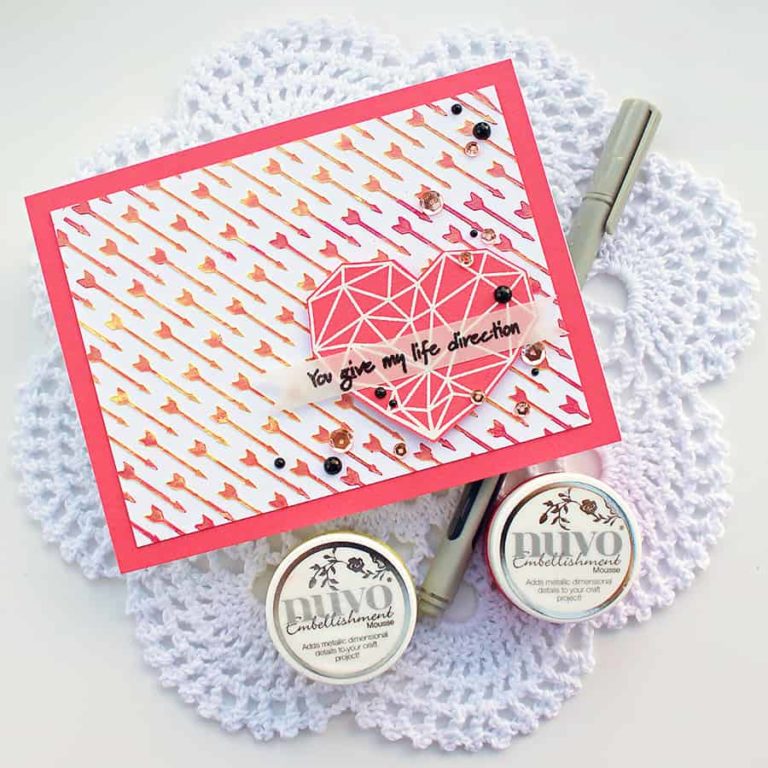
I stamped the heart images onto a wide strip (about 2.5″x 5.25″) of white cardstock with Versamark ink and heat embossed them with clear powder so they would resist any color I would be adding.
Using a round blending tool, I started at the edges of the paper (over a handy-dandy nonstick craft sheet, of course) and worked my way into the center of the panel with Worn Lipstick. I then used Festive Berries just around the edges to ‘rosy’ up the color and provide a little dimension.
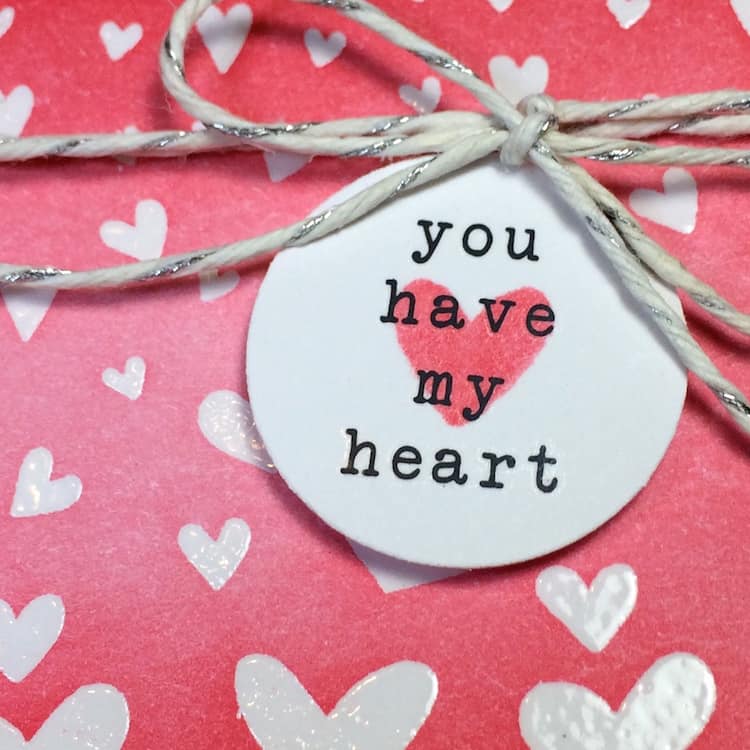
A little swipe with a baby wipe and the hearts came clean and white! I notched the edges of the paper with my detail scissors to keep my twine from moving around, tied a bow and using a little multi medium in matte, shaped it the way I wanted it. You can see the resist embossing up close here:
For the sentiment, I had a package of rub-ons that I chose “you have my heart” from. But, before I put it on my little punched 1″ circle, I grabbed a Copic Sketch in Bougainvillaea (R43) and made a heart shape. To do this, press your brush marker tip down along its side to make one-half of the heart, then move to the other side of the teardrop shape you made and press again, keeping the pointy end of the heart and your marker tip in the same place:
You can see the darker overlap where I moved right after making the first half of the heart. Don’t worry, though – it dries even and you can make lots of perfect little hearts on your cards this way 🙂
I rubbed the sentiment on over the heart and adhered the circle right under the bow with a foam square, and then stuck the bow knot to the top edge of the circle with a little dab of glue so it would look like it was tied on. From there, I got my 3.5″x5.25″ piece of gray velvet and layered that onto a white card base.
I found out the hard way that none of my glue runners would stick to the velvet, though. What did stick, however, was my favorite little foam squares – so that’s what I used to adhere the inked panel. To finish, I just rounded the top right and bottom left corners.
Thanks for coming by to check out my emboss resist card for Valentine’s Day. If you liked this post, please share the love by pinning to Pinterest… I’d really appreciate it!

The links below are affiliate links to the products I used today. There’s no additional cost to you, and if you decide to click and shop, I really appreciate the support! Thank you!

