Making Custom Planner Stamps with the Mint
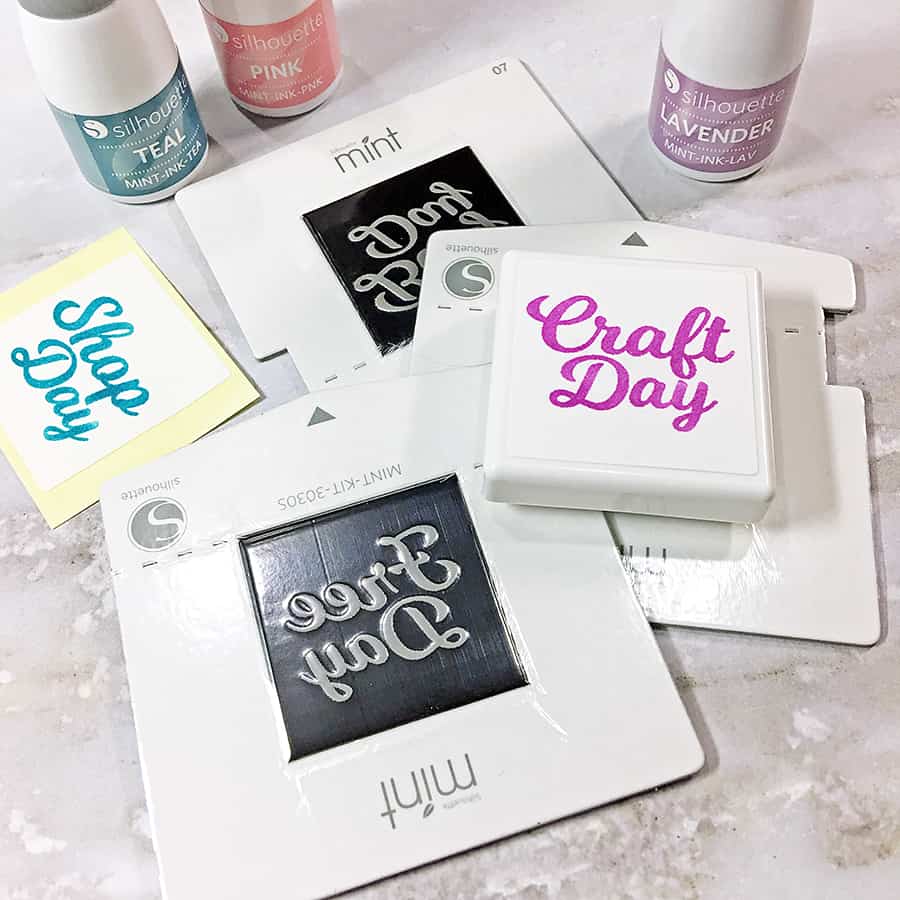
Did you know you can make custom planner stamps with your Silhouette Mint? Yep, it’s a thing! Today, I want to tell you about what I made for my planner over the weekend, and how it can save you time when you’re putting together your week on paper.
Over the past year, I’ve been using a paper planner to schedule my days. Partly because I like pretty colors on paper, but mostly because I had a few instances where things were “scheduled” on my phone, but forgotten about anyway. Out of sight, out of mind. It turns out that planning, no matter what medium you choose to use, only works if you actually go back to it and check what’s going on/follow the plan.
Throughout my journey, I found that I was scheduling similar tasks every month.
You know, like deadlines & Taco Tuesday.
We all have things we do on a regular basis, am I right? For me, I have theme days (free, craft, home, blog, and shop). If you’re the type of person that get easily distracted by all the things you need to do BEFORE you do the things, then themes are for you.
Anyhow, I figured since I was writing out these themes each week, I should make stamps and show you how much faster your planning can be 🙂
To start, fire up your Mint software and type out what you want your stamp to say using the Text tool.
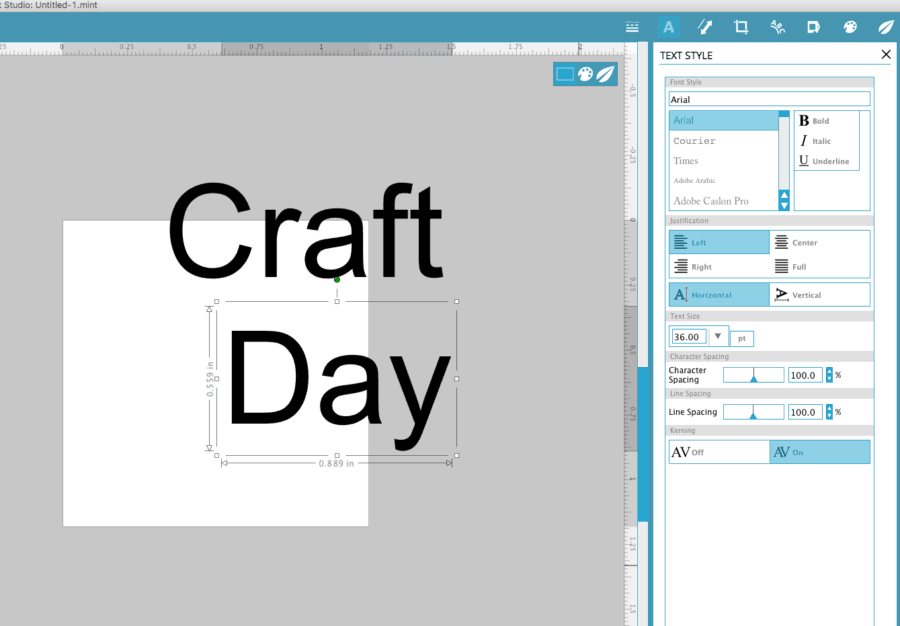
I typed ‘Craft’ and ‘Day’ separately because I knew I may need to shuffle around the words to balance out the look. You should do this too, then try a couple of variations and pick out the font you like best.
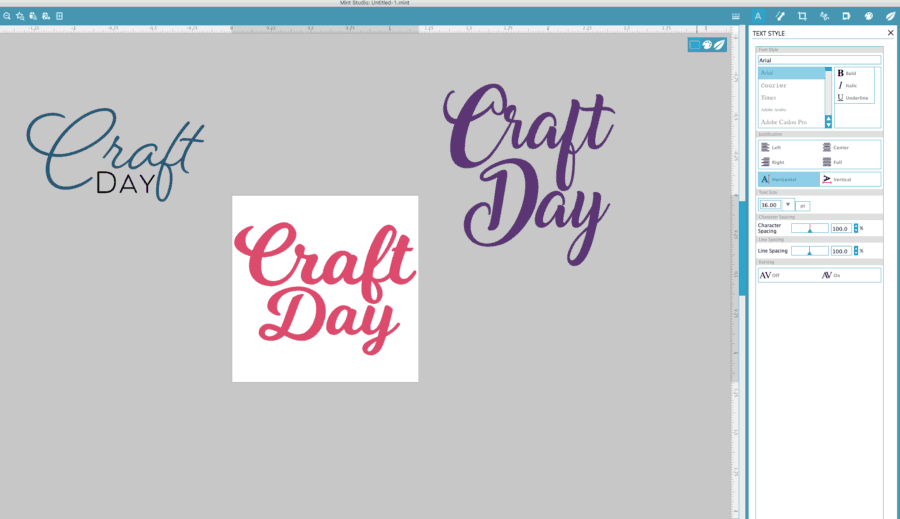
The font I used is called Milkshake, and it’s free to download at Fontsquirrel. I ended up having to break apart the word ‘Day’ so I could fit them together nicely; the regular spacing looked too far apart.
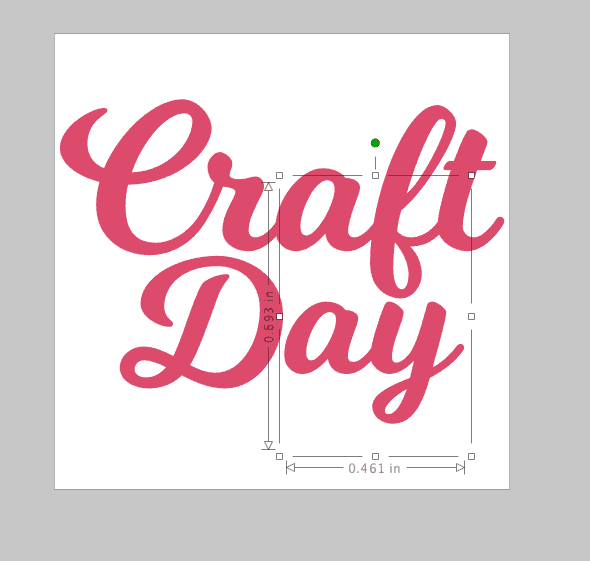
That’s essentially it… the Mint is crazy simple to use. Send your design to the Mint (click the leaf icon) and insert a 30mm x 30mm stamp sheet. Which, incidentally, is the perfect size stamp for the squares in an Erin Condren LifePlanner.
Once the machine prints your stamp, peel off the plastic and carefully remove it from the cardboard backing, adhere it to the mount, and ink it. Let the ink soak in, stamp it off a few times, and you’re ready to go!
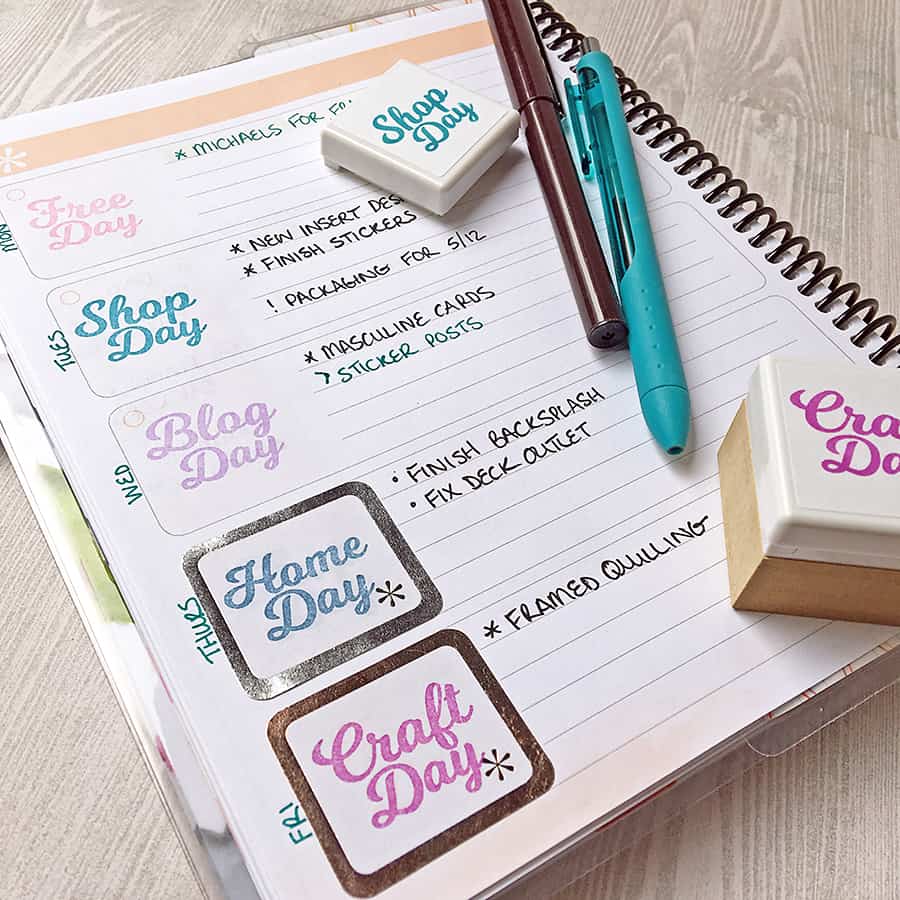
Besides making custom planner stamps, I use this little machine for branding cards and customizing packing slips in the shop. Expensive custom ordered stamps? Pft.. who needs ’em when you can have any stamp you want on demand?!
<3 Niki

So cute! But easyvtoo! Love the idea! TFS
Thanks, Netra!