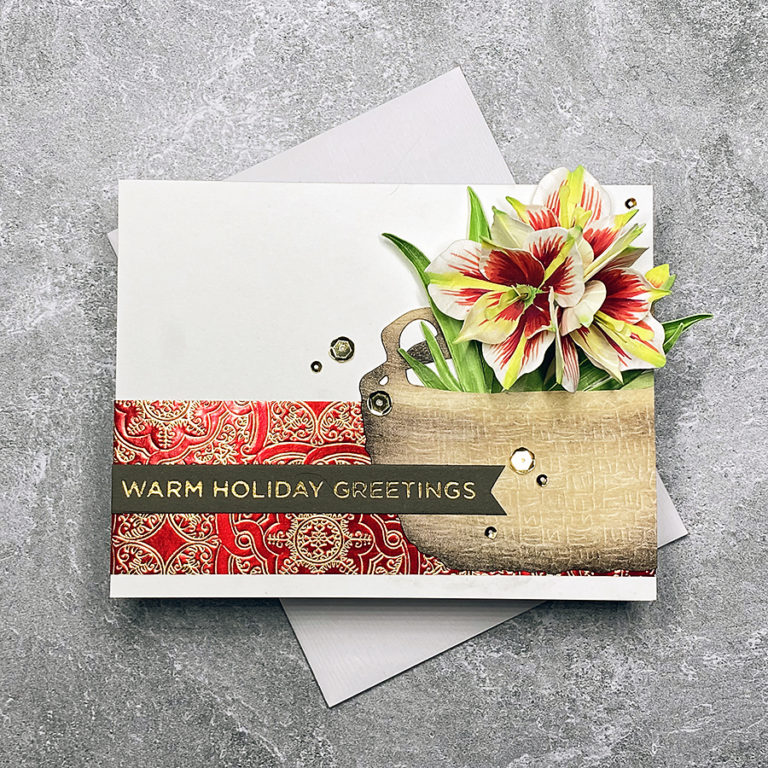
Christmas Wishes Card Kit | 5 Fun & Easy Cards
I have five fun & easy cards for you today, courtesy of the lovely people at Spellbinders! They sent the November ’19 Christmas Wishes Card Kit to see what kind of projects I could conjure up. It’s no wonder they are still stocking them… you can make so many cards with this box, and the goodies inside are gorgeous.
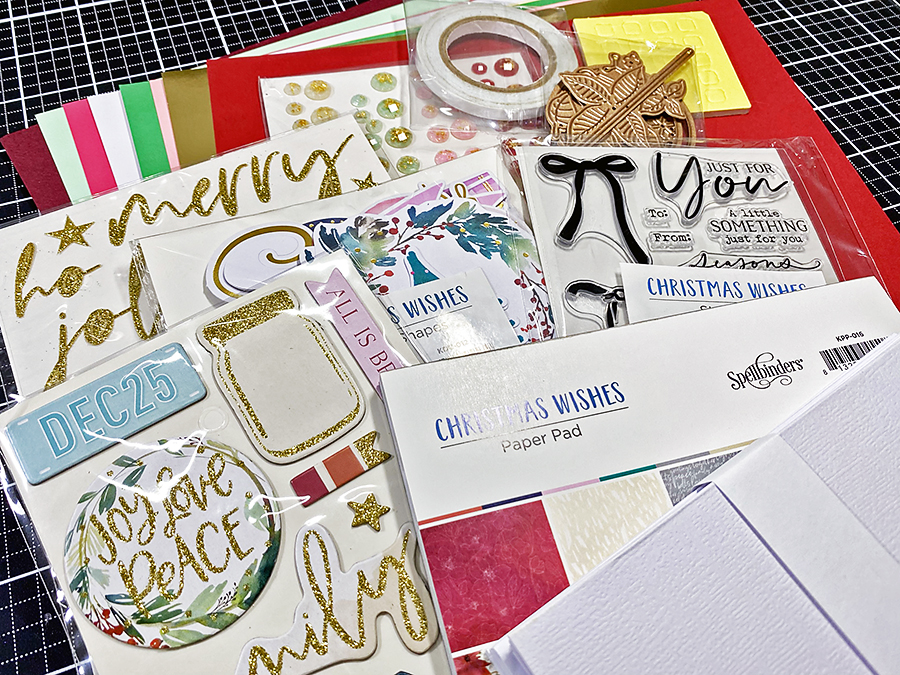
I tried my very best to use only what came in the kit, and I think I did pretty well. Ultimately, the only other necessities I used were Aleene’s Tacky glue, WRMK Detail Scissors, a TH mini trimmer, and my Platinum 6.
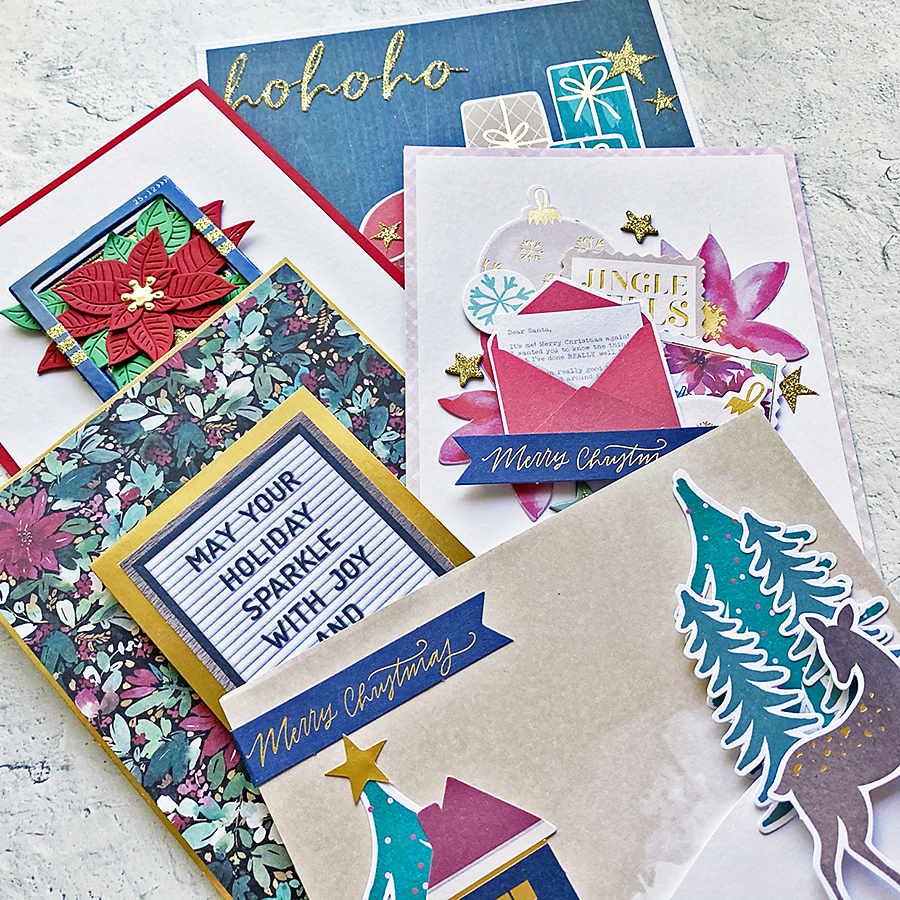
I spent a lot of time sorting through all the die-cut images, cardstock, and chipboard stickers to make up holiday scenes I could put together for the card fronts. This kit truly has everything you need to make a bunch of cards, including the adhesives!
These are just a few of what I came up with.
Card 1
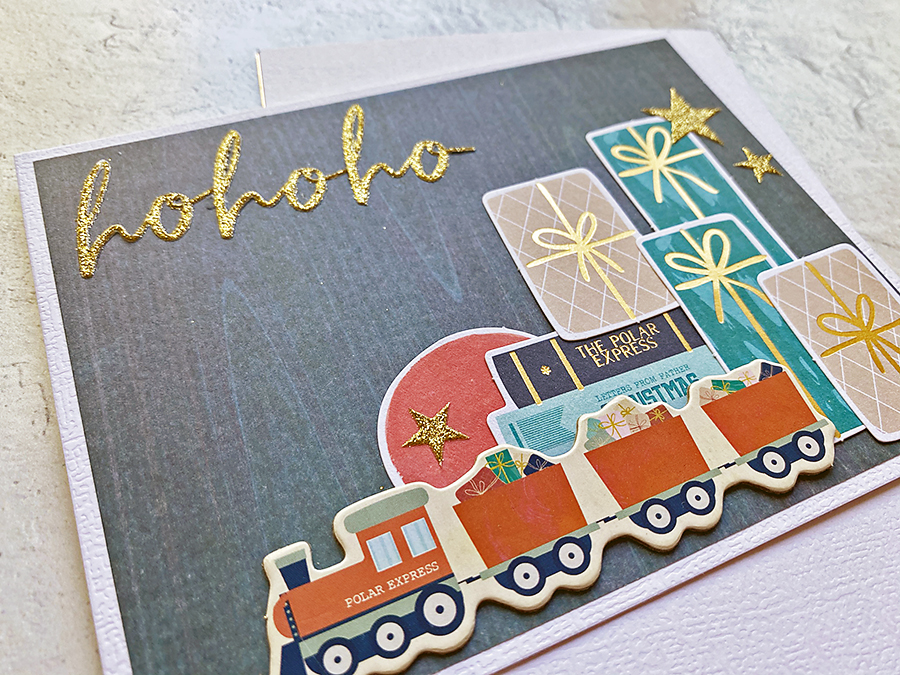
I used a mixture of the die-cut images, the glitter word stickers, and the cute ‘lil Polar Express chipboard sticker to create a gift pile layout for the first card. The blue wood background is out of the coordinating patterned paper stack that came with the kit. Don’t you love those colors?
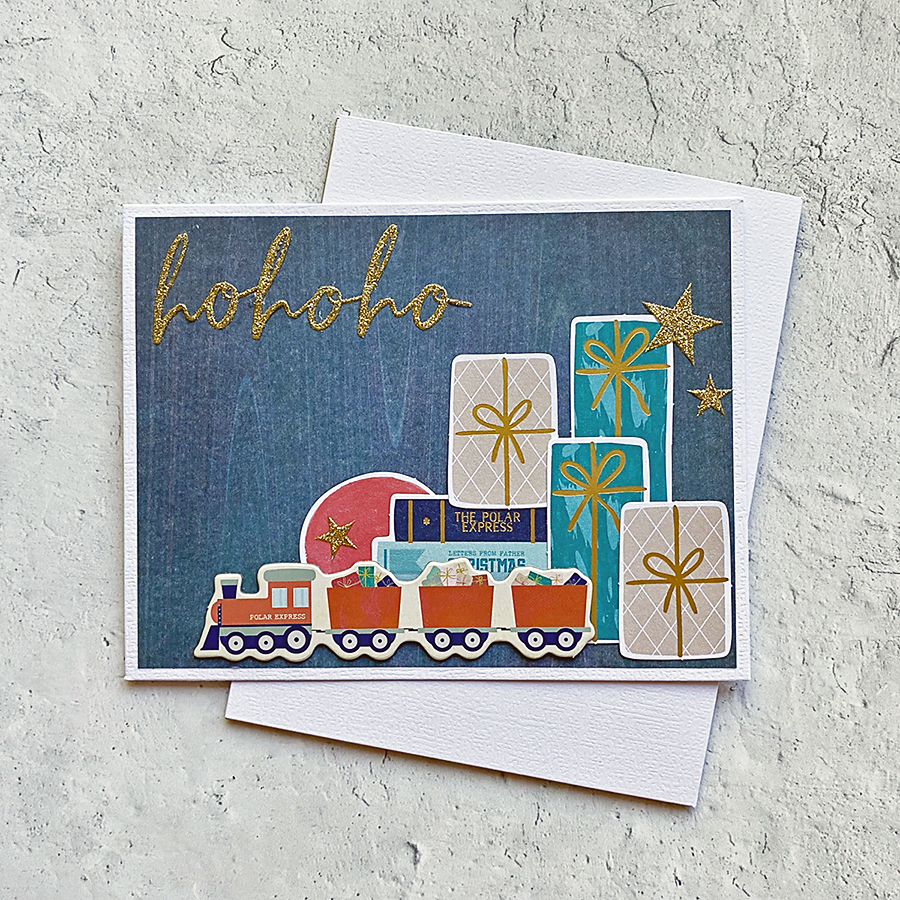
But don’t confine yourself to exactly how everything is in the kit. For example, I wanted to add a bright, shiny rubber ball to the gifts. So, I simply trimmed the top off of a Christmas ornament die cut and tucked it neatly in behind the books. Add a glitter star or two, and ta-da!
Card 2
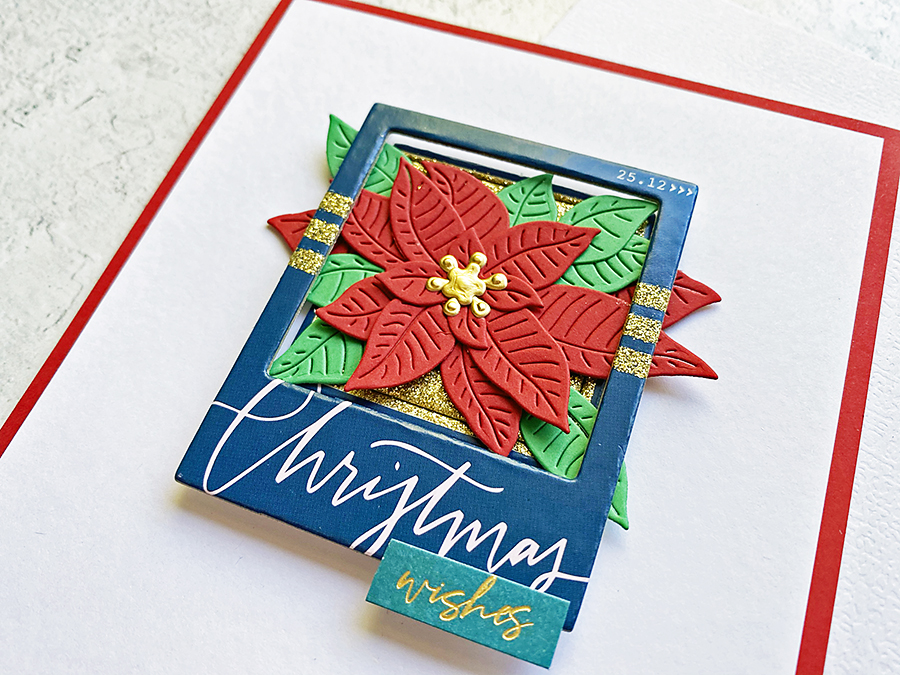
For this card, I decided to use the poinsettia die included in the kit. It also comes with two ornament dies (which, by the way, look ah-mazing when cut from the gold sheet!), but I didn’t use those today. I was going for something with lots of white space, so I popped out the chipboard frame sticker and framed my die-cut poinsettia.
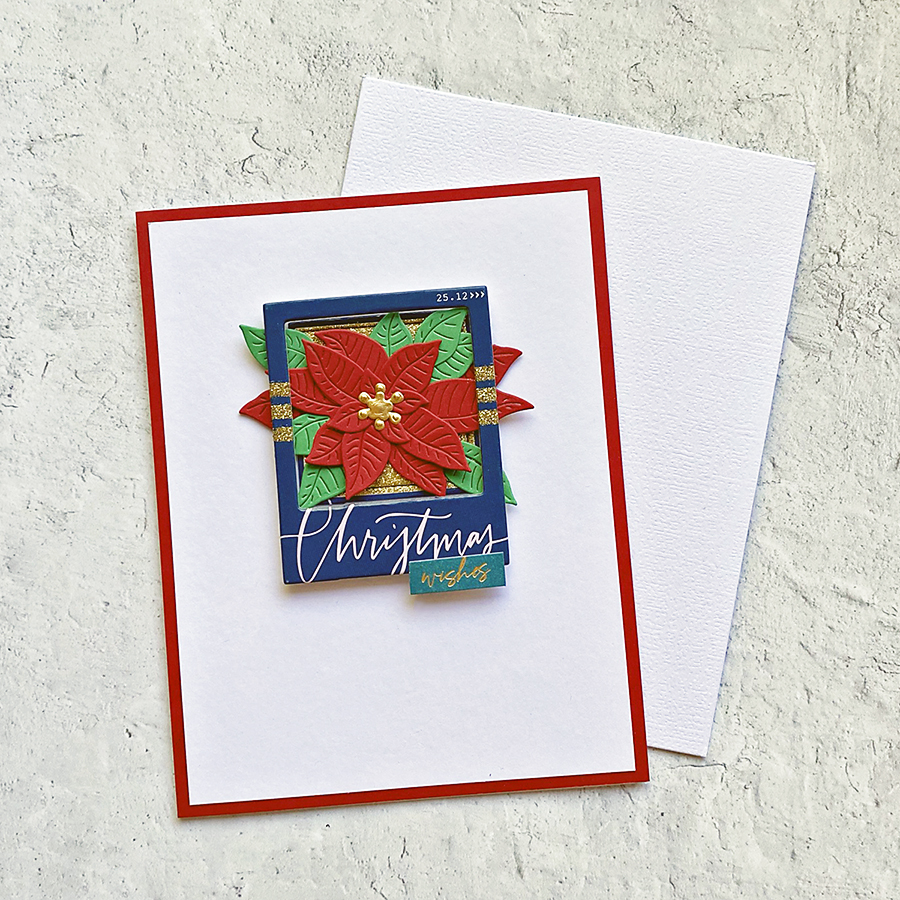
I felt like I wanted to add something else to the sentiment since “Christmas” in this context seemed unfinished. There was a die-cut sentiment that said “holiday wishes,” which was perfect – I snipped it in half and attached “wishes” to the chipboard frame with a dab of glue.
Card 3
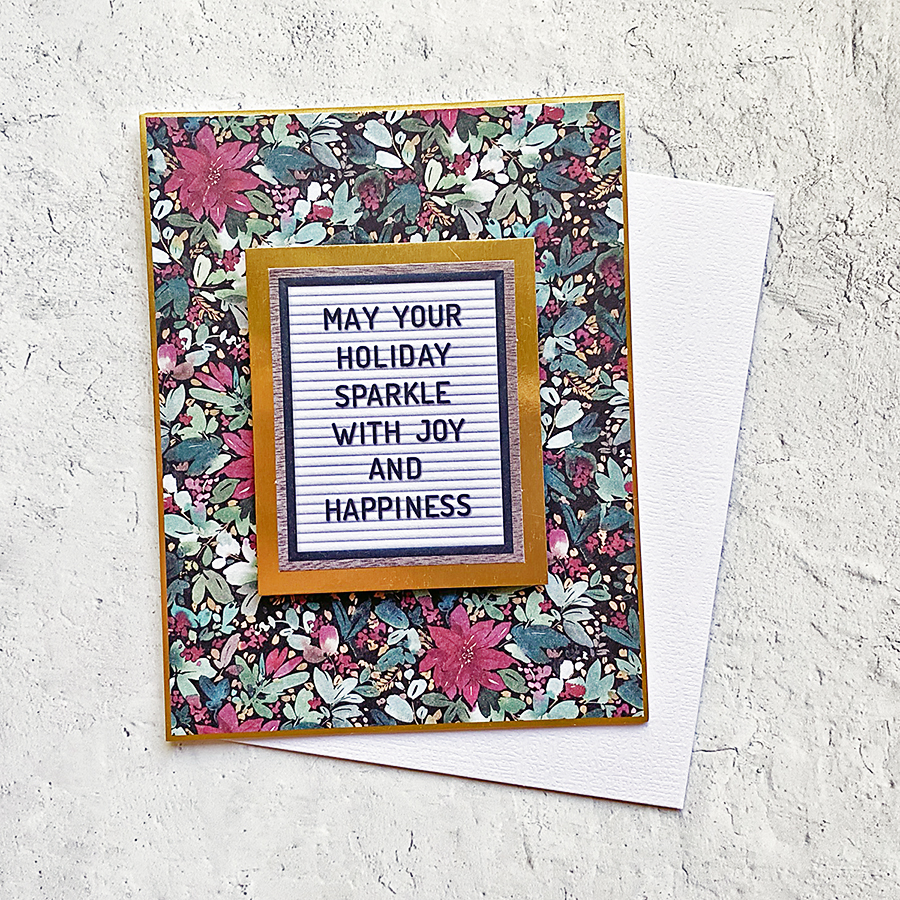
This one is super easy. And… you can make two of them! Each of the die-cut images that come in the kit has two copies. For this card, I simply framed this die cut sentiment with gold foil paper, then cut a beautiful background from the patterned paper stack. Then, I matted the whole card front in gold and added it to one of the folded card bases.
Card 4
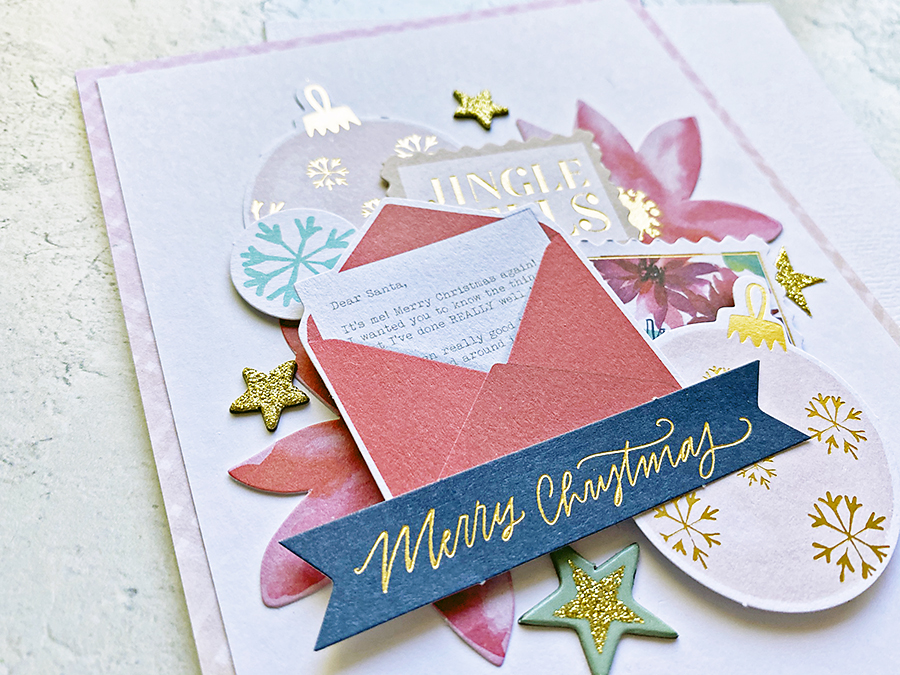
There are so many beautiful die-cut images in the Christmas Wishes kit, and I really wanted to use them all. This card is probably my favorite… love the collage look! I chose a clean white cardstock for the background and matted it with a lovely plaid patterned paper.
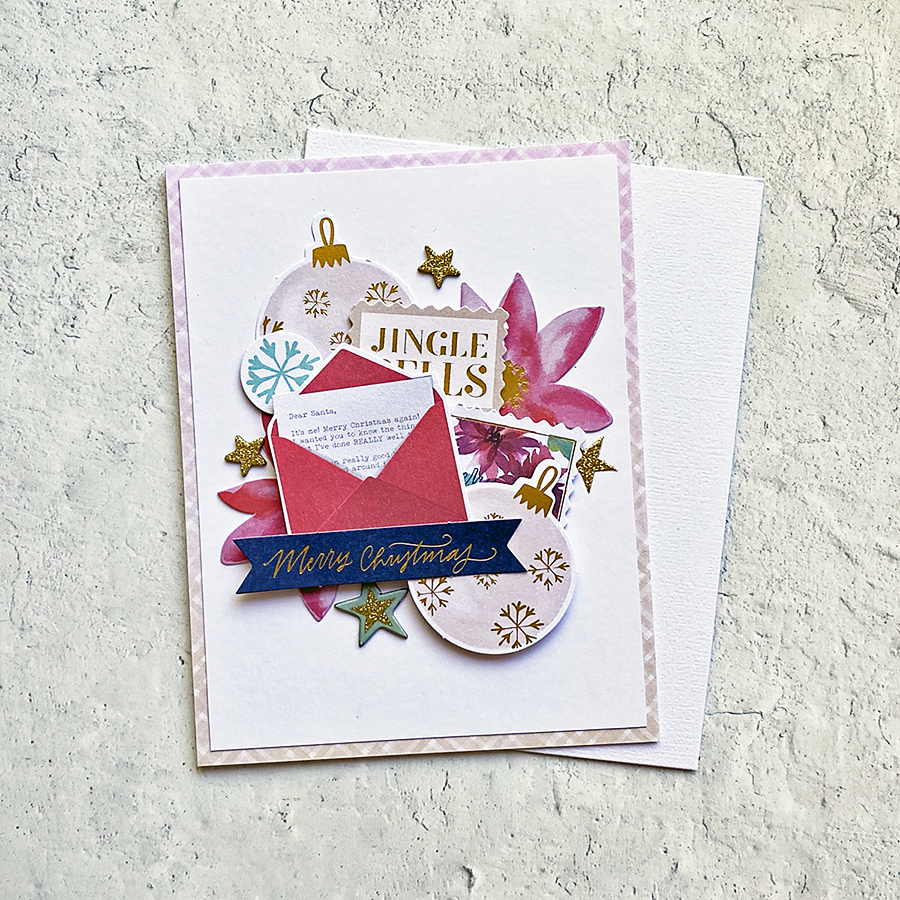
I picked out some of the prettiest die-cuts. Then, I arranged them with a mixture of glue and the foam adhesive from the kit to create dimension. But, I wanted to create three levels of height. So, I trimmed up a small chipboard sticker and used it behind the “jingle bells” and “merry” stamp shapes.
That lifted them just enough from the flat shapes; then, I added some glittery stars from the sticker sets to finish it up.
Card 5
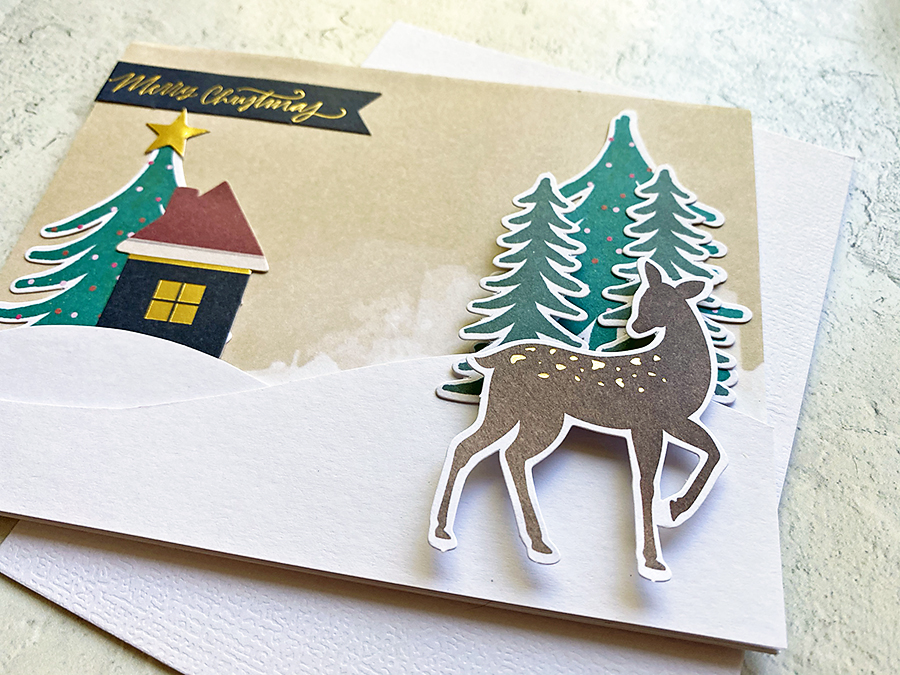
You can create SO MANY fun & easy cards with this kit! As soon as I saw the deer and tree pieces, I knew this scene would happen. I chose a tan patterned paper for the sky because it had some white on it, and when you turn it upside down, it kinda looks like snow blowing around. It was perfect for behind the hills, which I cut freehand with a pair of scissors.
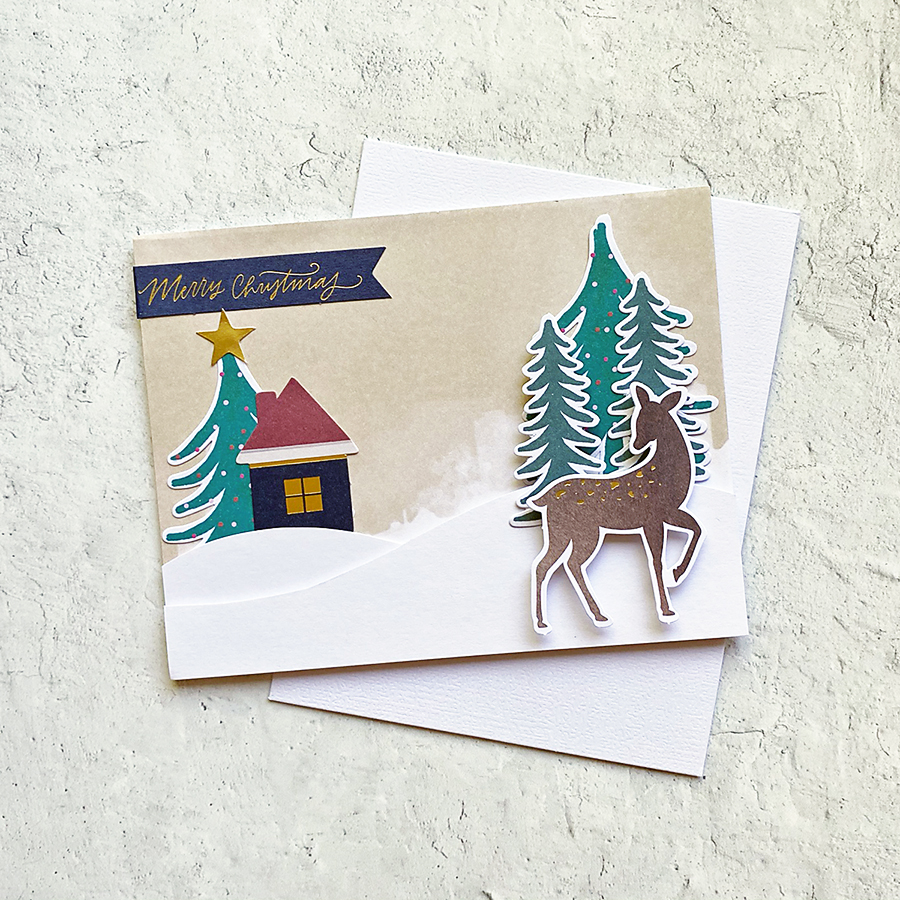
The flecks of gold on the deer and the sentiment add something special to this scene, and the beauty of it is that they come foiled just like that. I felt like the tree by the house needed something else to balance the deer and trees, so I added a foiled star to the top. Perfect. 🙂
Thank you for stopping by today to soak up some inspiration from these five fun & easy cards. I would love to see what you make with the Christmas Wishes Kit – tag me on social media @tealkatdesign!
