Celebrate You: A Happy, Pastel Watercolor Card
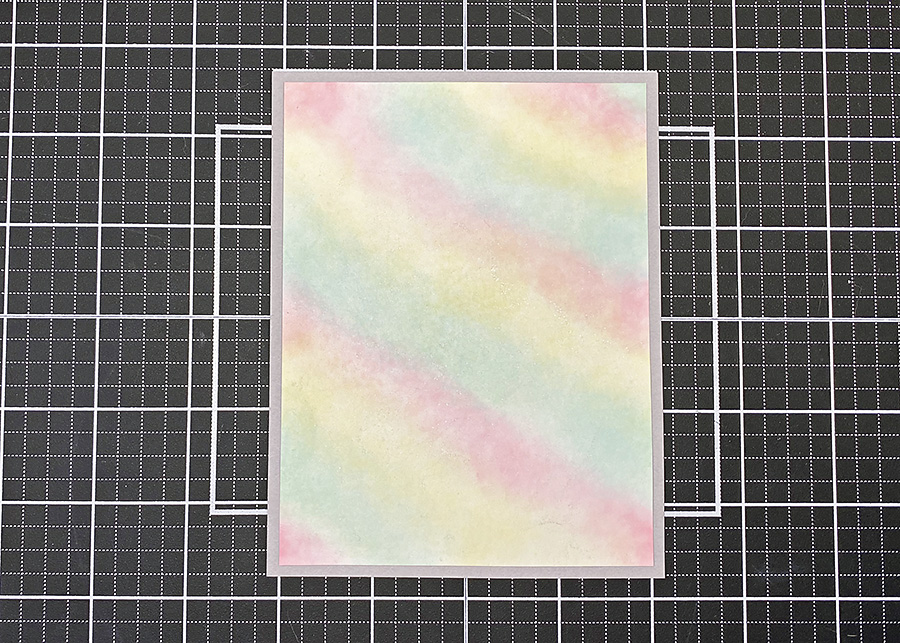
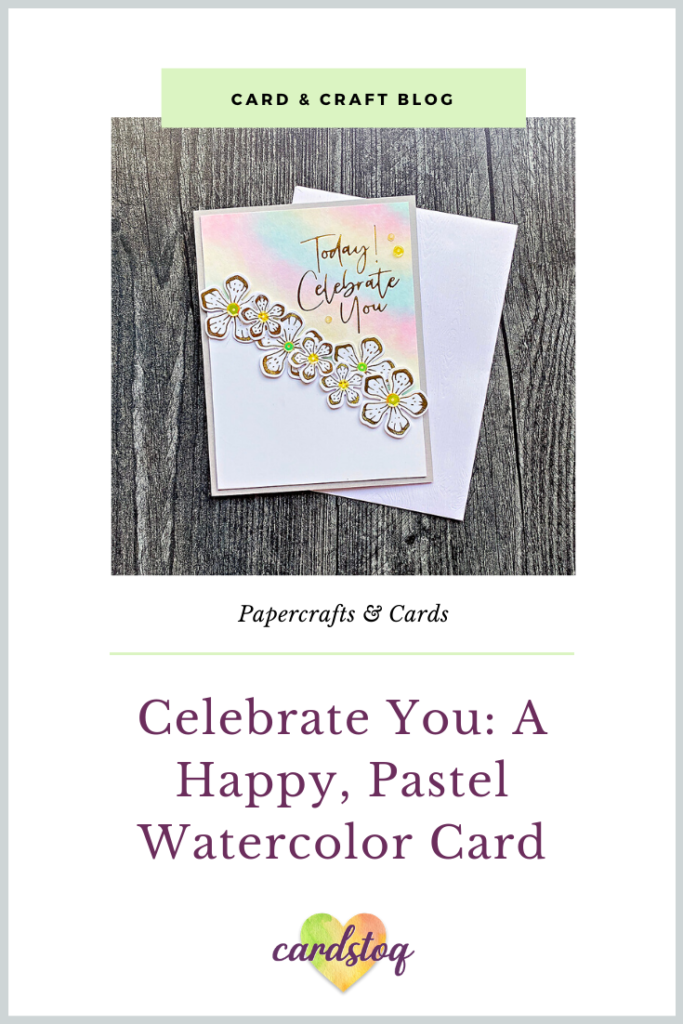
Hello, friends! On my quest to use up backgrounds I had previously made, I came across this lovely pastel watercolor panel. There are still quite a few in my stash to choose from. The colors on this one, though, really spoke to me today. The stripes are so pretty, don’t you think?
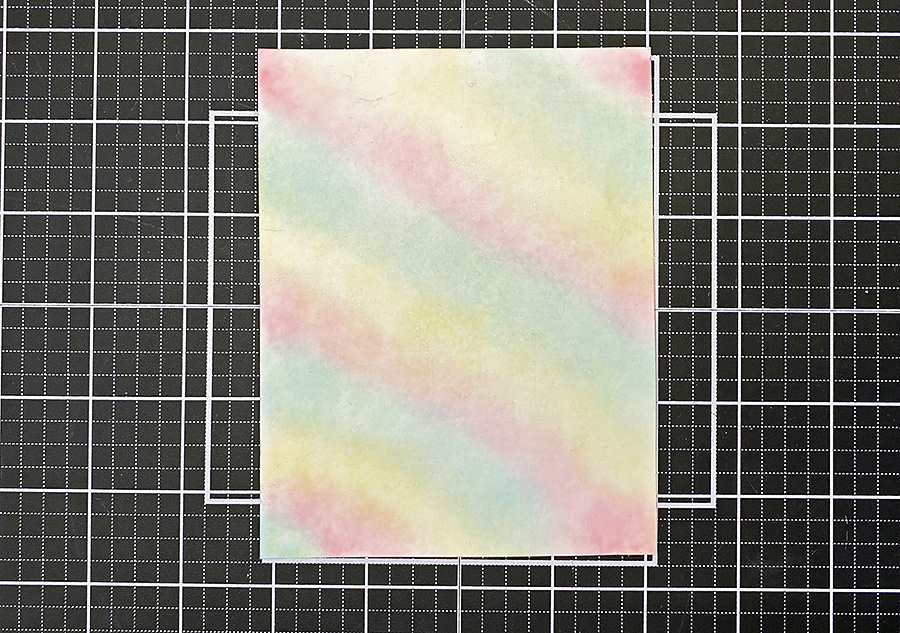
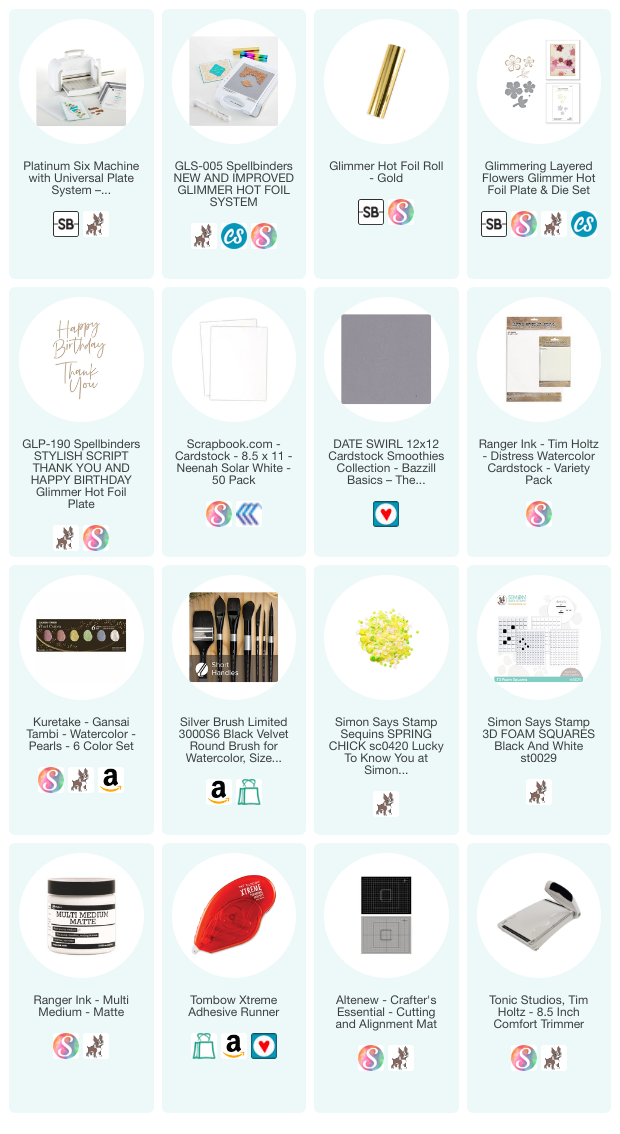
Sadly, I don’t have photos of how I painted this. But, I used Gansai Tambi Watercolors in Pearl to add stripes of color on an already-wet piece of watercolor paper. That way, the paint blended beautifully all on its own without getting muddy. Did I mention that it has sparkles in it, too? It’s hard to get with a photo, but look closely – it’s SO pretty!
Prepping the Pieces
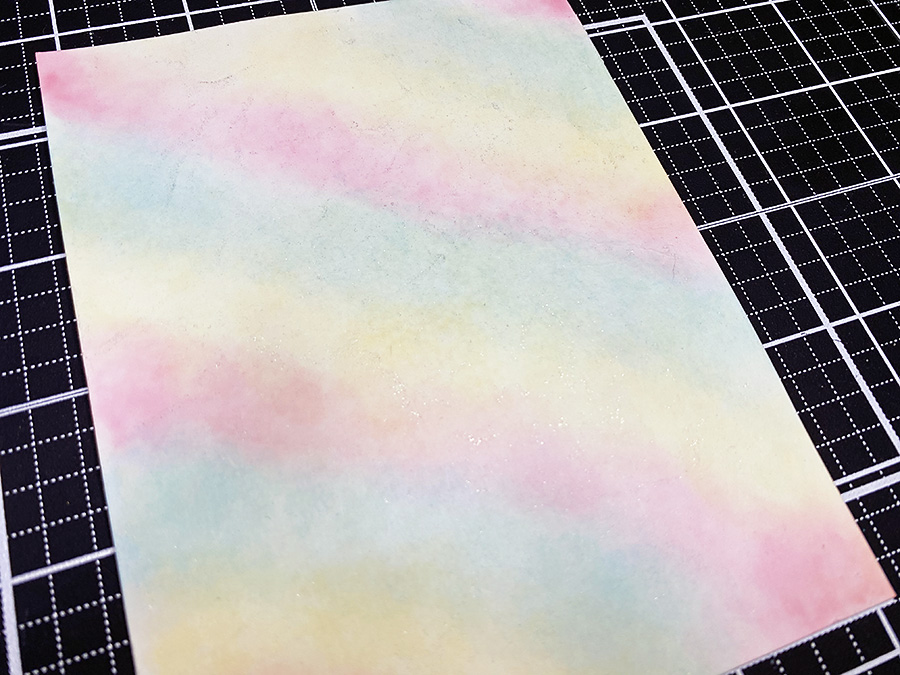
To start this card, I trimmed down the pastel watercolor panel to 5 1/4″ x 4″. I had an A2 sized piece of Bazzill cardstock in Date Swirl that matched quite nicely, so I matted the painted piece with it.
For the white angled overlay (Neenah Solar White), I marked the sides at 1 3/4″ on the left and 4 1/4″ on the right and used my little guillotine trimmer to cut the angle.
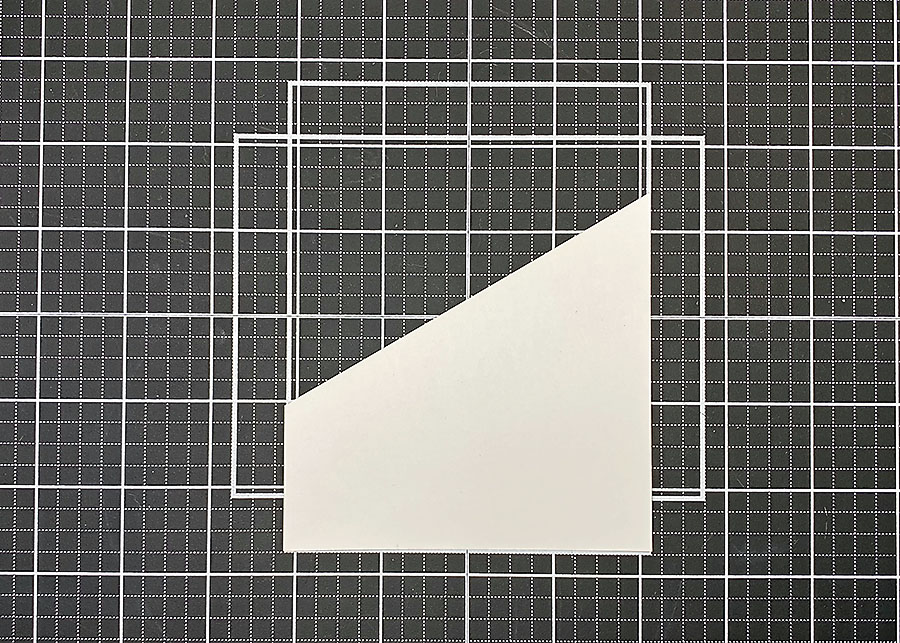
Then, to make it fit over the pastel watercolor piece and make room for flowers, I trimmed 1/8″ off the left and right sides and about 3/4″ off the bottom. At this point, I also decided to flip the orientation of this piece to make room for the sentiment as well. Check out the photos below to see what I mean.
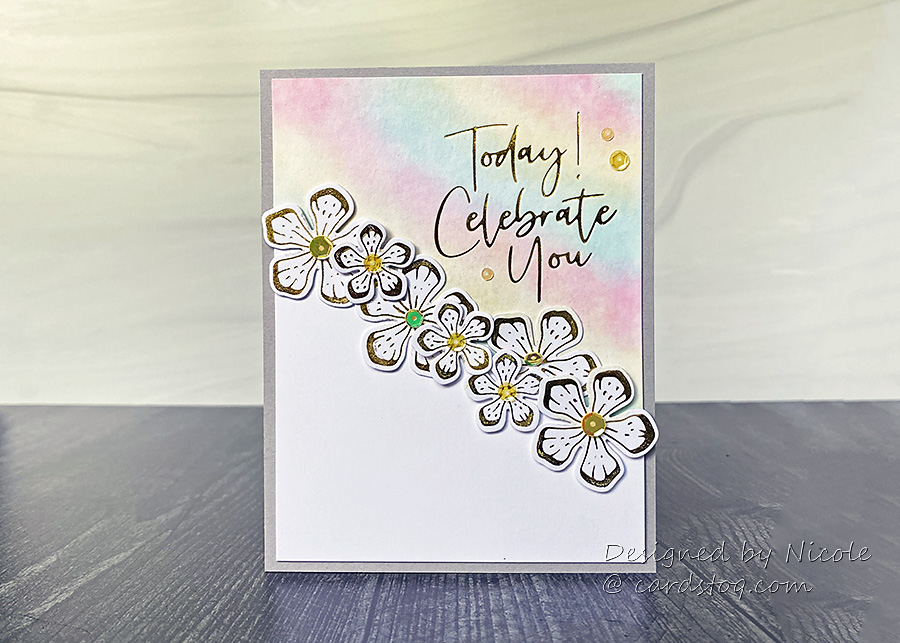
Now for the fun stuff – hot foiling! The sentiment I chose to use on this card is part of the For You Glimmer Hot Foil Plate Set from the Stylish Script Collection at Spellbinders. I foiled it on the top right-hand corner in Gold using my Glimmer Hot Foil System and a Platinum 6 machine. It always comes out amazing!

Protip: If you have some foil transfer to a place you weren’t expecting, a white pencil eraser will clean it up in a jiffy. 😉
Putting It All Together
Next up, the flowers. These hot foil plates are from the Glimmering Layered Flowers plate and die set. I had several of these foiled in Gold on Neenah Solar White cardstock, just waiting for the perfect project. I adhered the white angled panel and arranged the flowers to try and hide the seam.
To keep them in place, I used a mix of small Foam Squares and my favorite Tombow X-treme tape. That added a bit of dimension to the design, too.

Then, it was just a matter of adding a little more sparkle and shine. I found a container of Spring Chick sequins from Simon Says Stamp, and they were perfect for flower centers! I used Multi Medium Matte to stick them in place.

Once everything was dry, it was time to adhere the finished panel to an A2 card base.
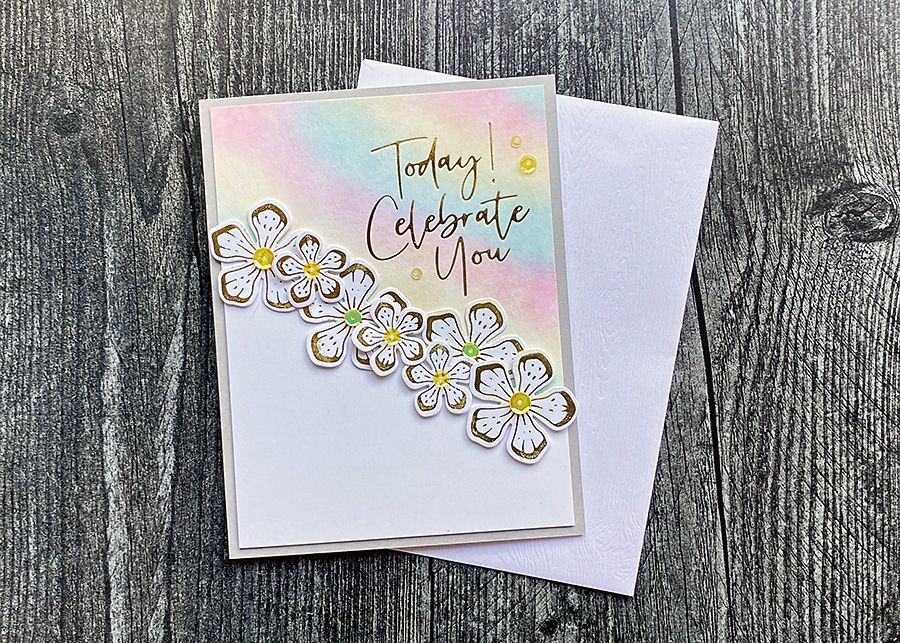
Thanks so much for reading today! Pop a comment below and don’t forget to pin this idea to your inspiration board on Pinterest!
Here’s another watercolor card I think you will love!

