Have You Heard The Buzz + February 2019 Kit
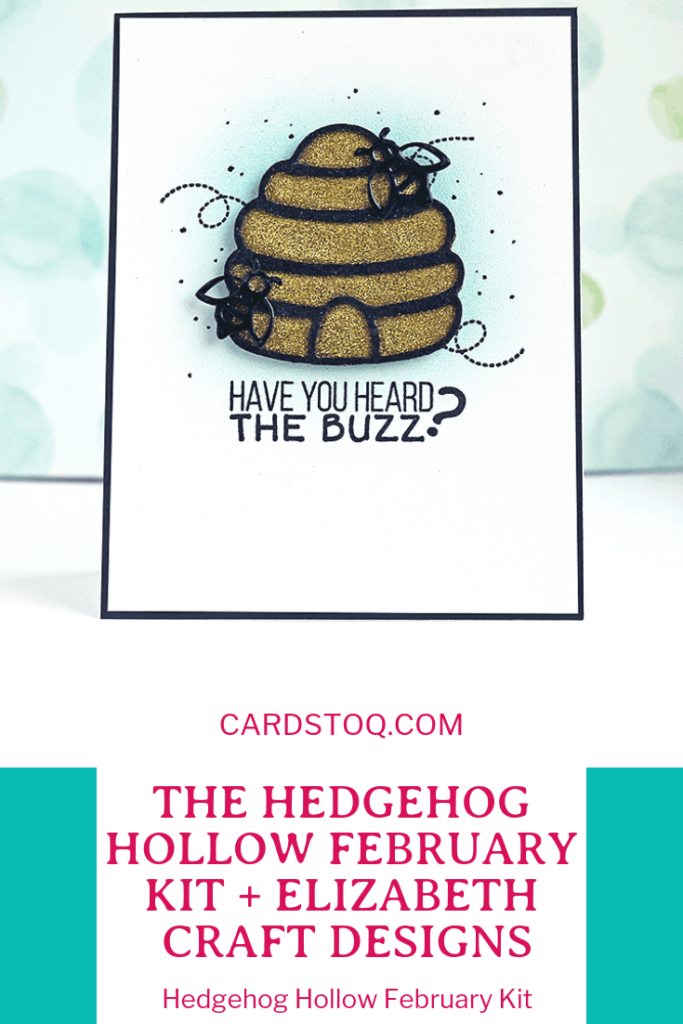
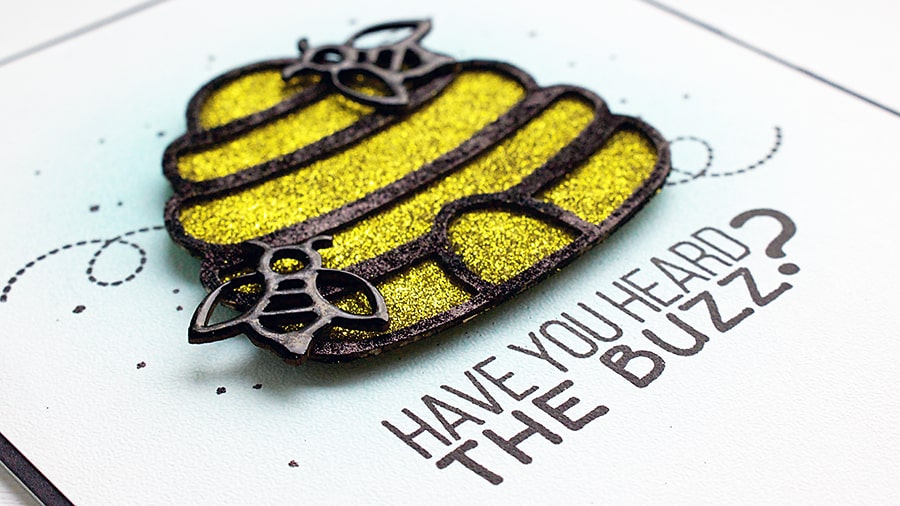
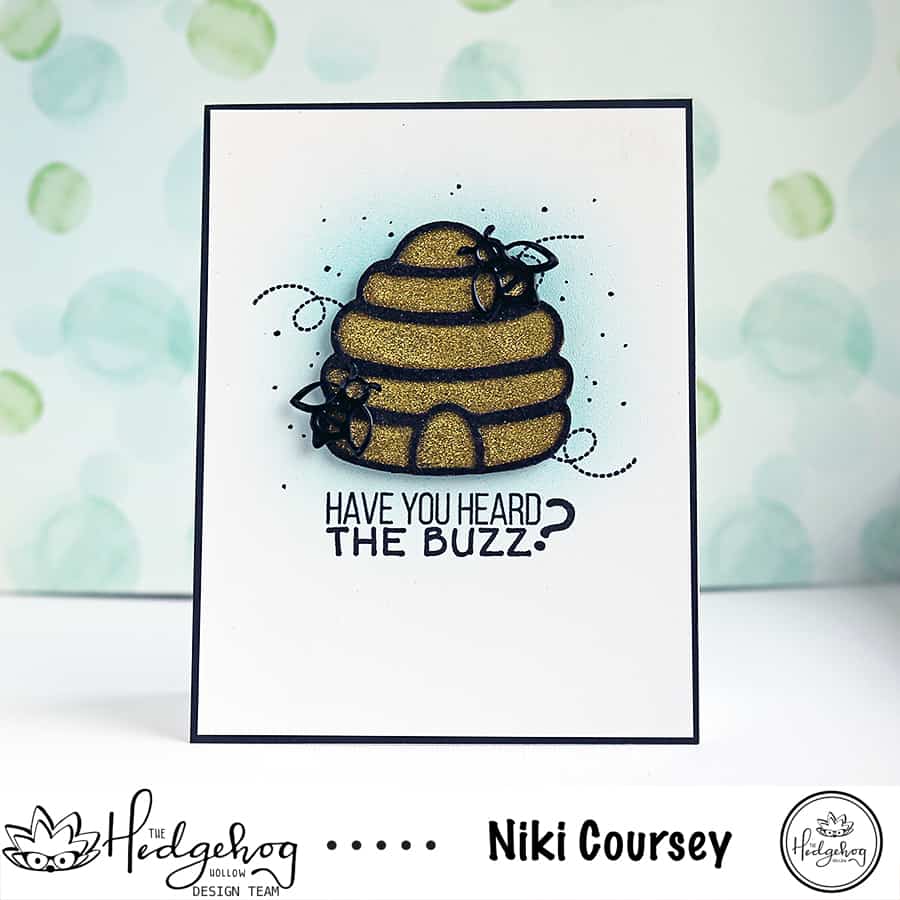
Have you heard the buzz? Y’all. I LOVE the new February kit from The Hedgehog Hollow! This month’s collaboration is with Elizabeth Craft Designs and it is amazing. I got it this afternoon and I could not wait to try out all the goodies 🙂
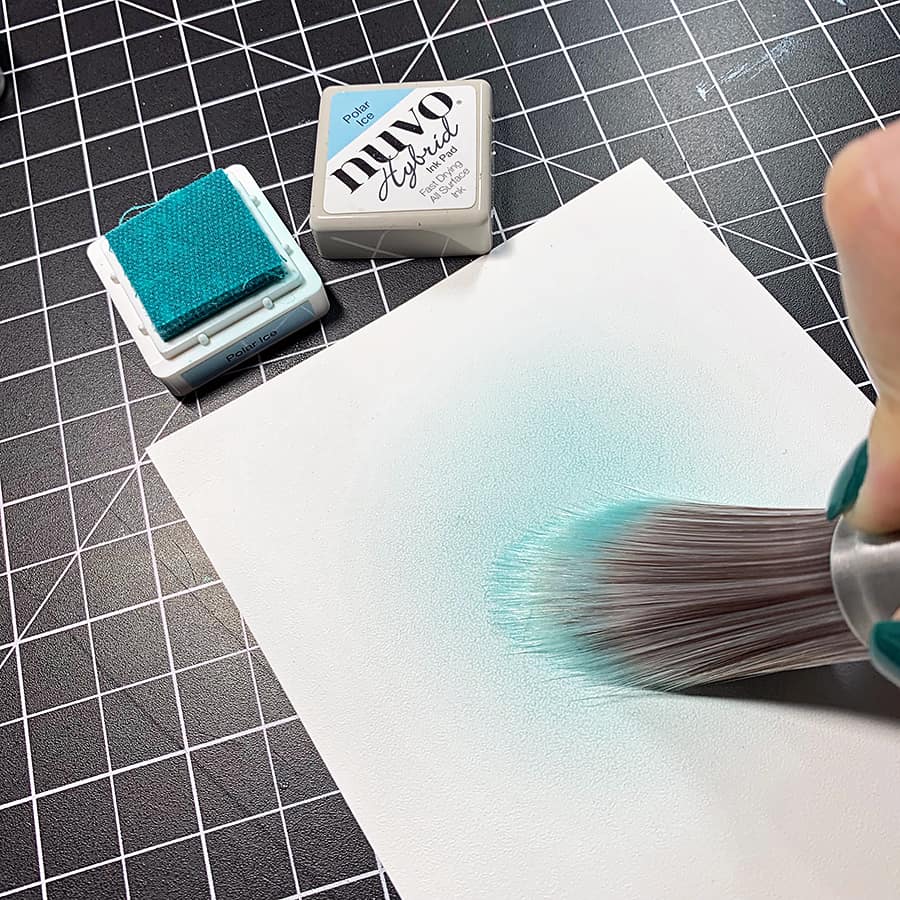
I have been looking for this specific finish of white cardstock for years – even throughout my quilling phase – so imagine my delight when I opened the full-size stack of paper in the kit! It’s so unique; it has a soft, eggshell-type texture to it. I trimmed a piece to 5.25” x 4” and got out my ink and brushes right away.
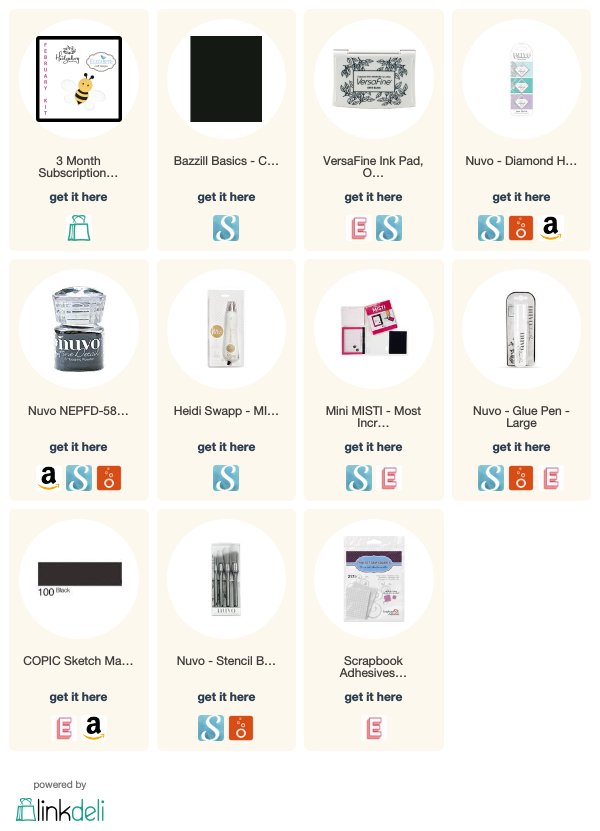
I wanted to create an area to put my beehive, so I used a Nuvo Stencil brush to buff in a light blue area to anchor my design. The neat thing about these brushes is you don’t have to worry about making hard ink marks and having to try and blend them out. After I was finished, I matted the white cardstock with a 5.5” x 4.25” piece of black cardstock.
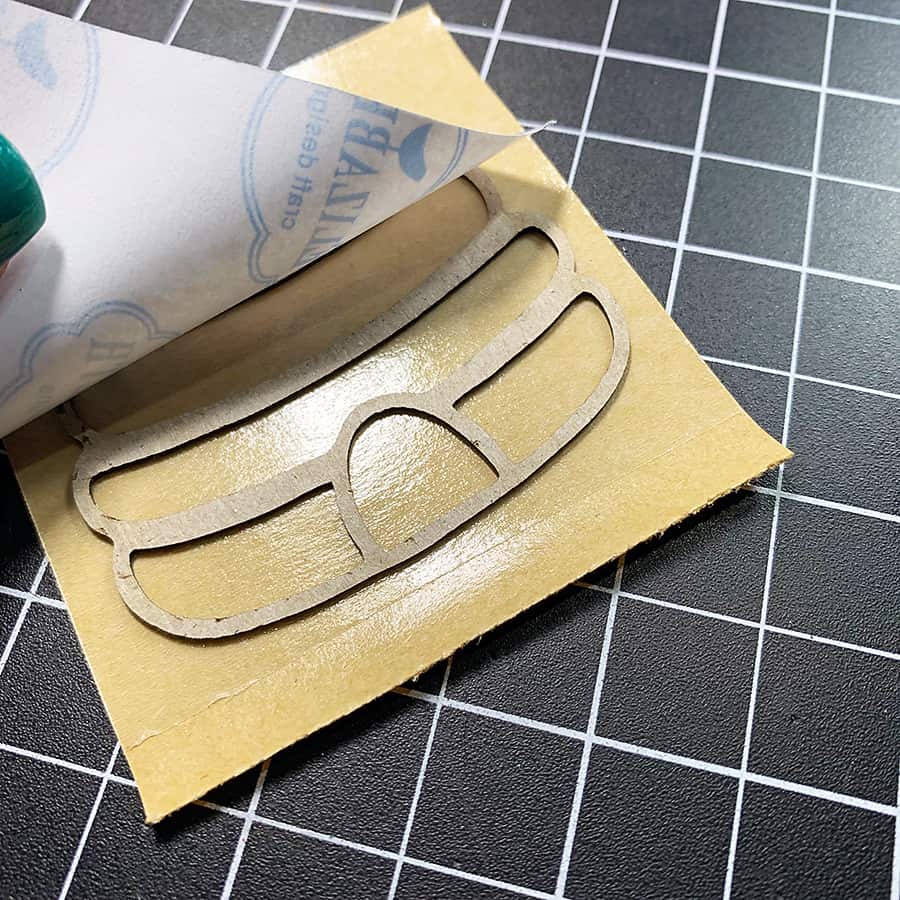
Next, I used a piece of the double-sided adhesive sheet from the kit to adhere the chipboard beehive. This isn’t the webbing-like adhesive that you can roll off with your fingers- it’s a very sturdy clear sheet you’ll need to cut with scissors (or a die).
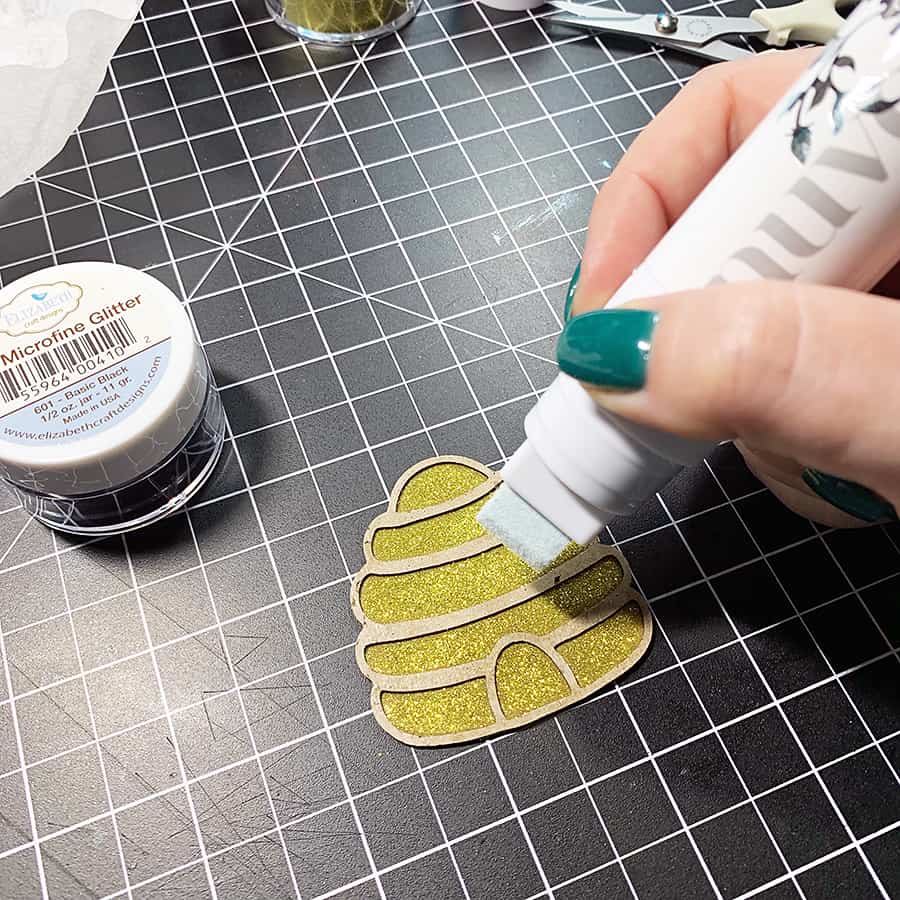
I trimmed off the excess around the outside and sprinkled on some of the super fine gold glitter. Then, I finished cleaning up the edges with a pair of fine detail scissors.
To adhere the black glitter, I used a large Nuvo glue pen to saturate the chipboard really well and sprinkled the glitter (over a big coffee filter to catch the excess, of course) white the glue was still wet.
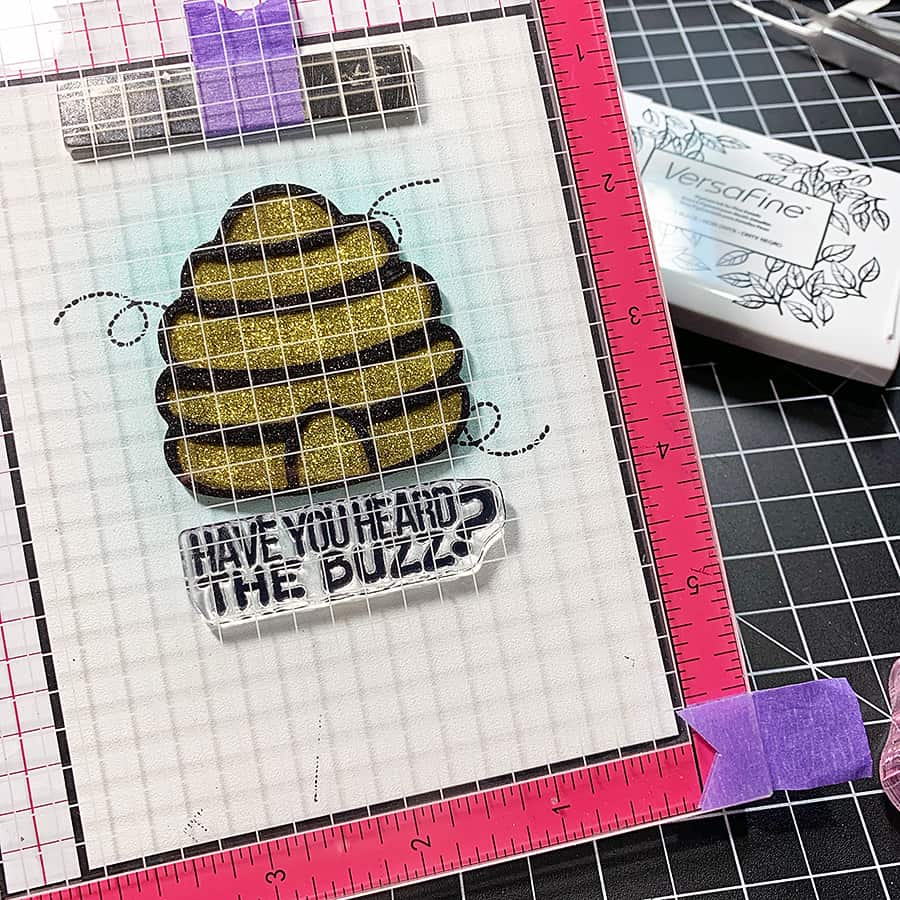
With all the glittering done, the next step was to start building up the design. I stamped a few “bee trails” around where my chipboard was going to be, then attached the beehive to my card front, right in the middle of the blended blue area with some foam squares. They were the thin kind, so I could stamp the sentiment with the beehive in place.
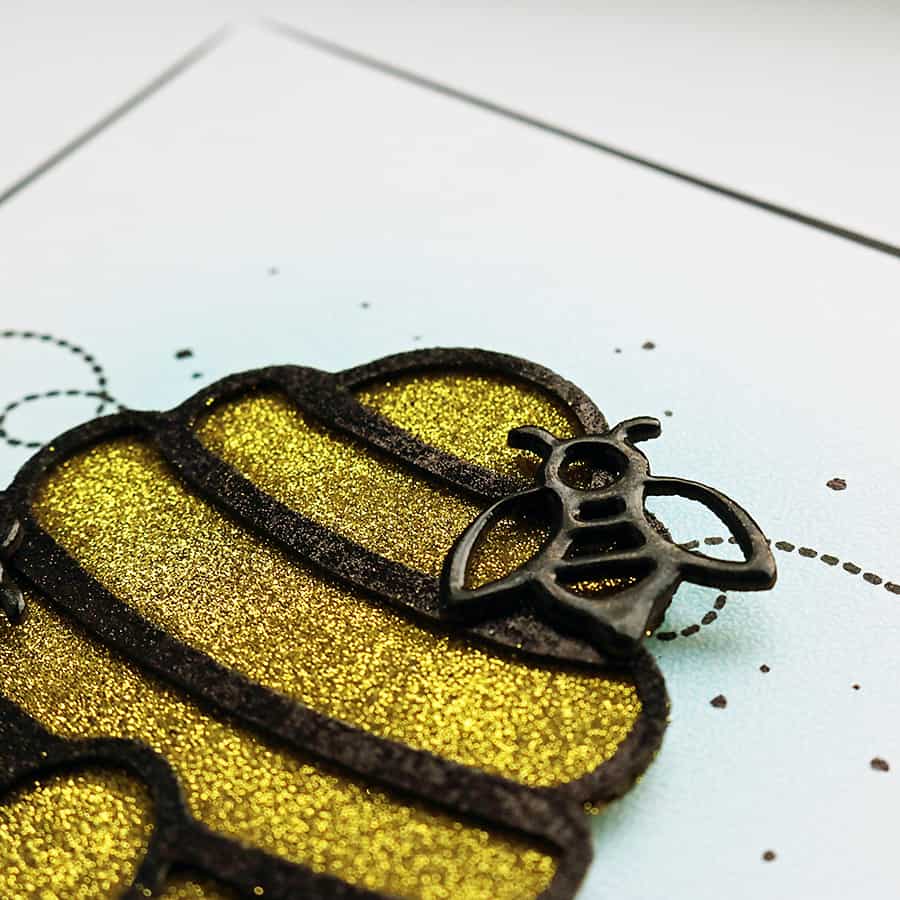
For my two little chipboard bees that are perched on the hive, I wanted to make them super shiny. To do that, I heat embossed them twice with Nuvo Fine Detail Embossing Powder in Jet Black and adhered them with Nuvo Deluxe Adhesive.
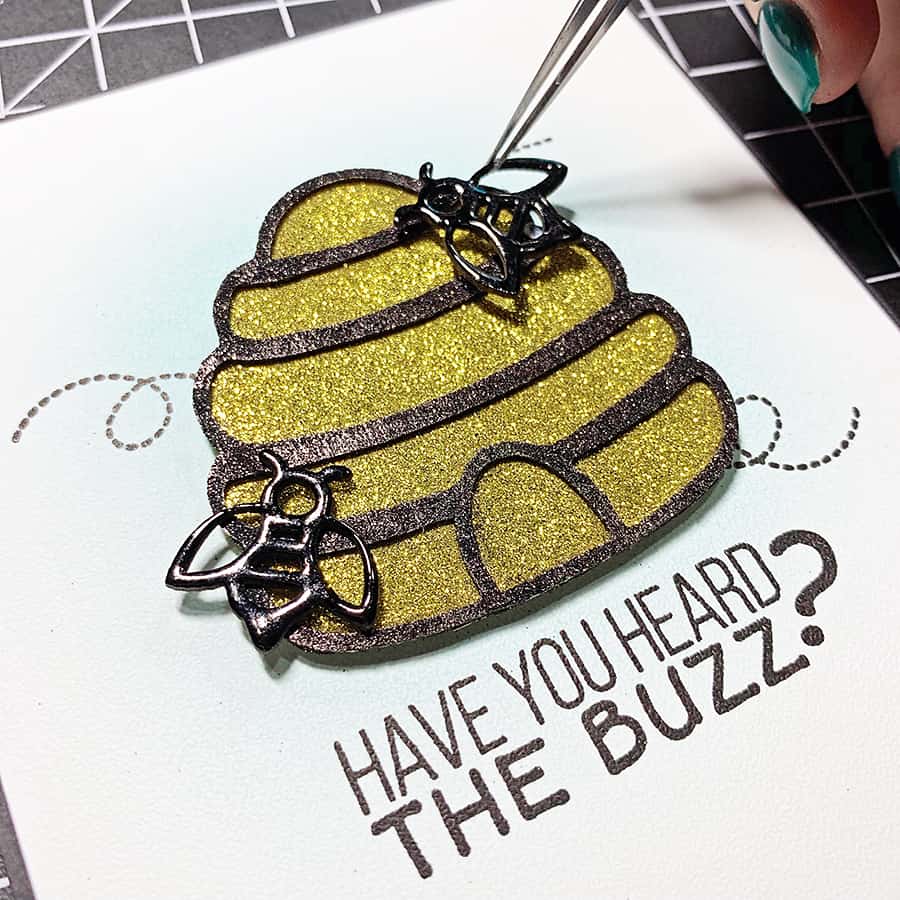
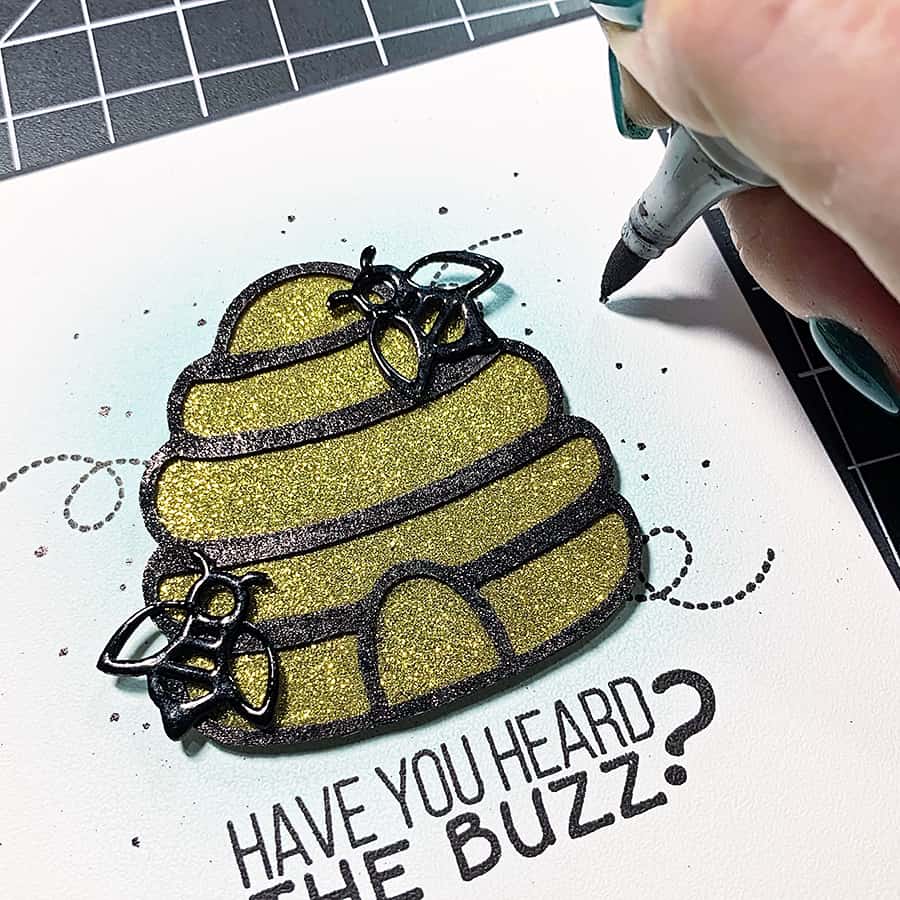
To finish off the card, I added in a few dots with a black Copic Sketch marker and popped the card front onto a top folding A2 card base.
That’s all for today’s project – hop on over and grab your February kit while supplies last. Thanks for reading!
